

A “variant” in Macropay is just a separate product offered alongside its siblings. Same data model, same API — the only difference is price and billing logic. This keeps each tier independently configurable (entitlements, metering, trials) instead of locking them into rigid option matrices.
Step 1 — Build the tier products
1
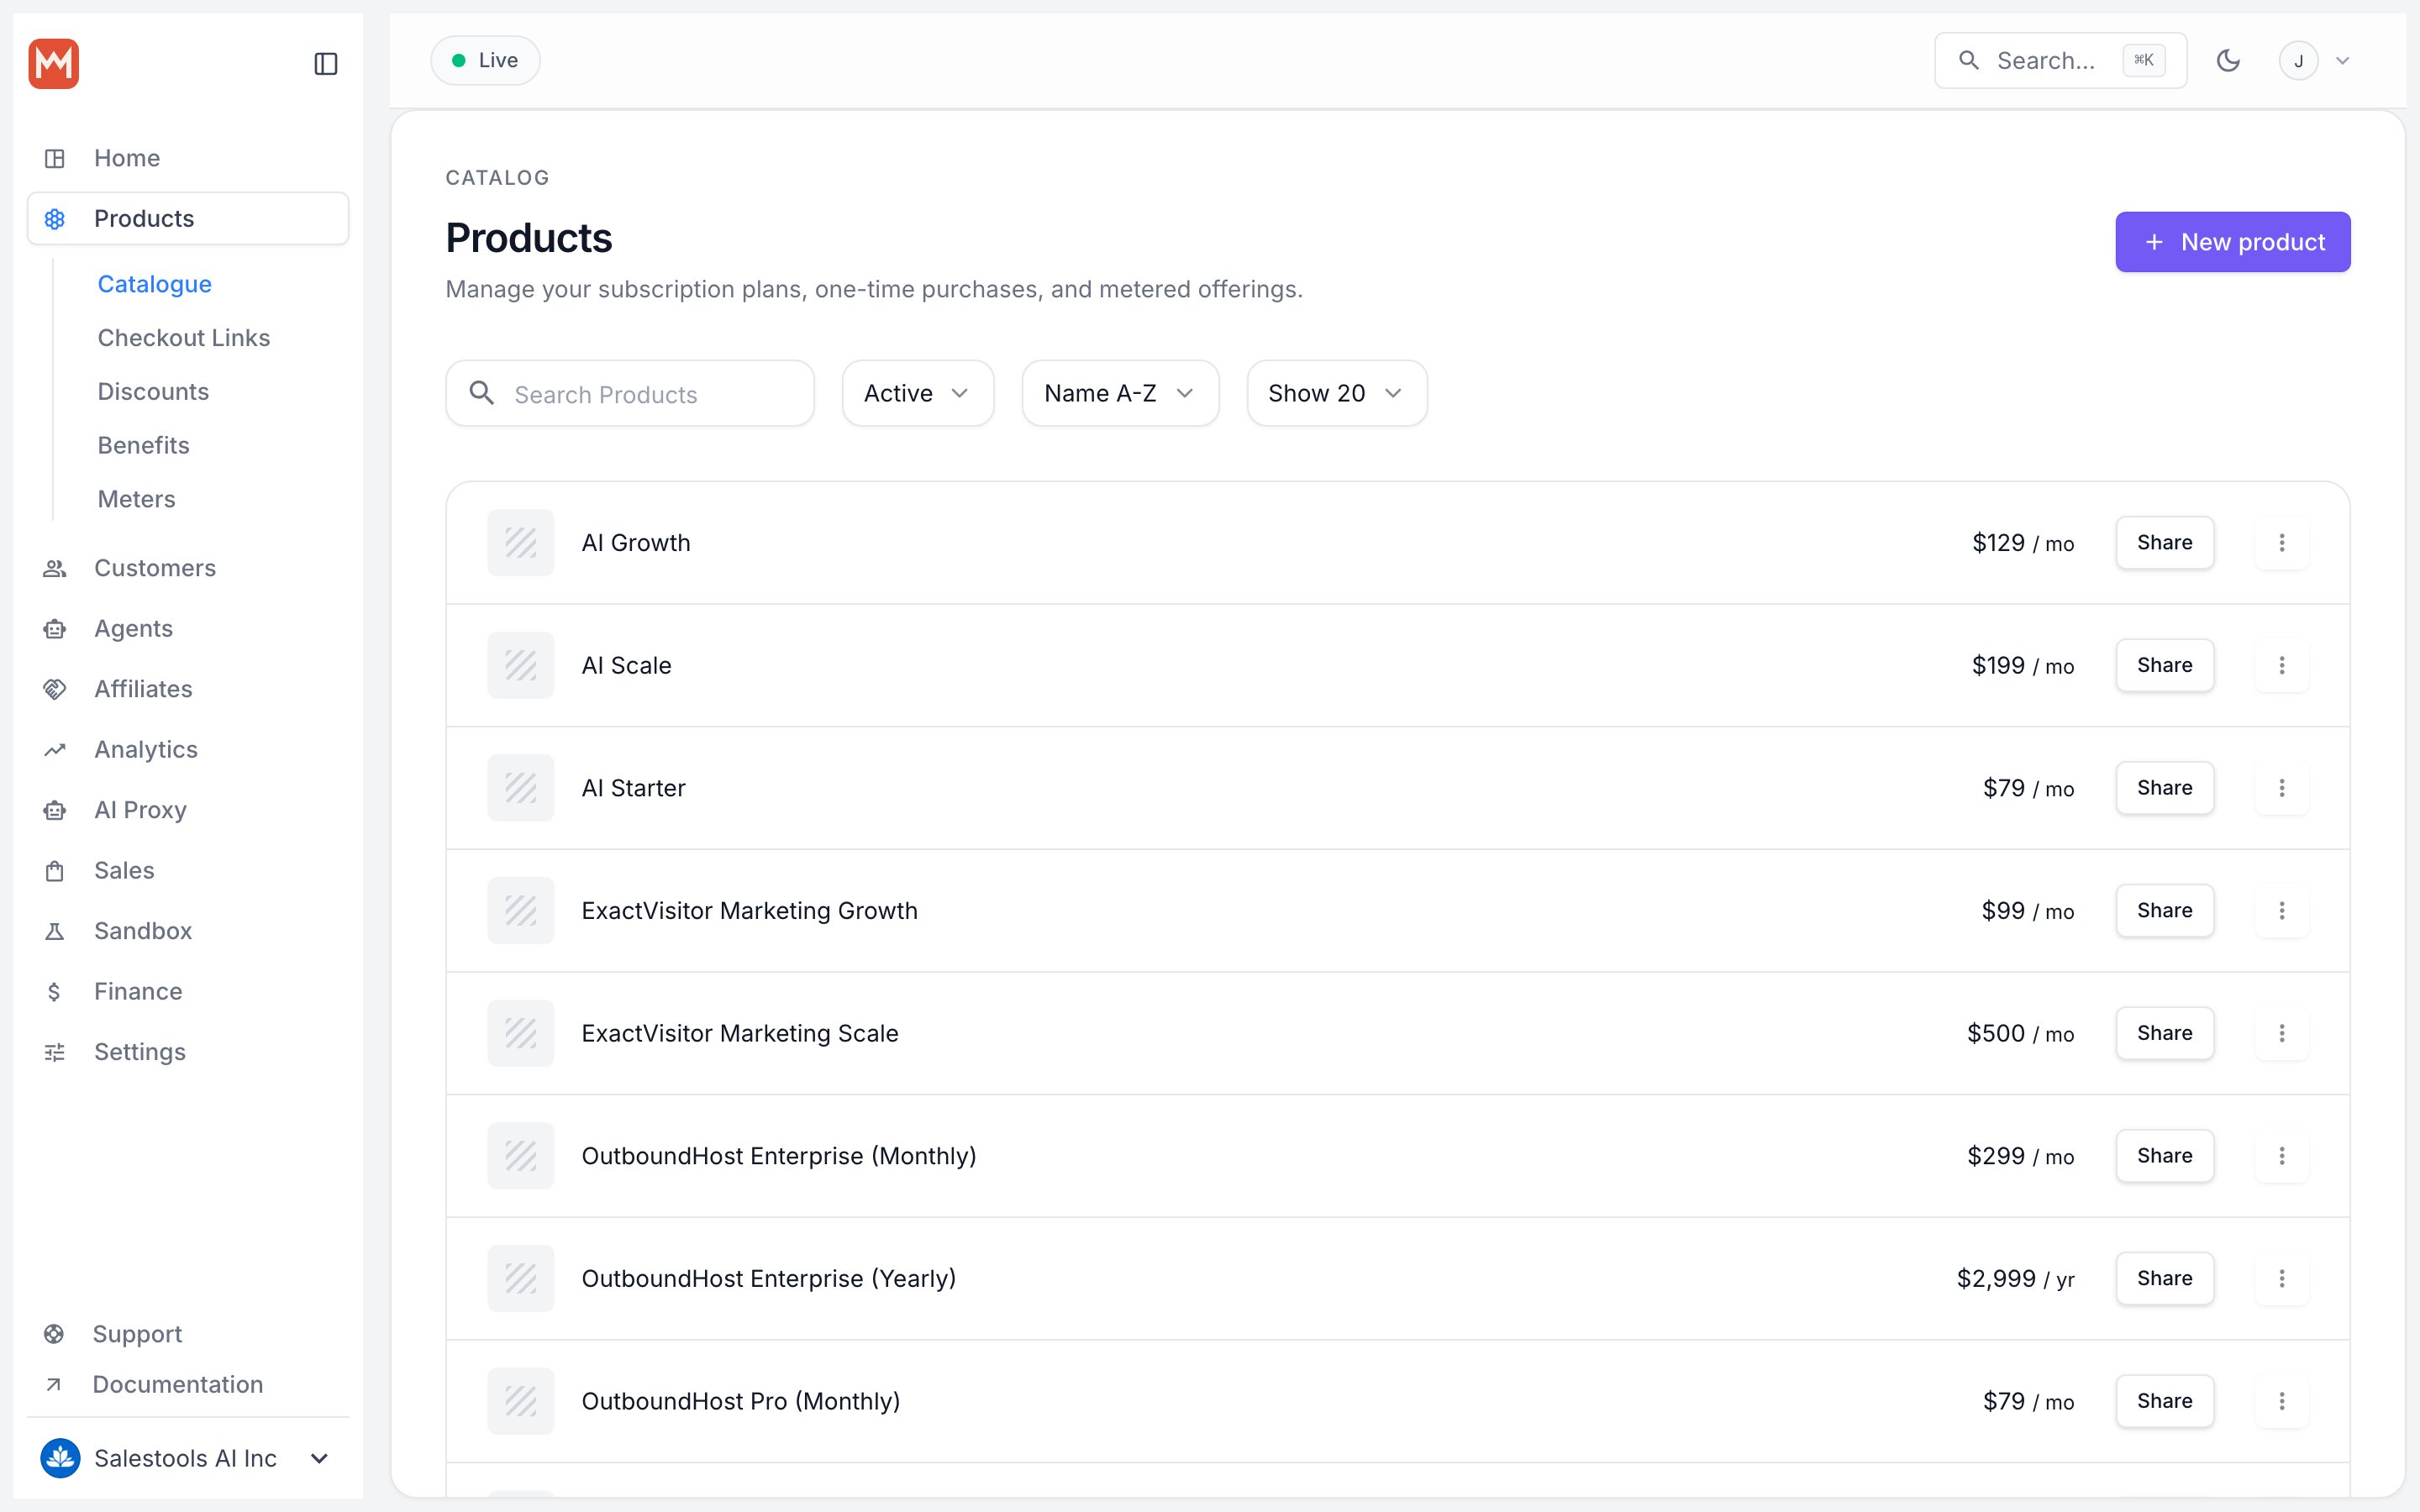
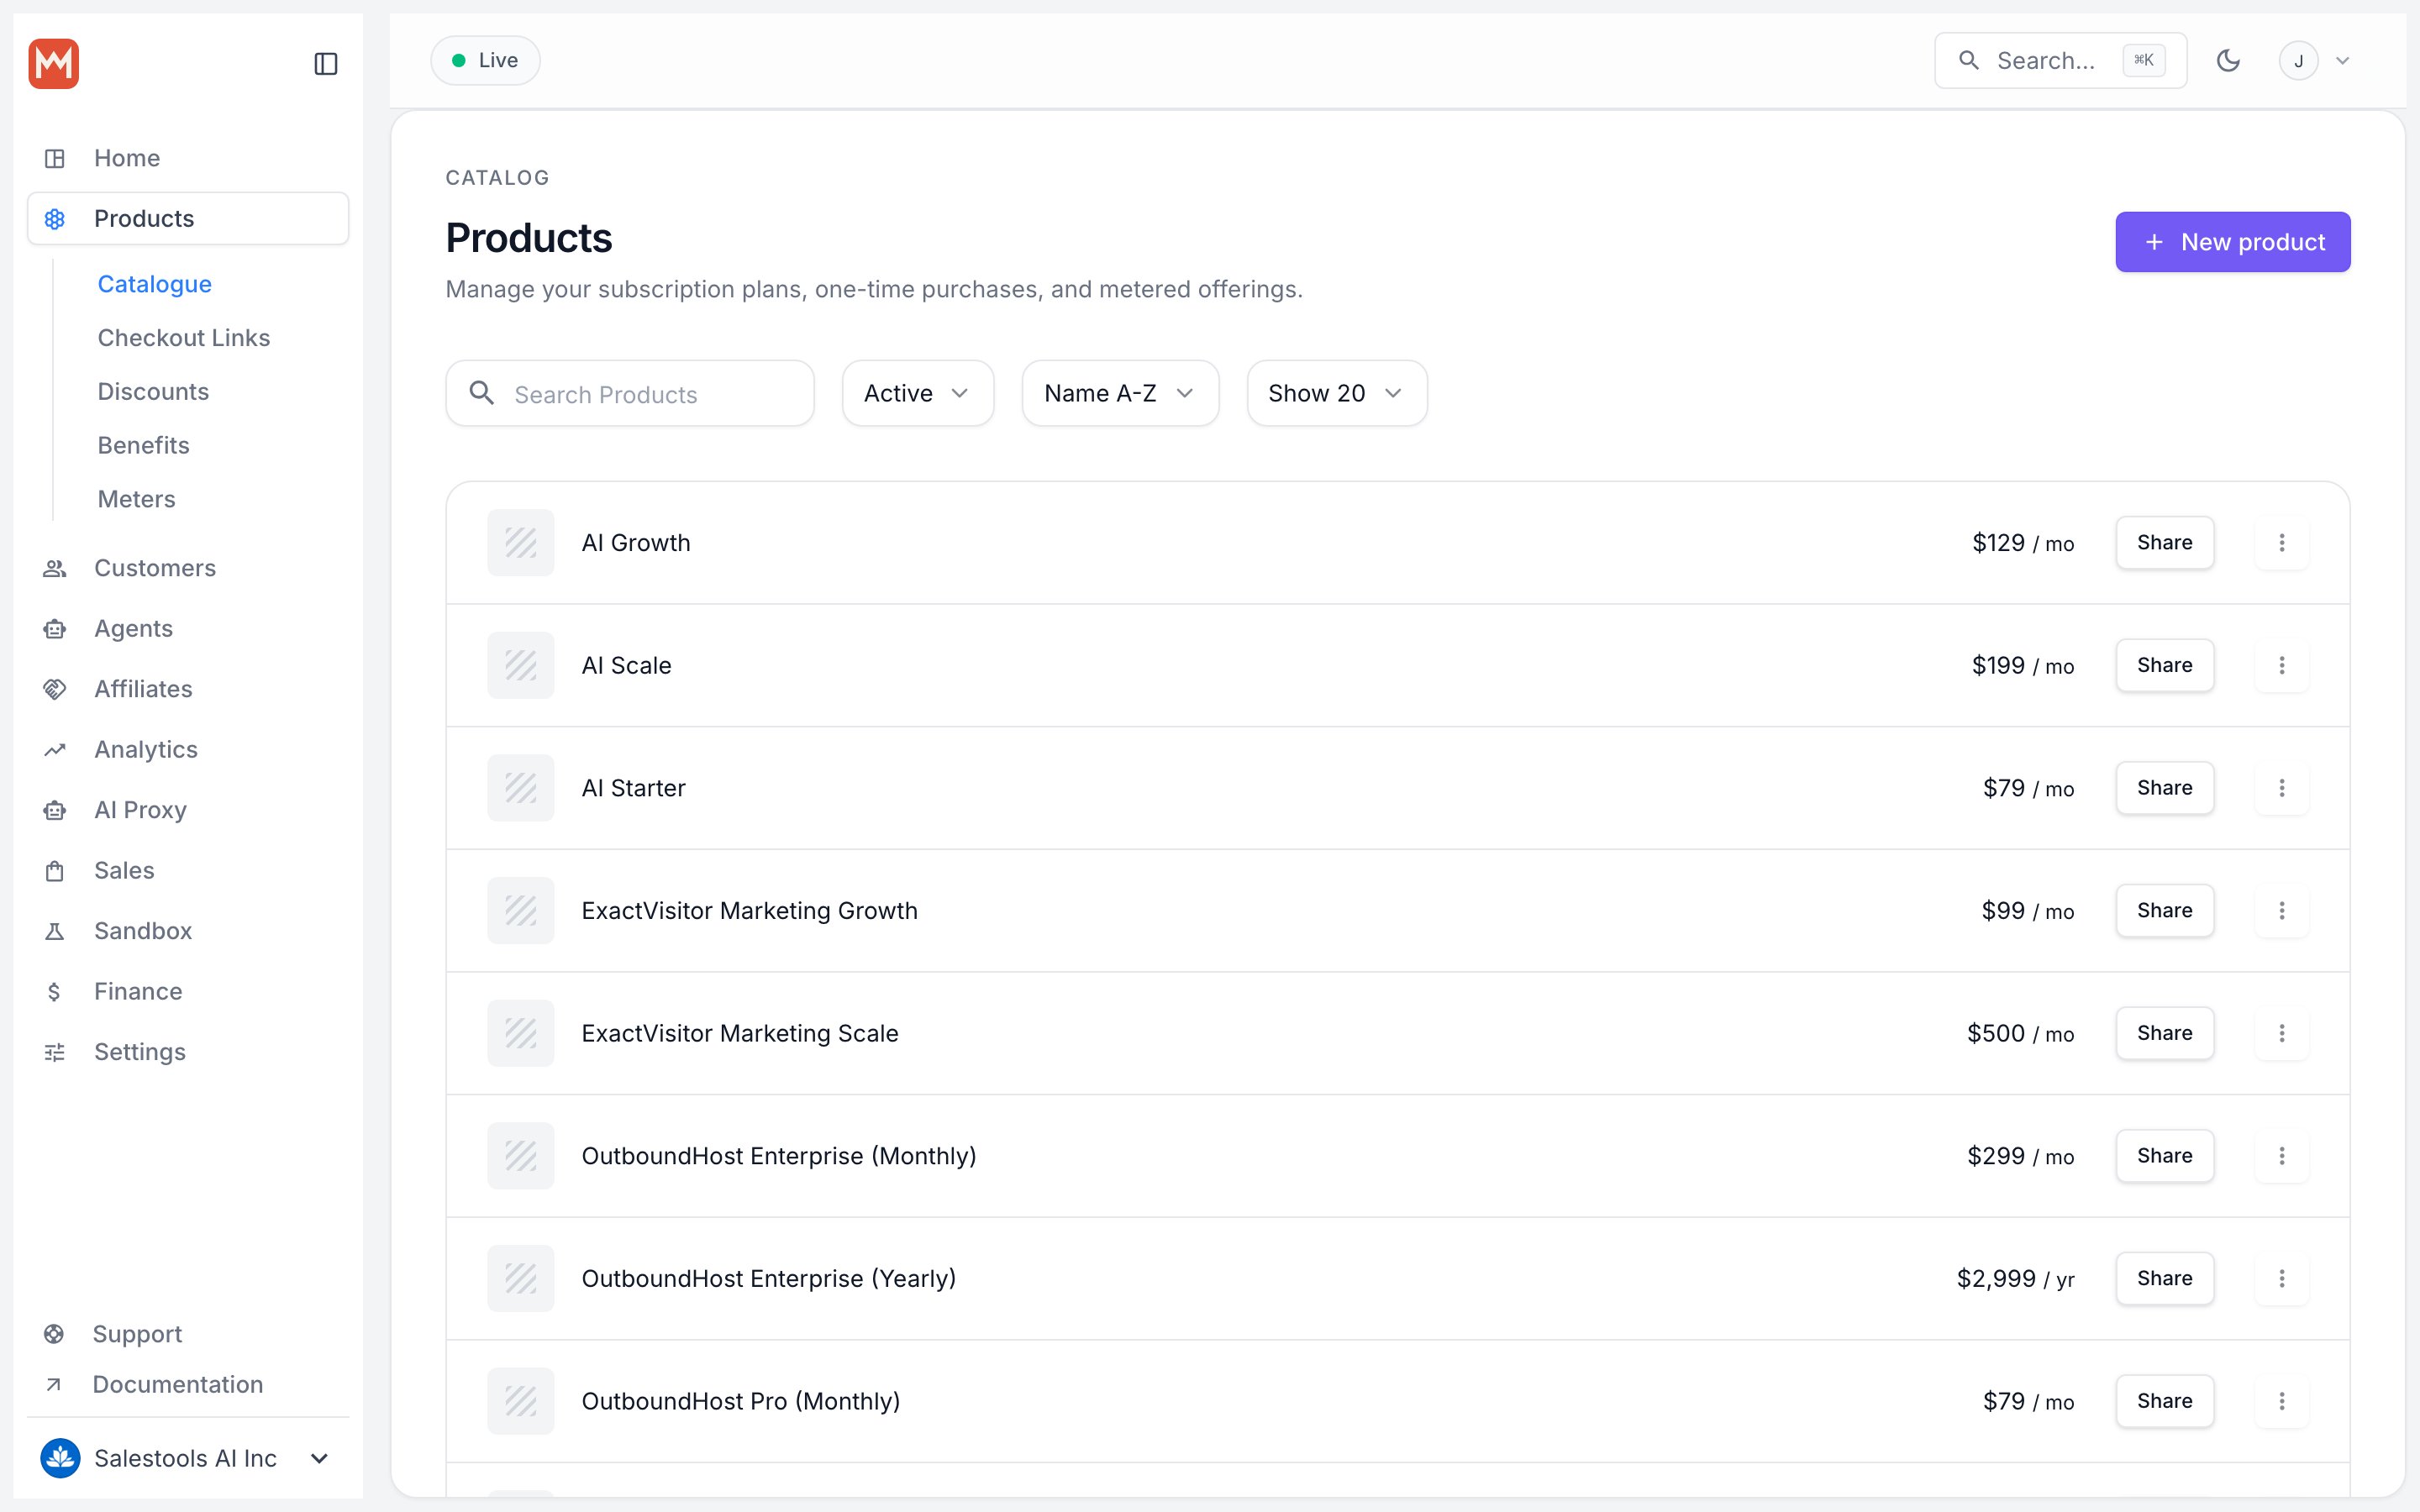
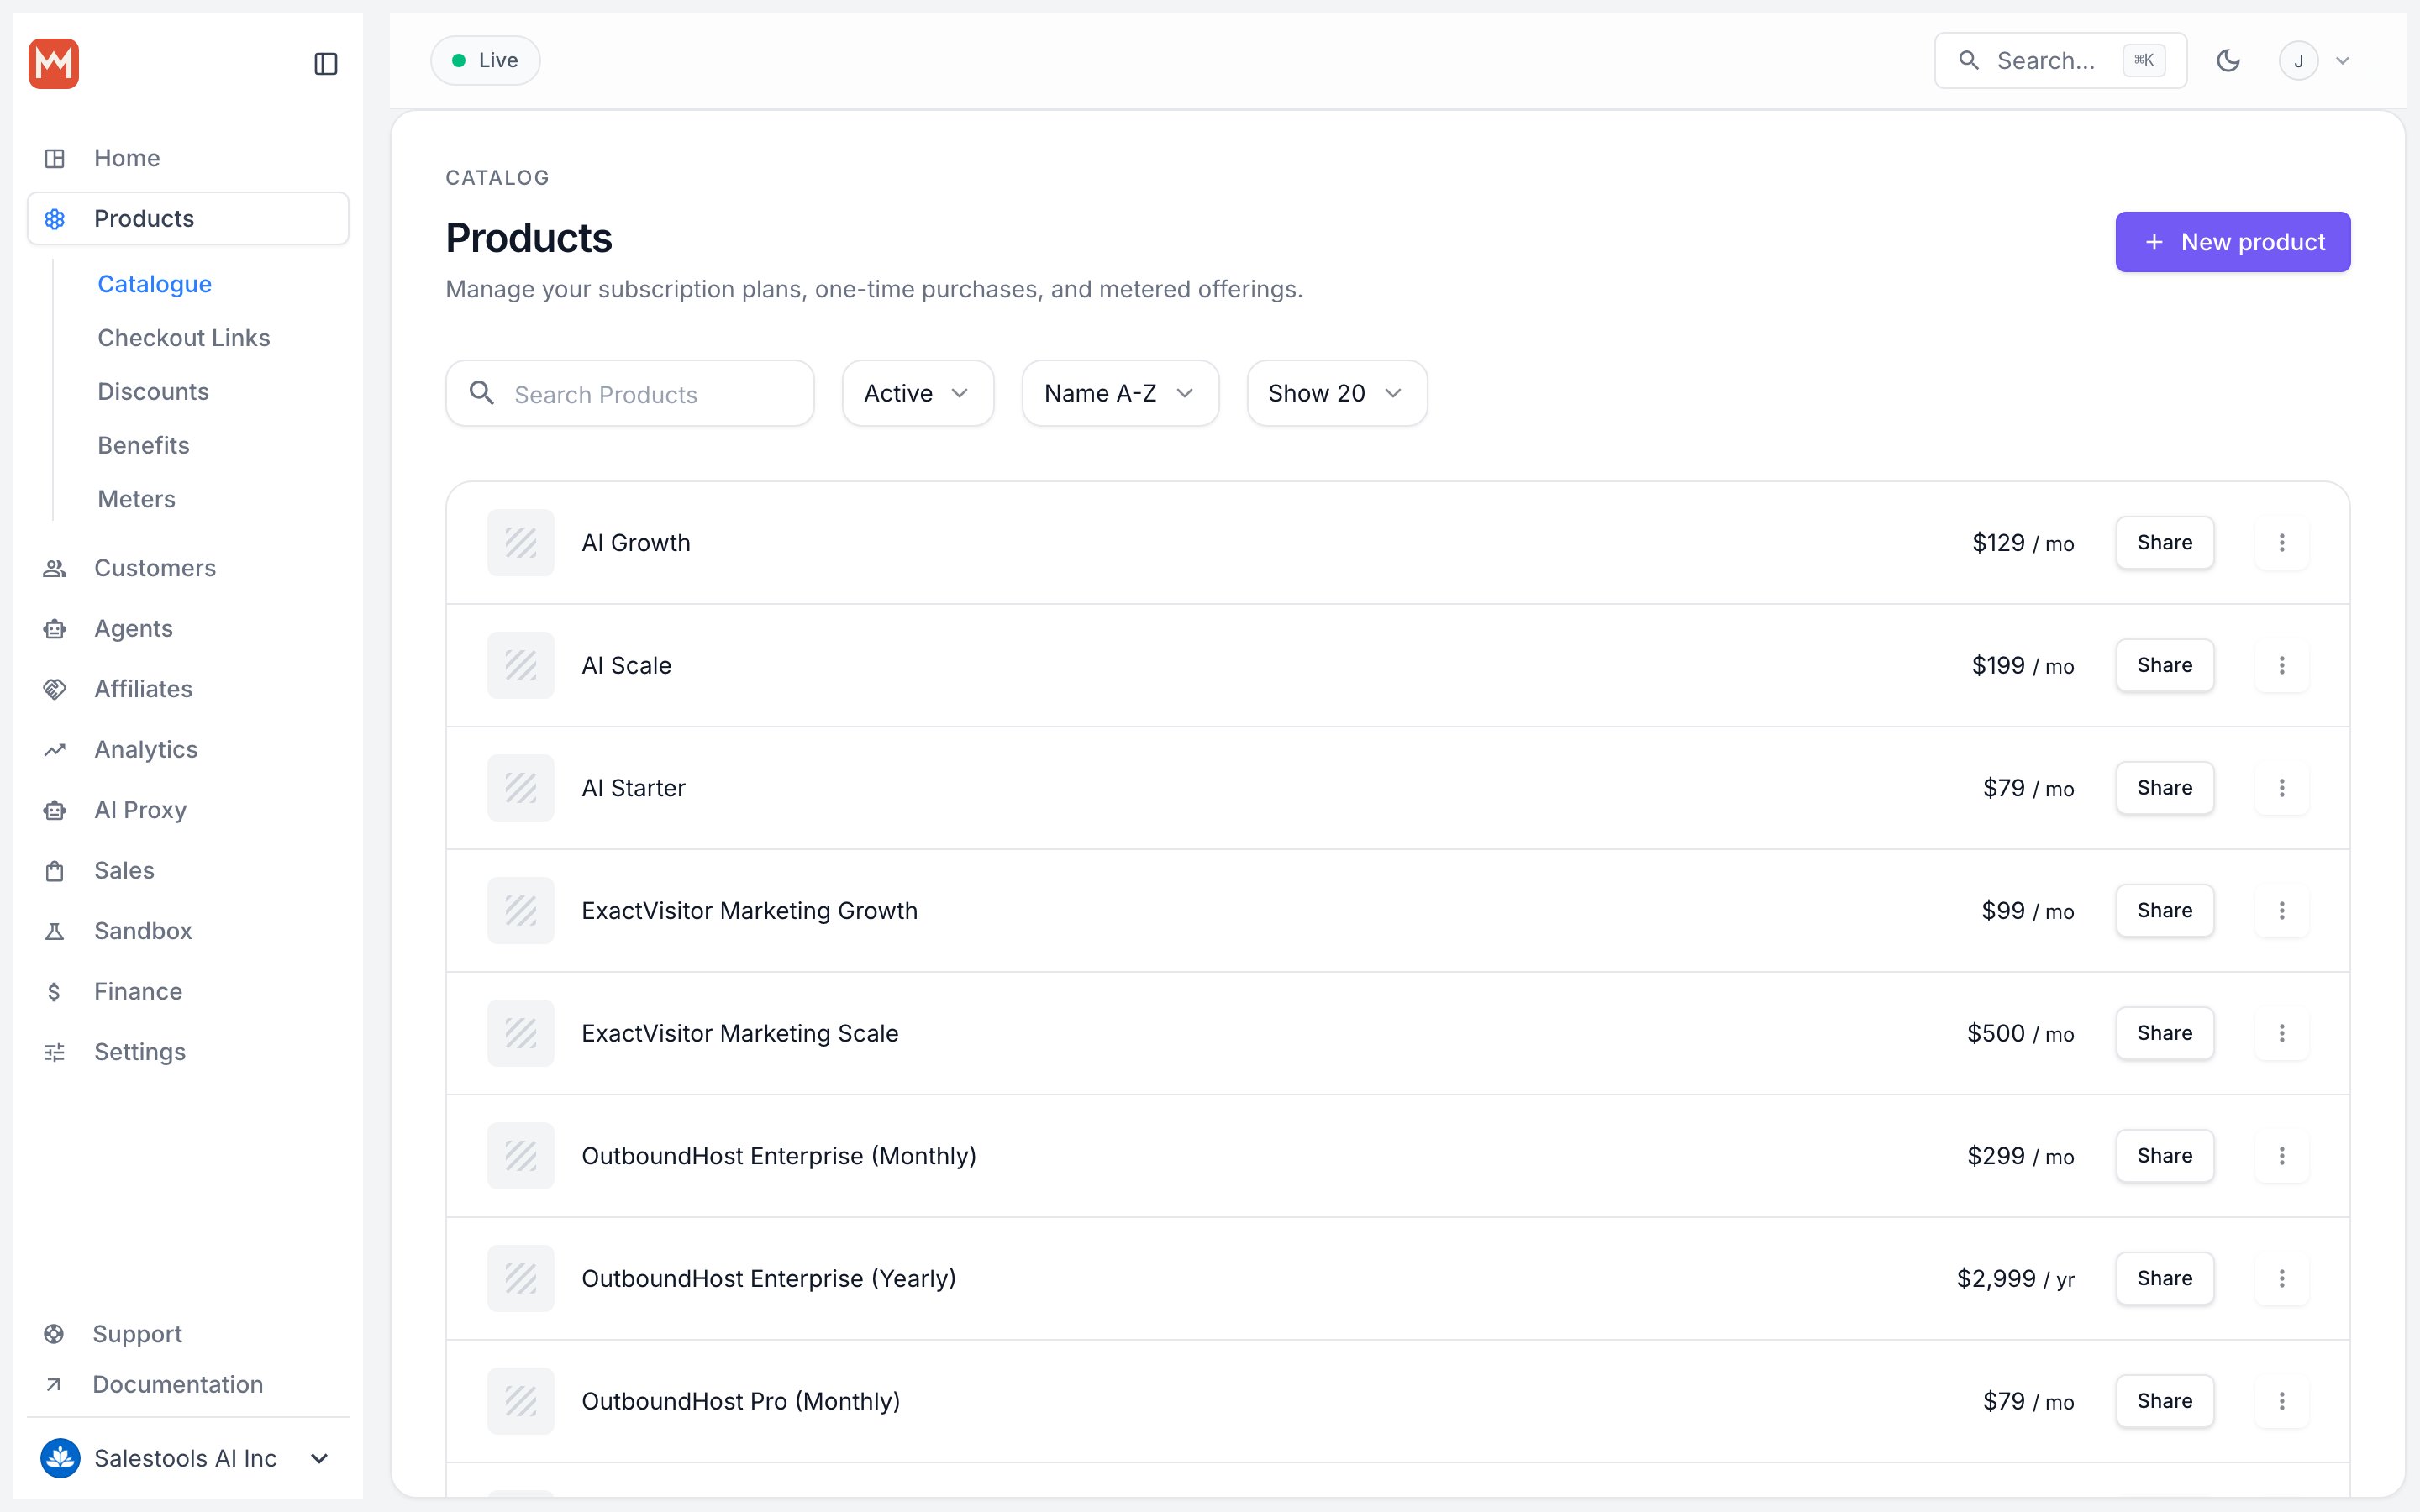
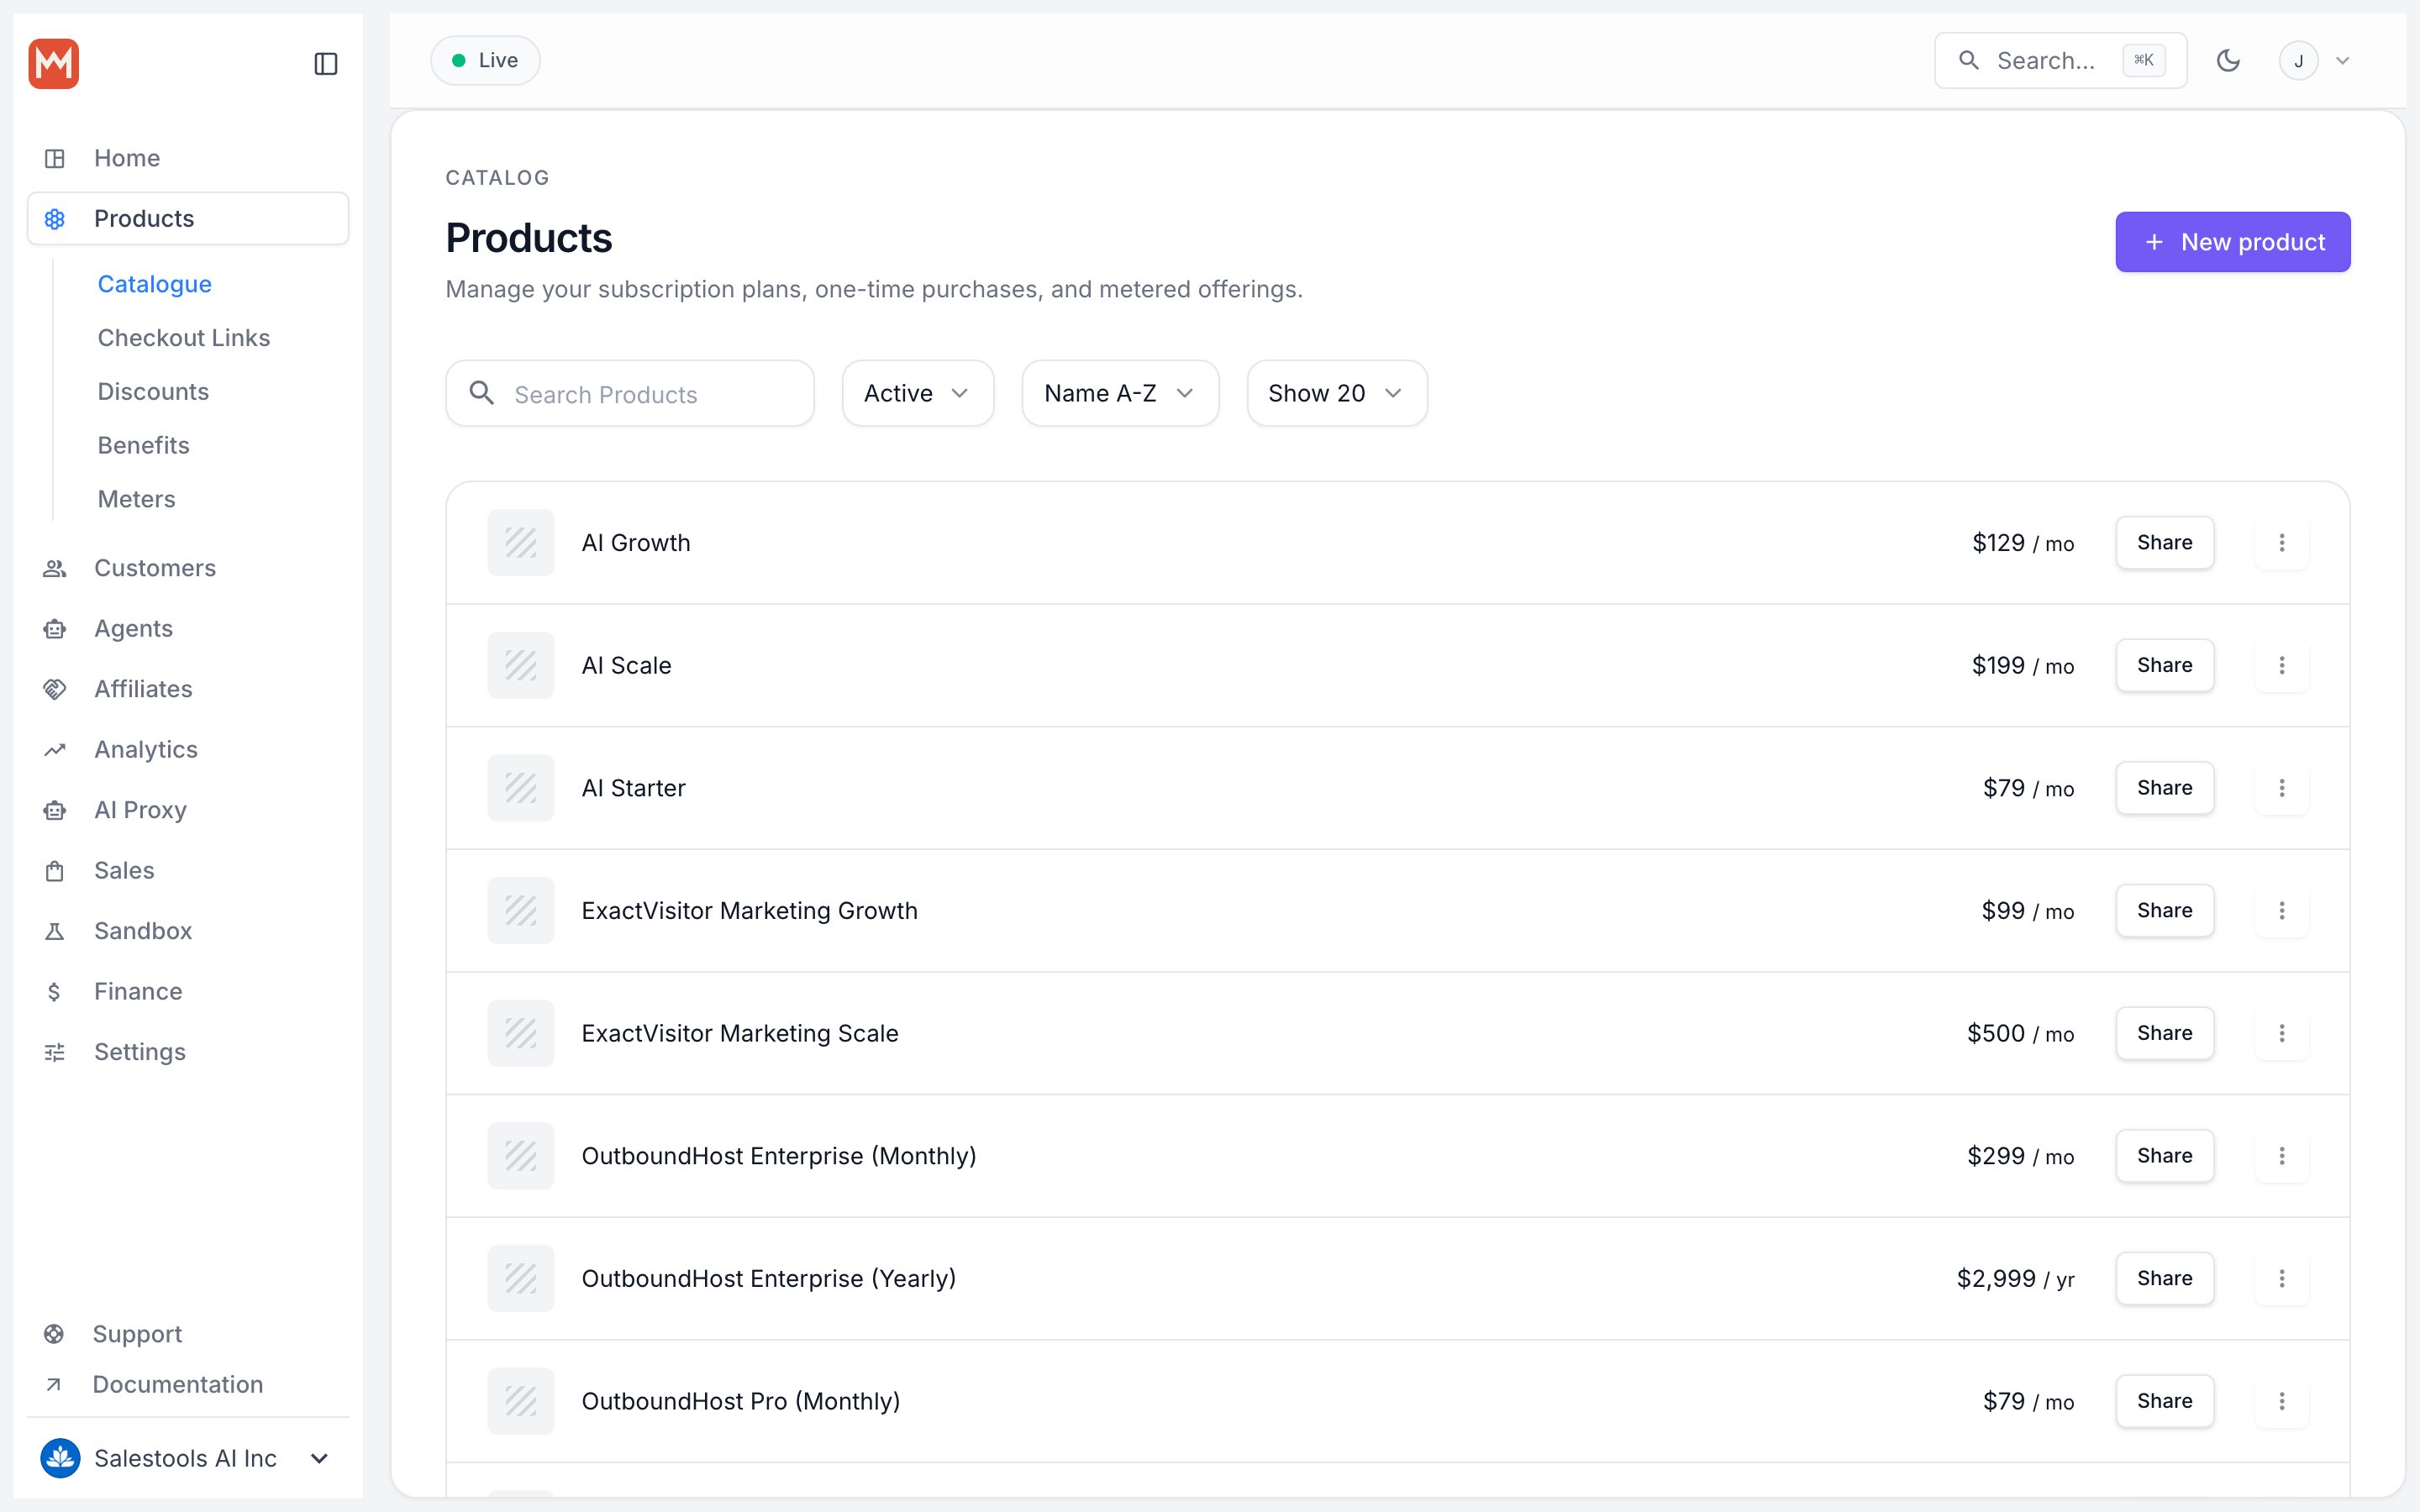
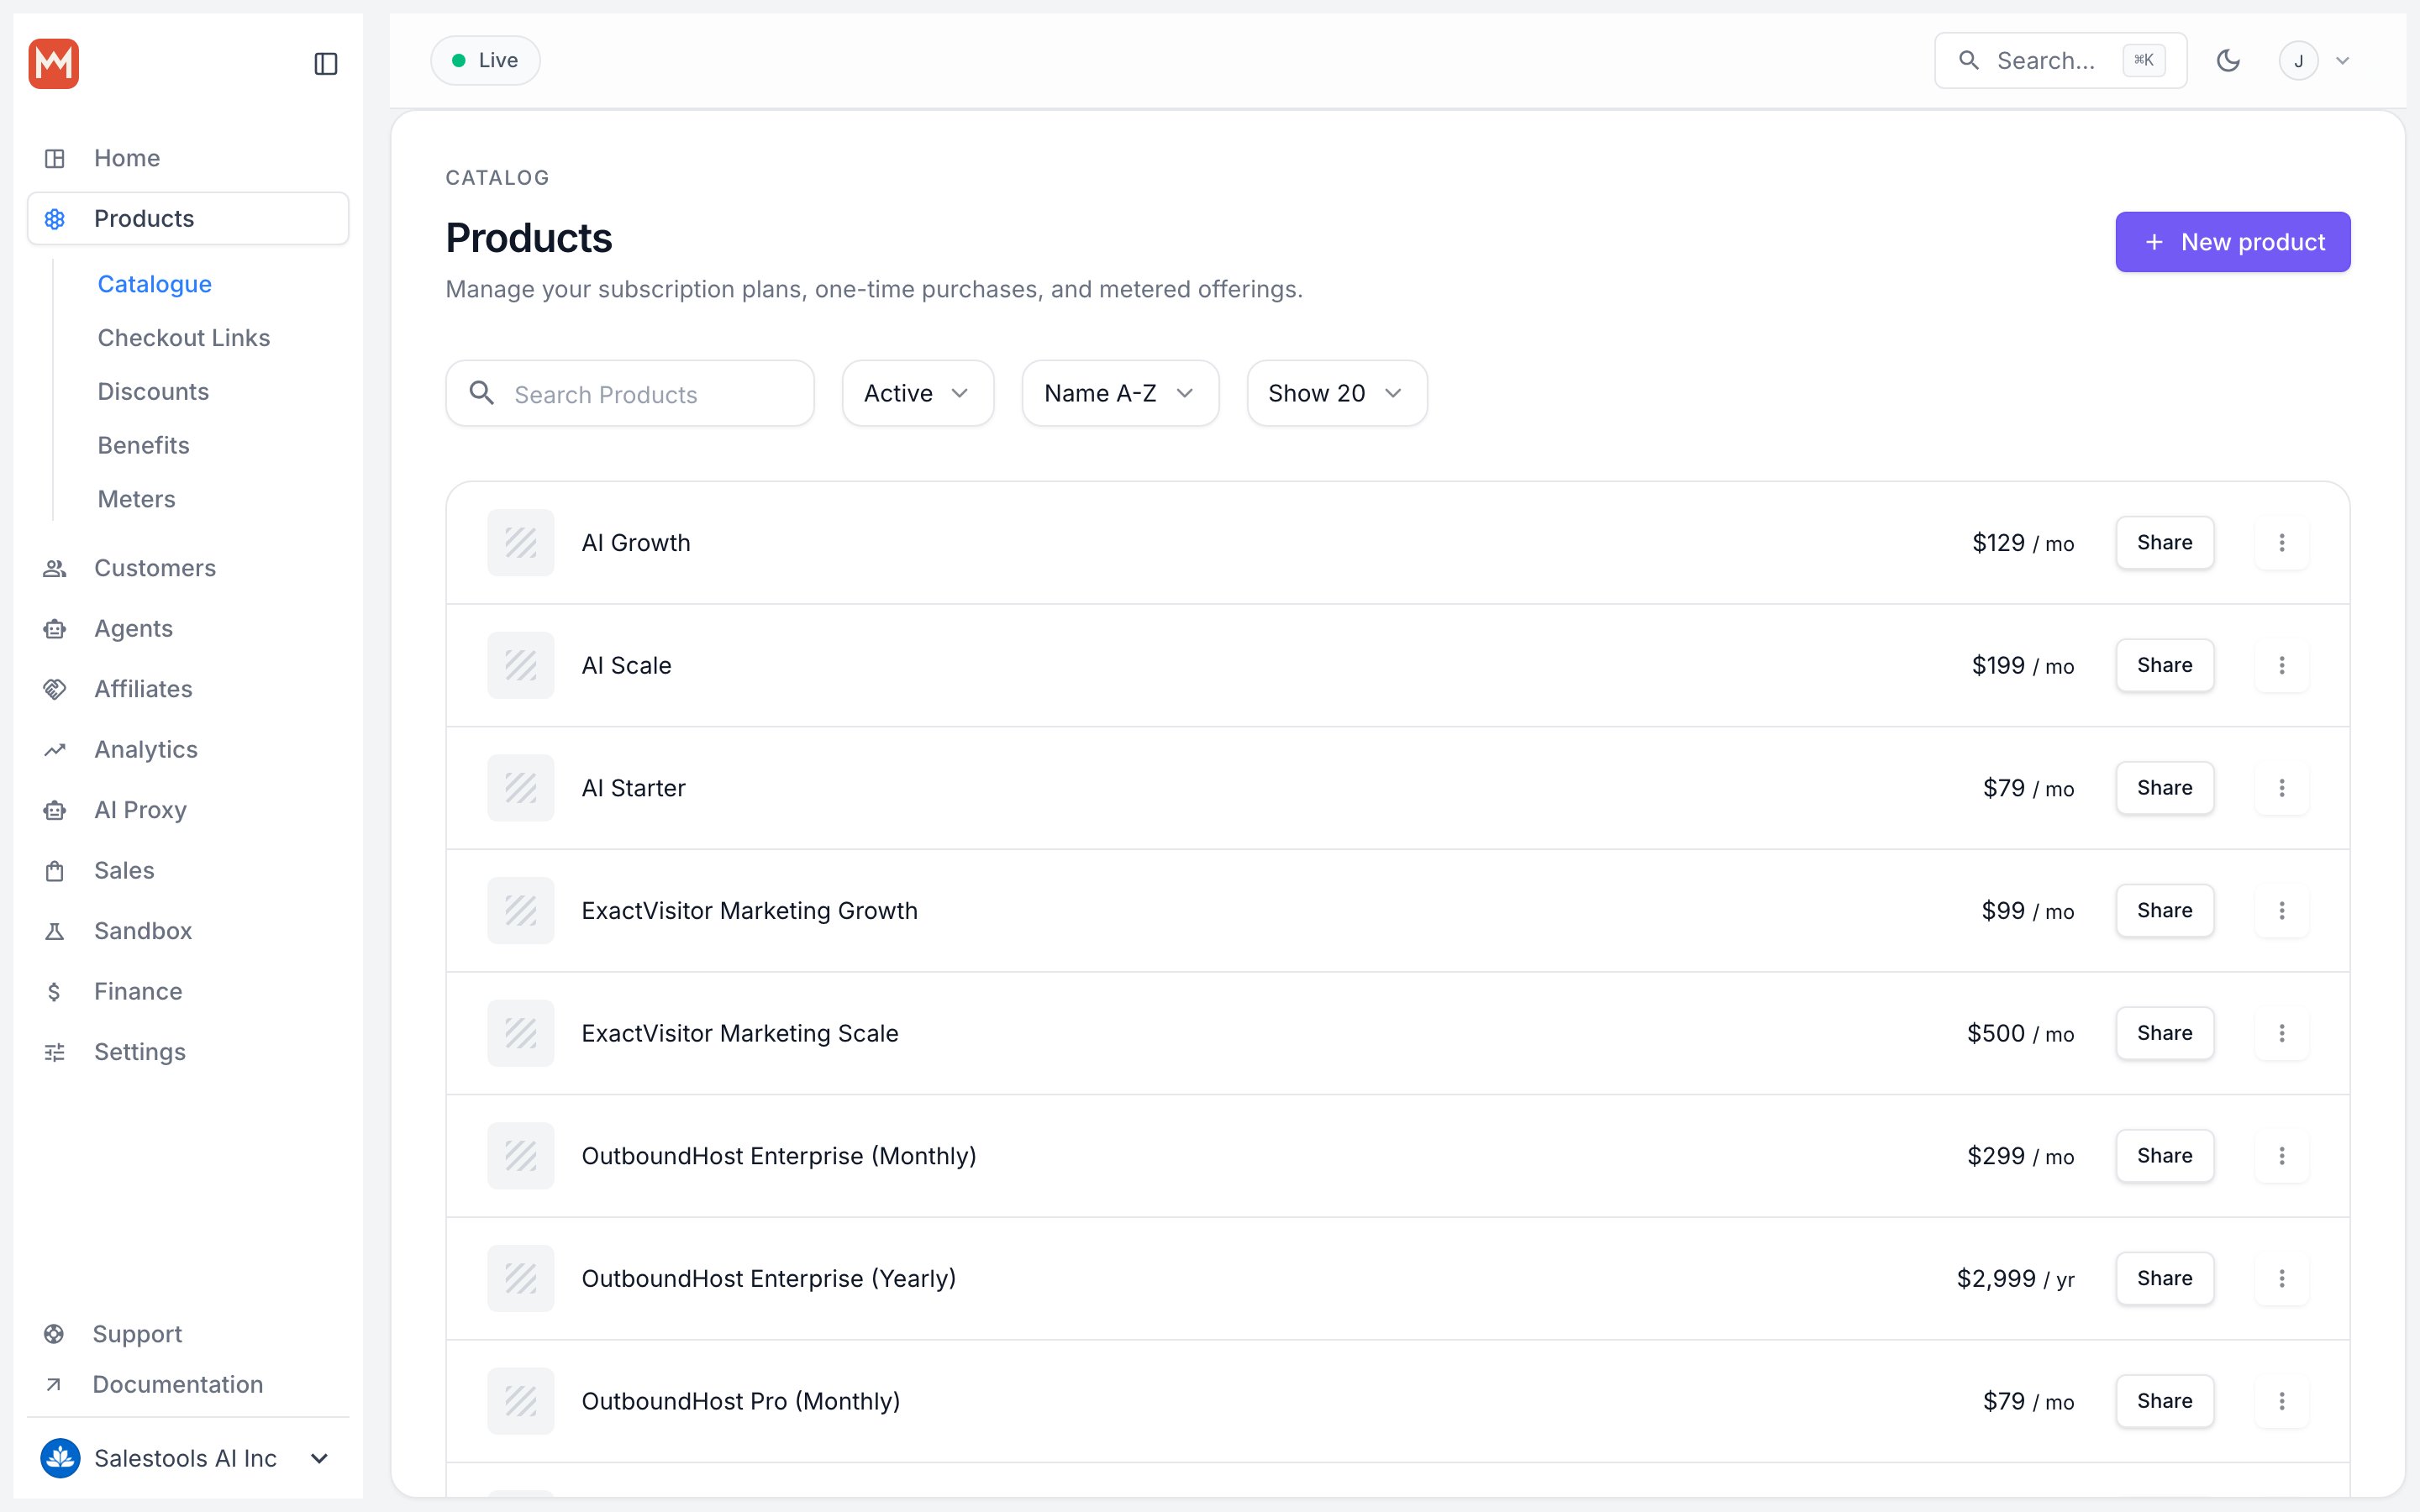
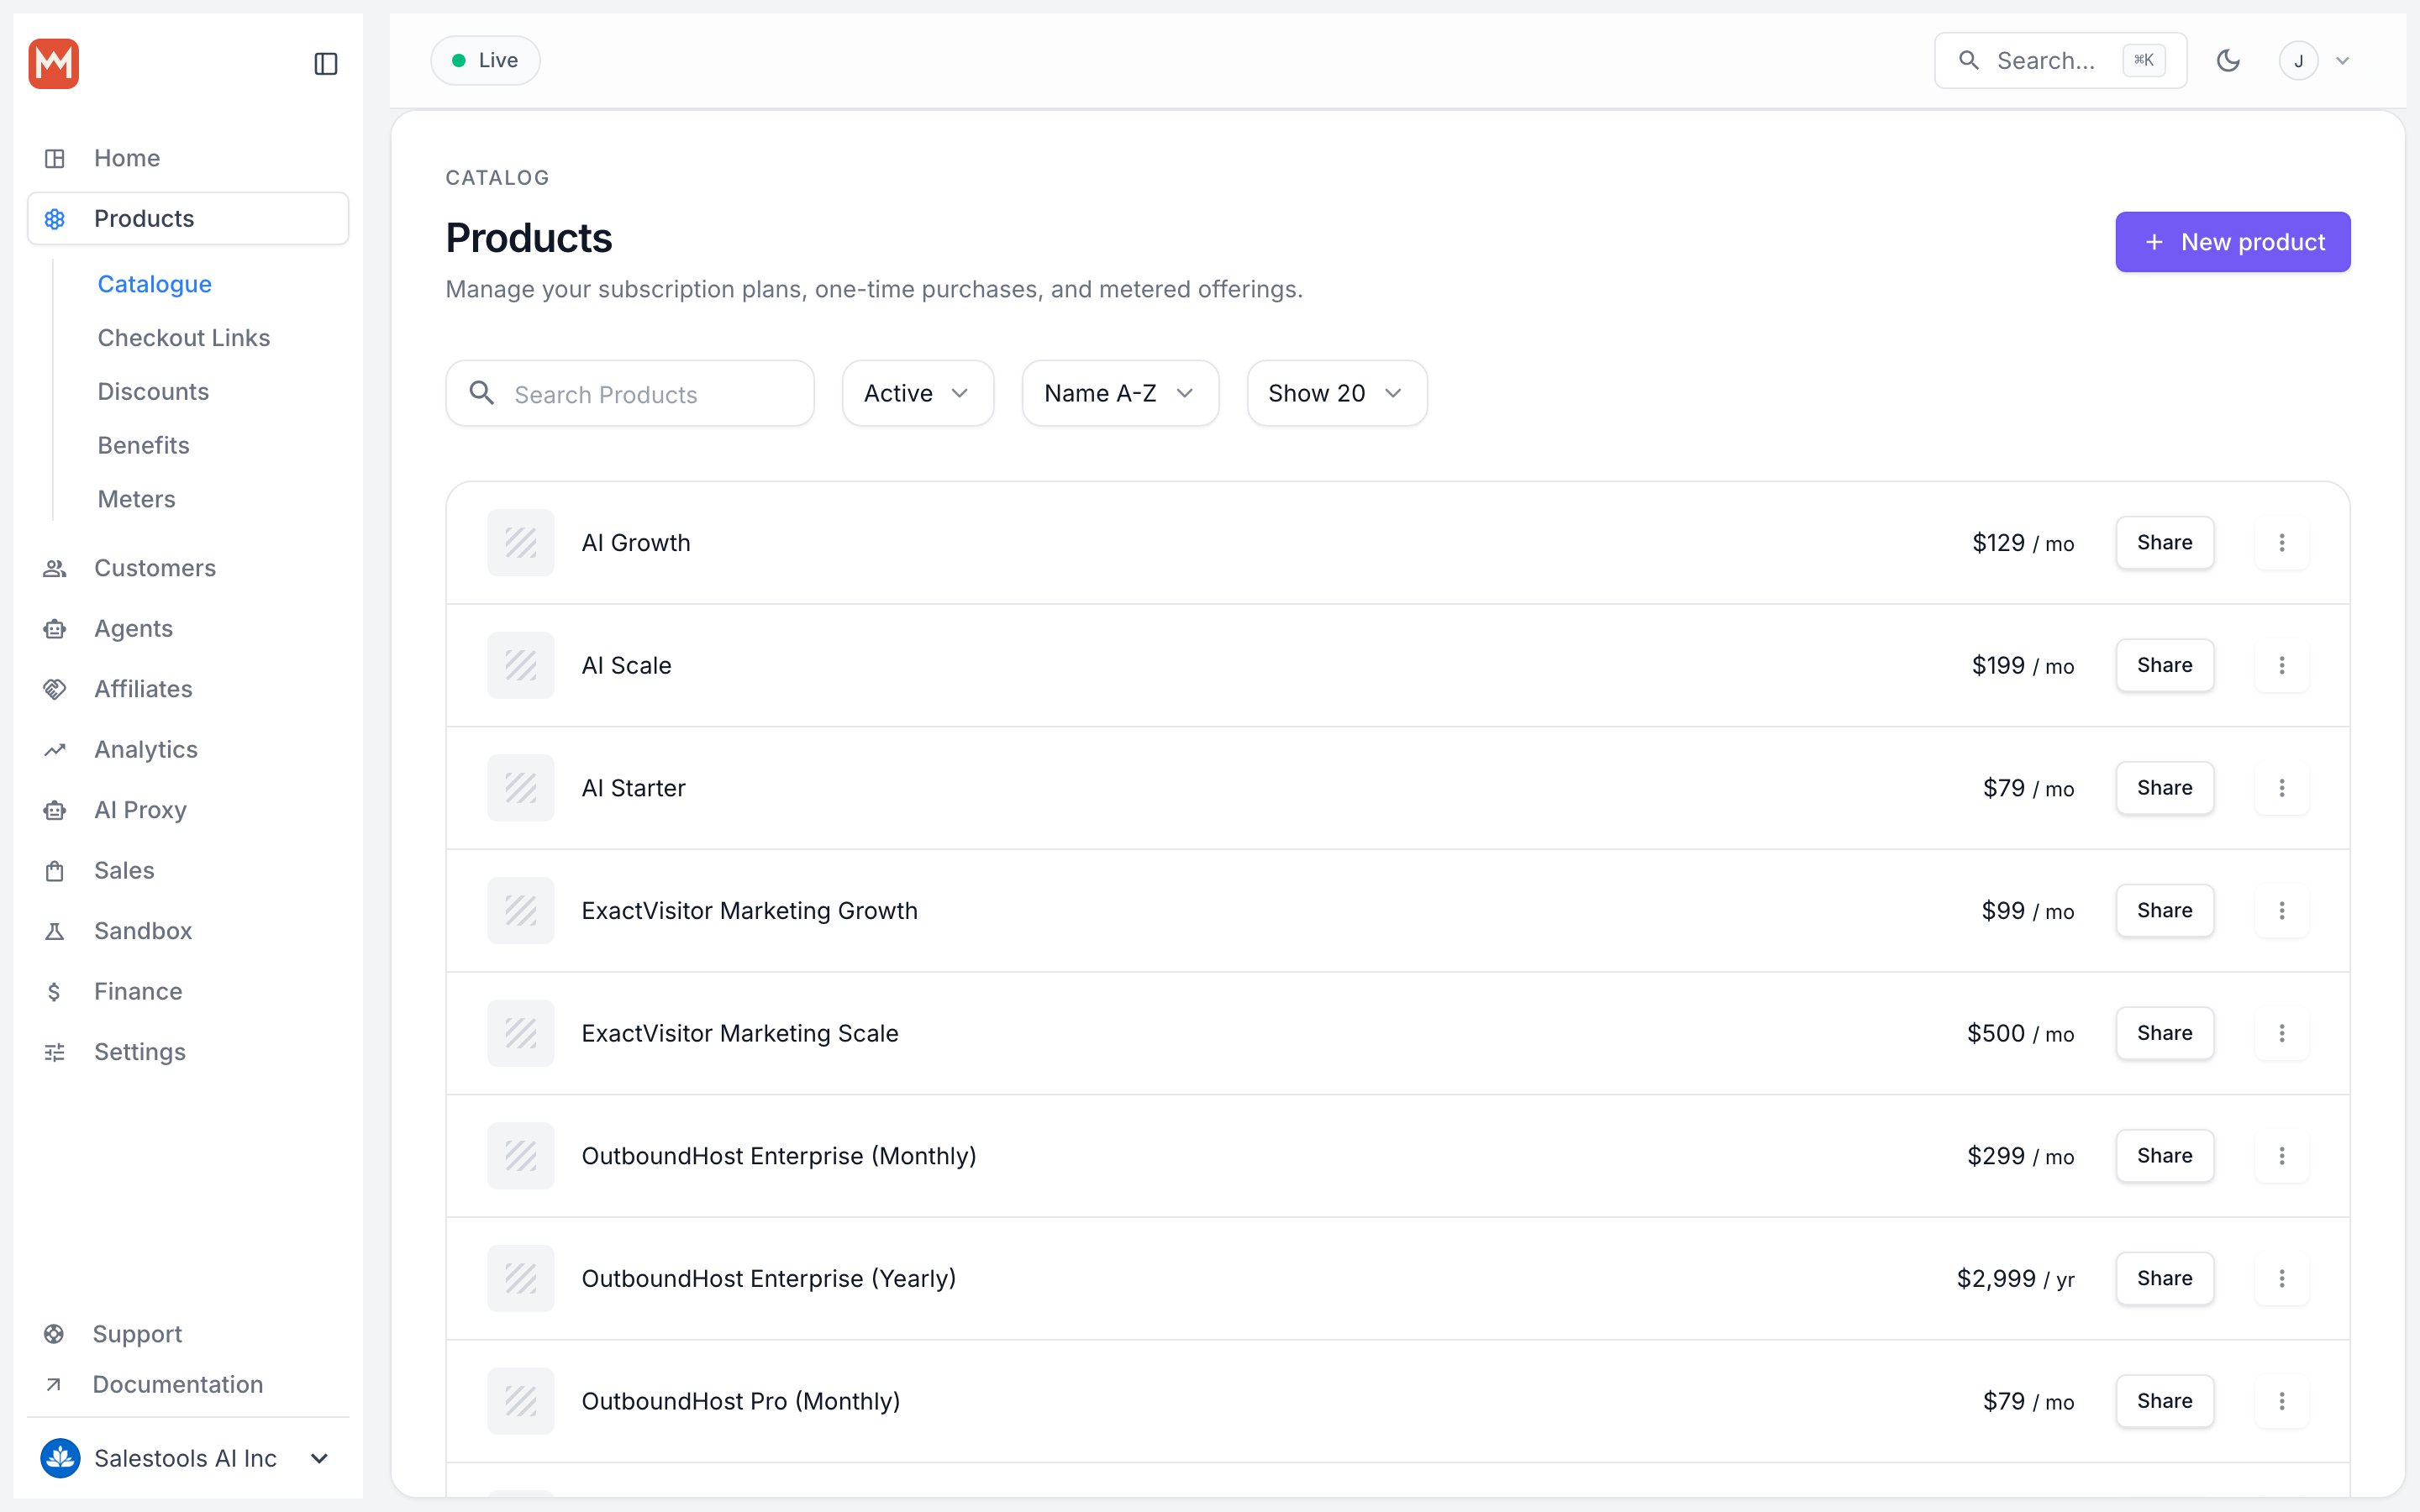
Open your Products catalogue
From the Macropay dashboard sidebar, go to Products > Catalogue for your organization, or jump straight there:
https://macropay.ai/dashboard/${org_slug}/products2
Create the first tier
Click New Product and fill in the details. We’ll start with the entry tier: a monthly subscription named Starter priced at $15.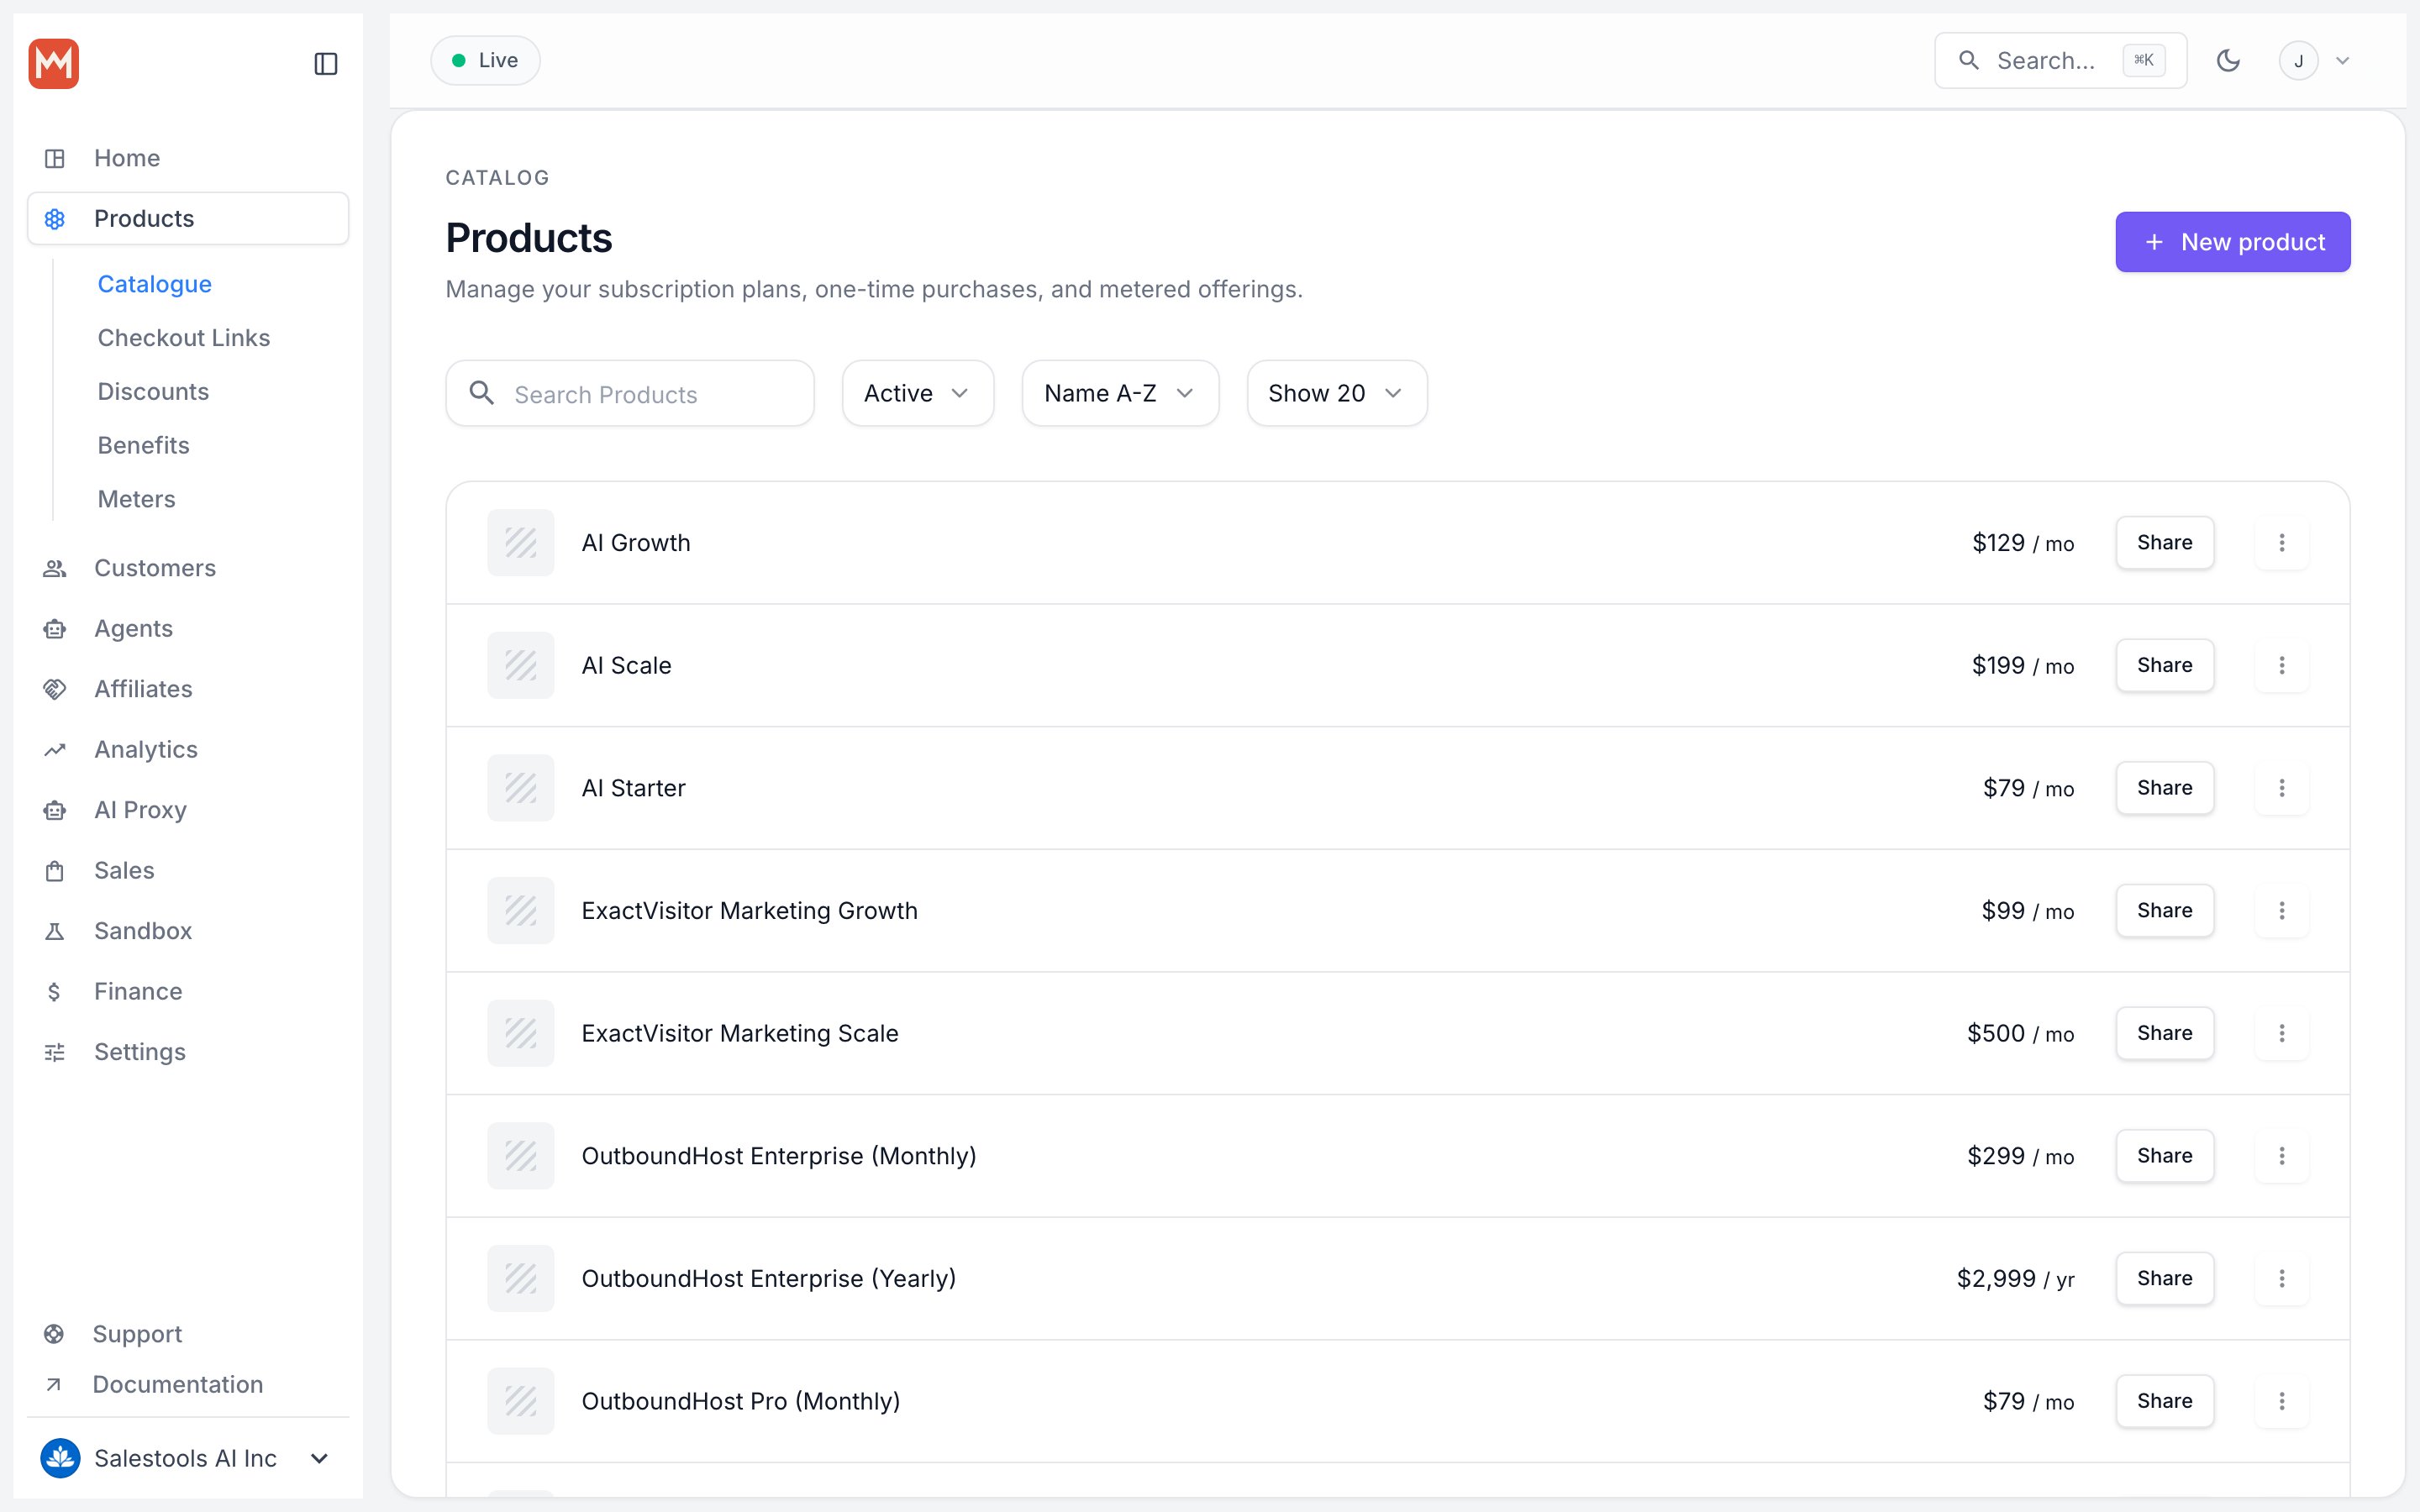
3
Add the remaining tiers
Repeat New Product for the next two rungs of the ladder: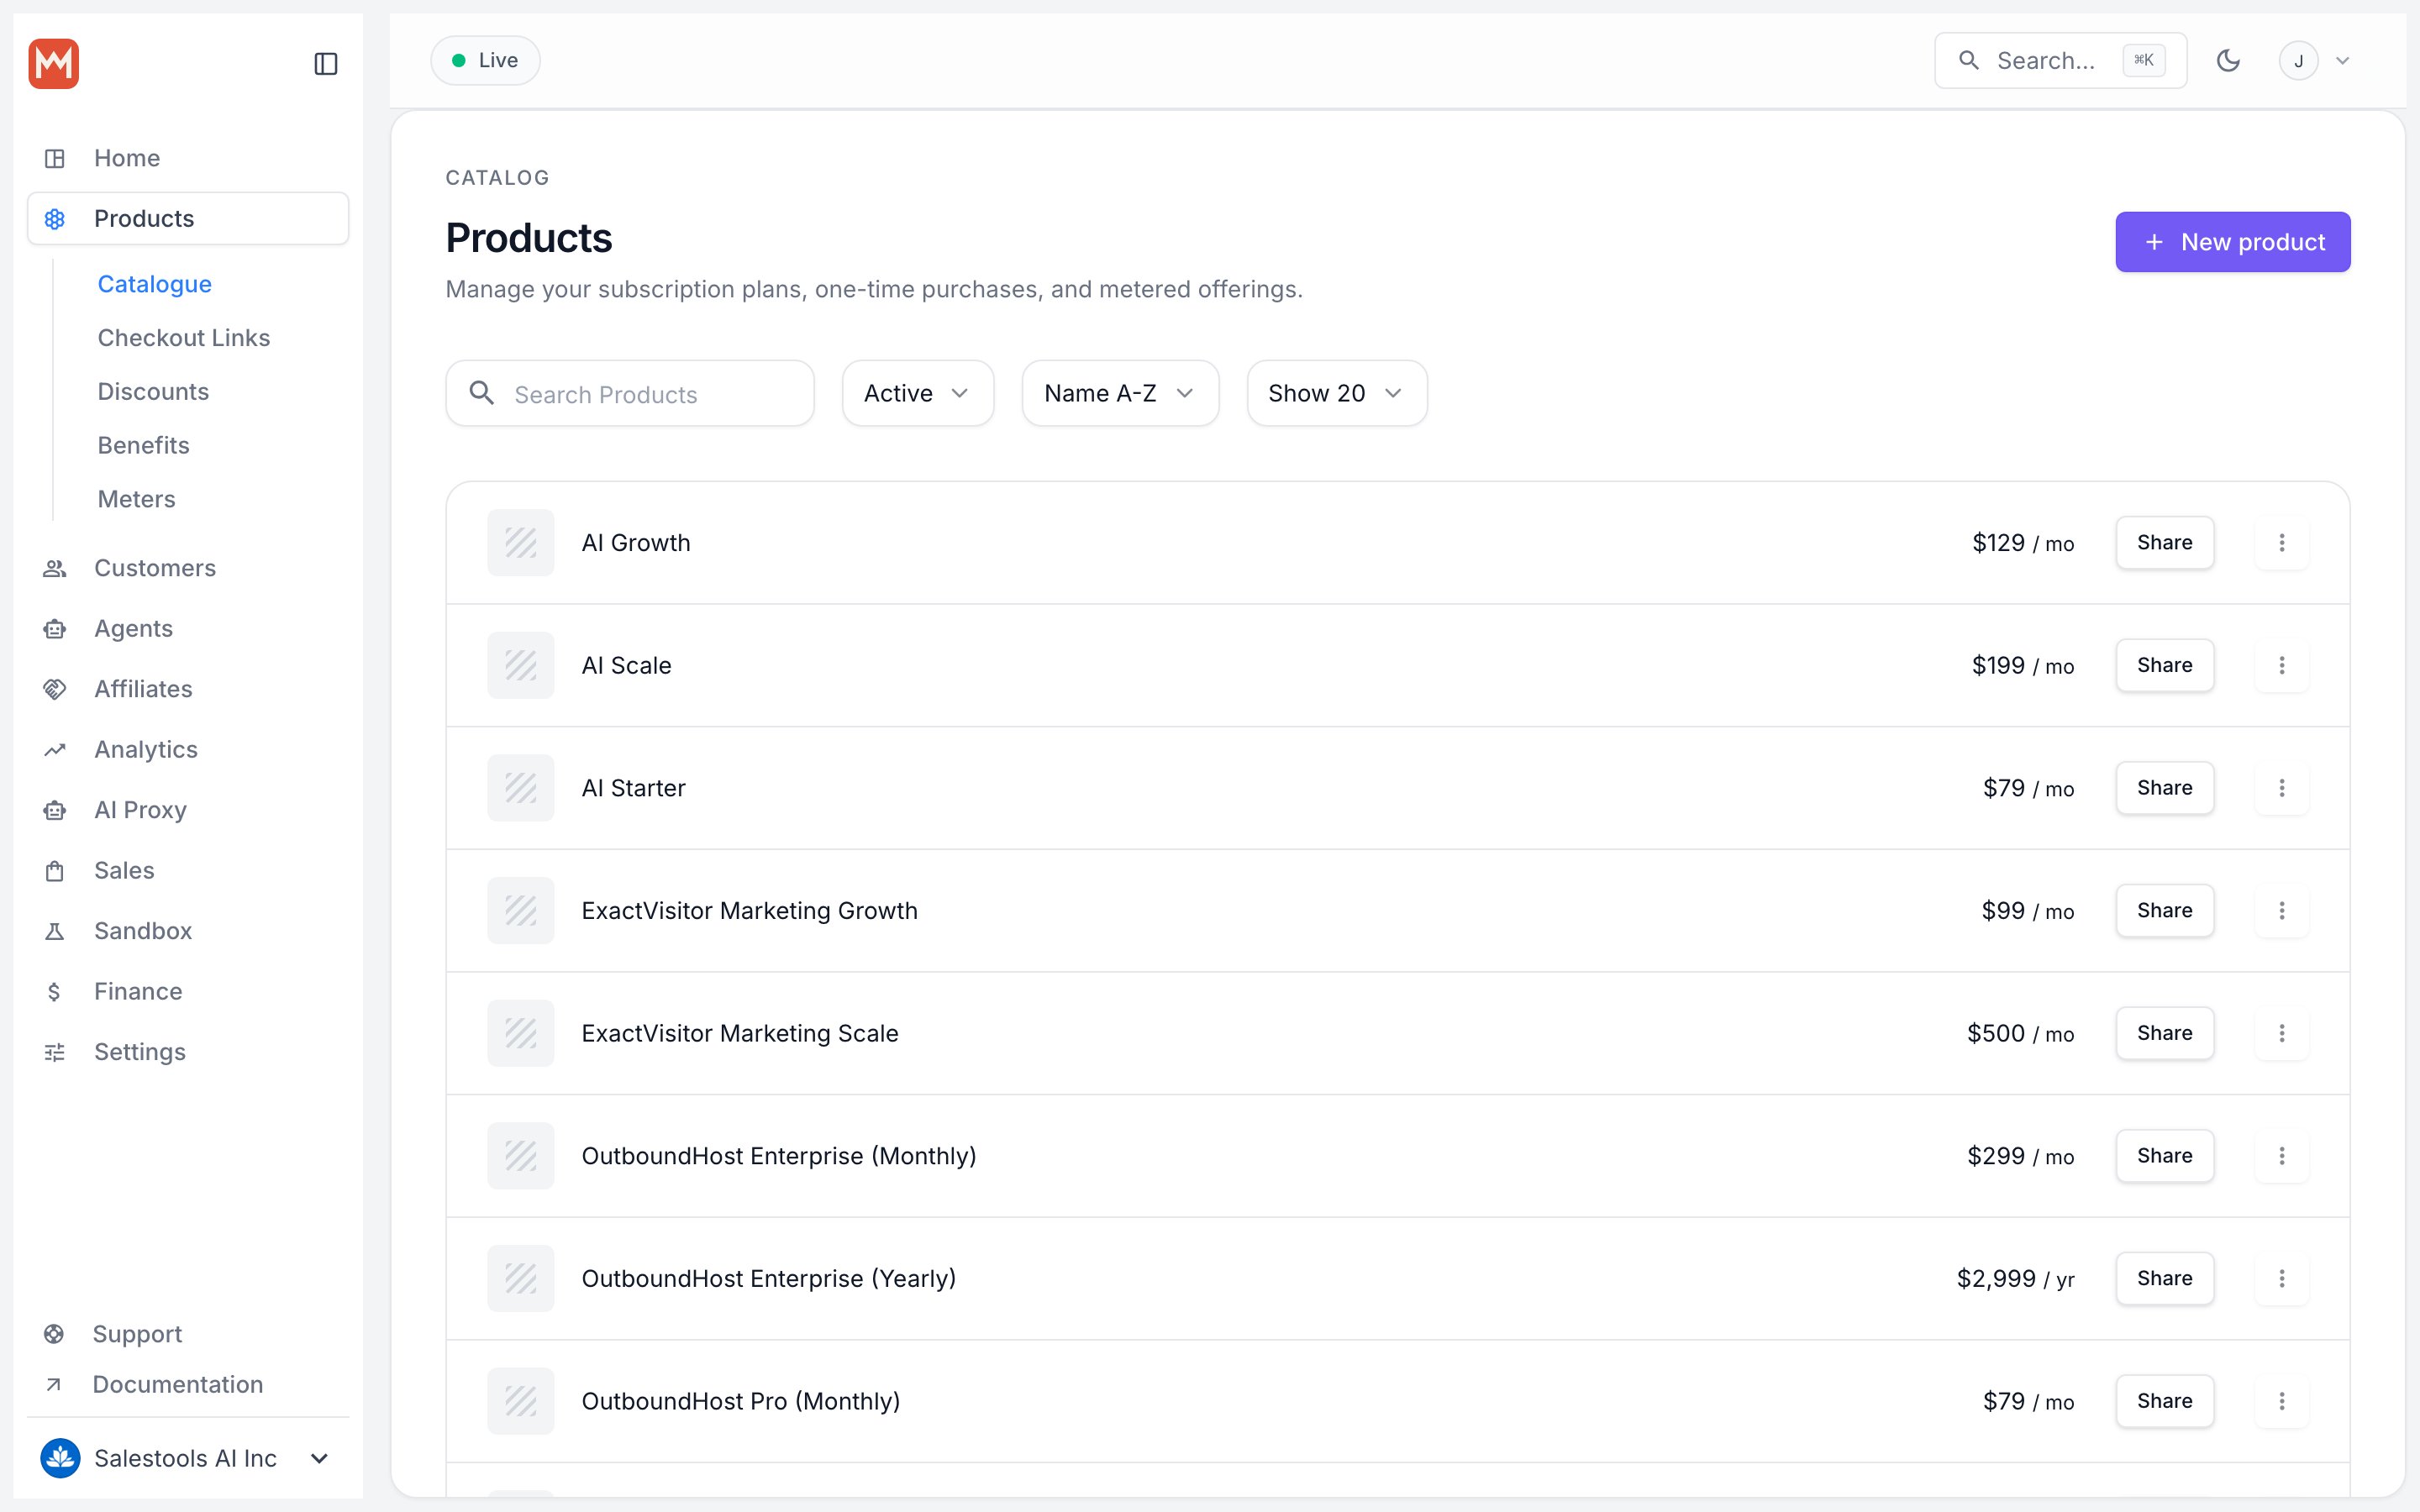
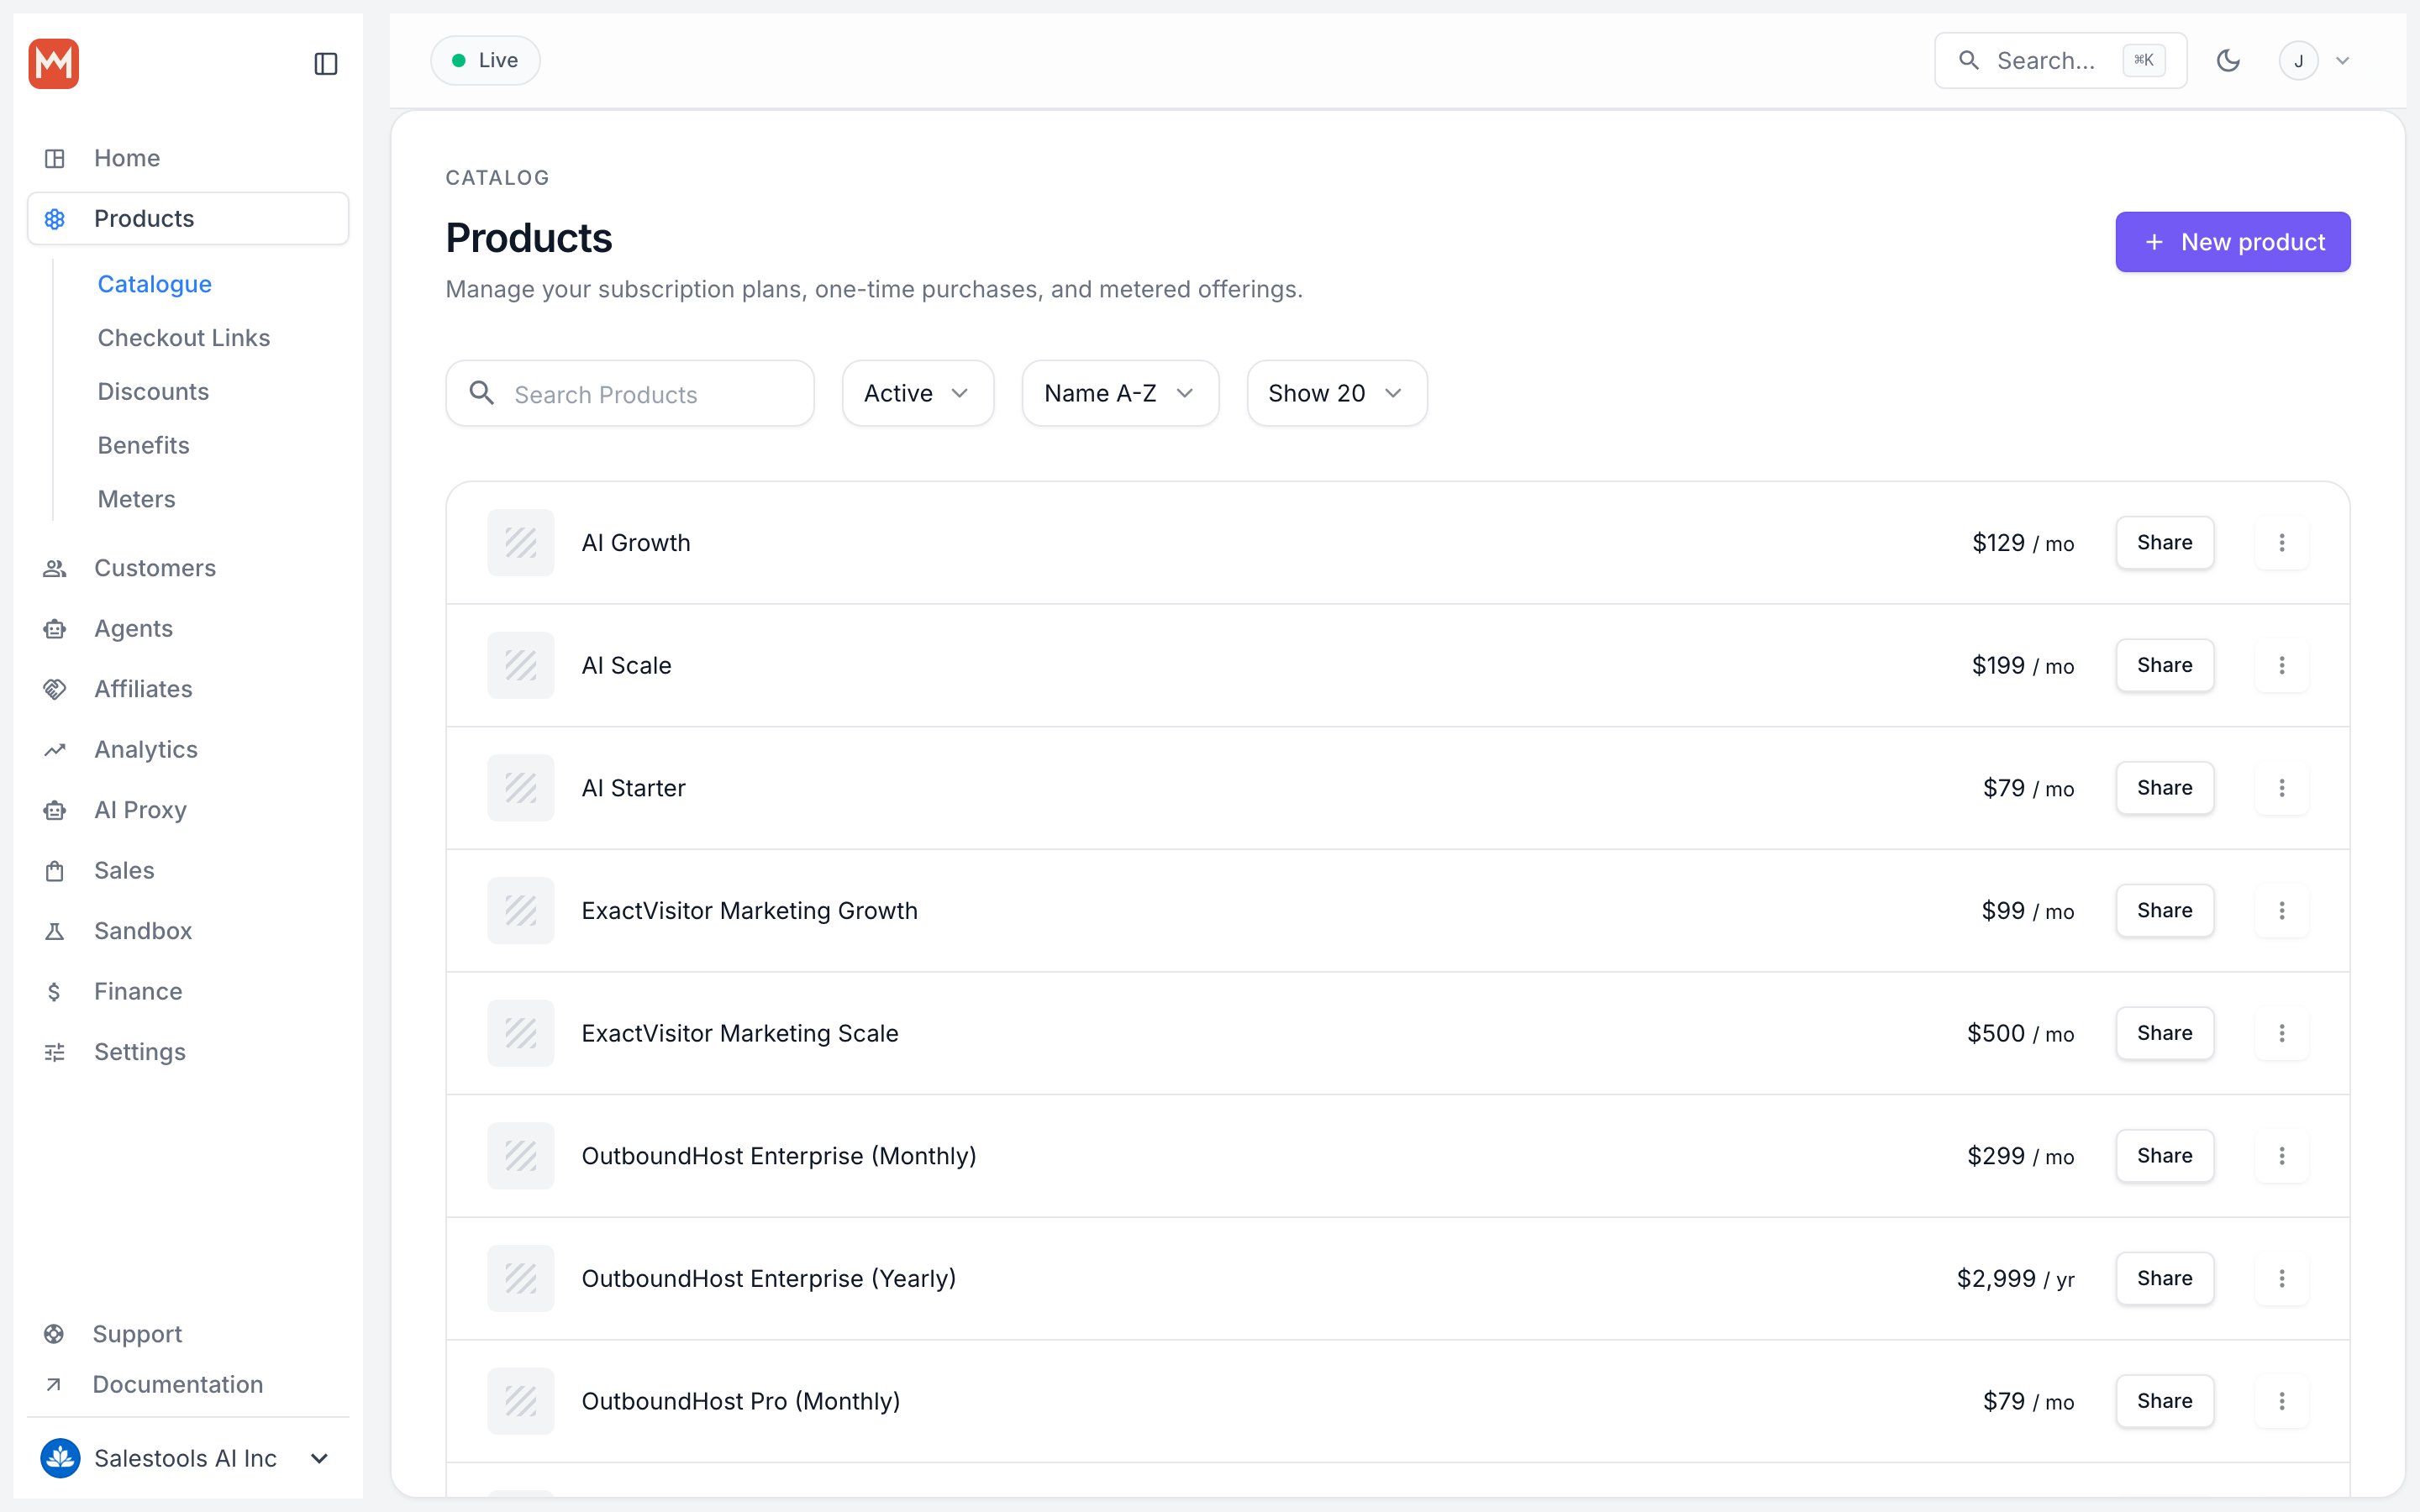
- Growth — a monthly subscription priced at $35.
- Scale — a monthly subscription priced at $75.
Step 2 — Group the tiers behind one checkout link
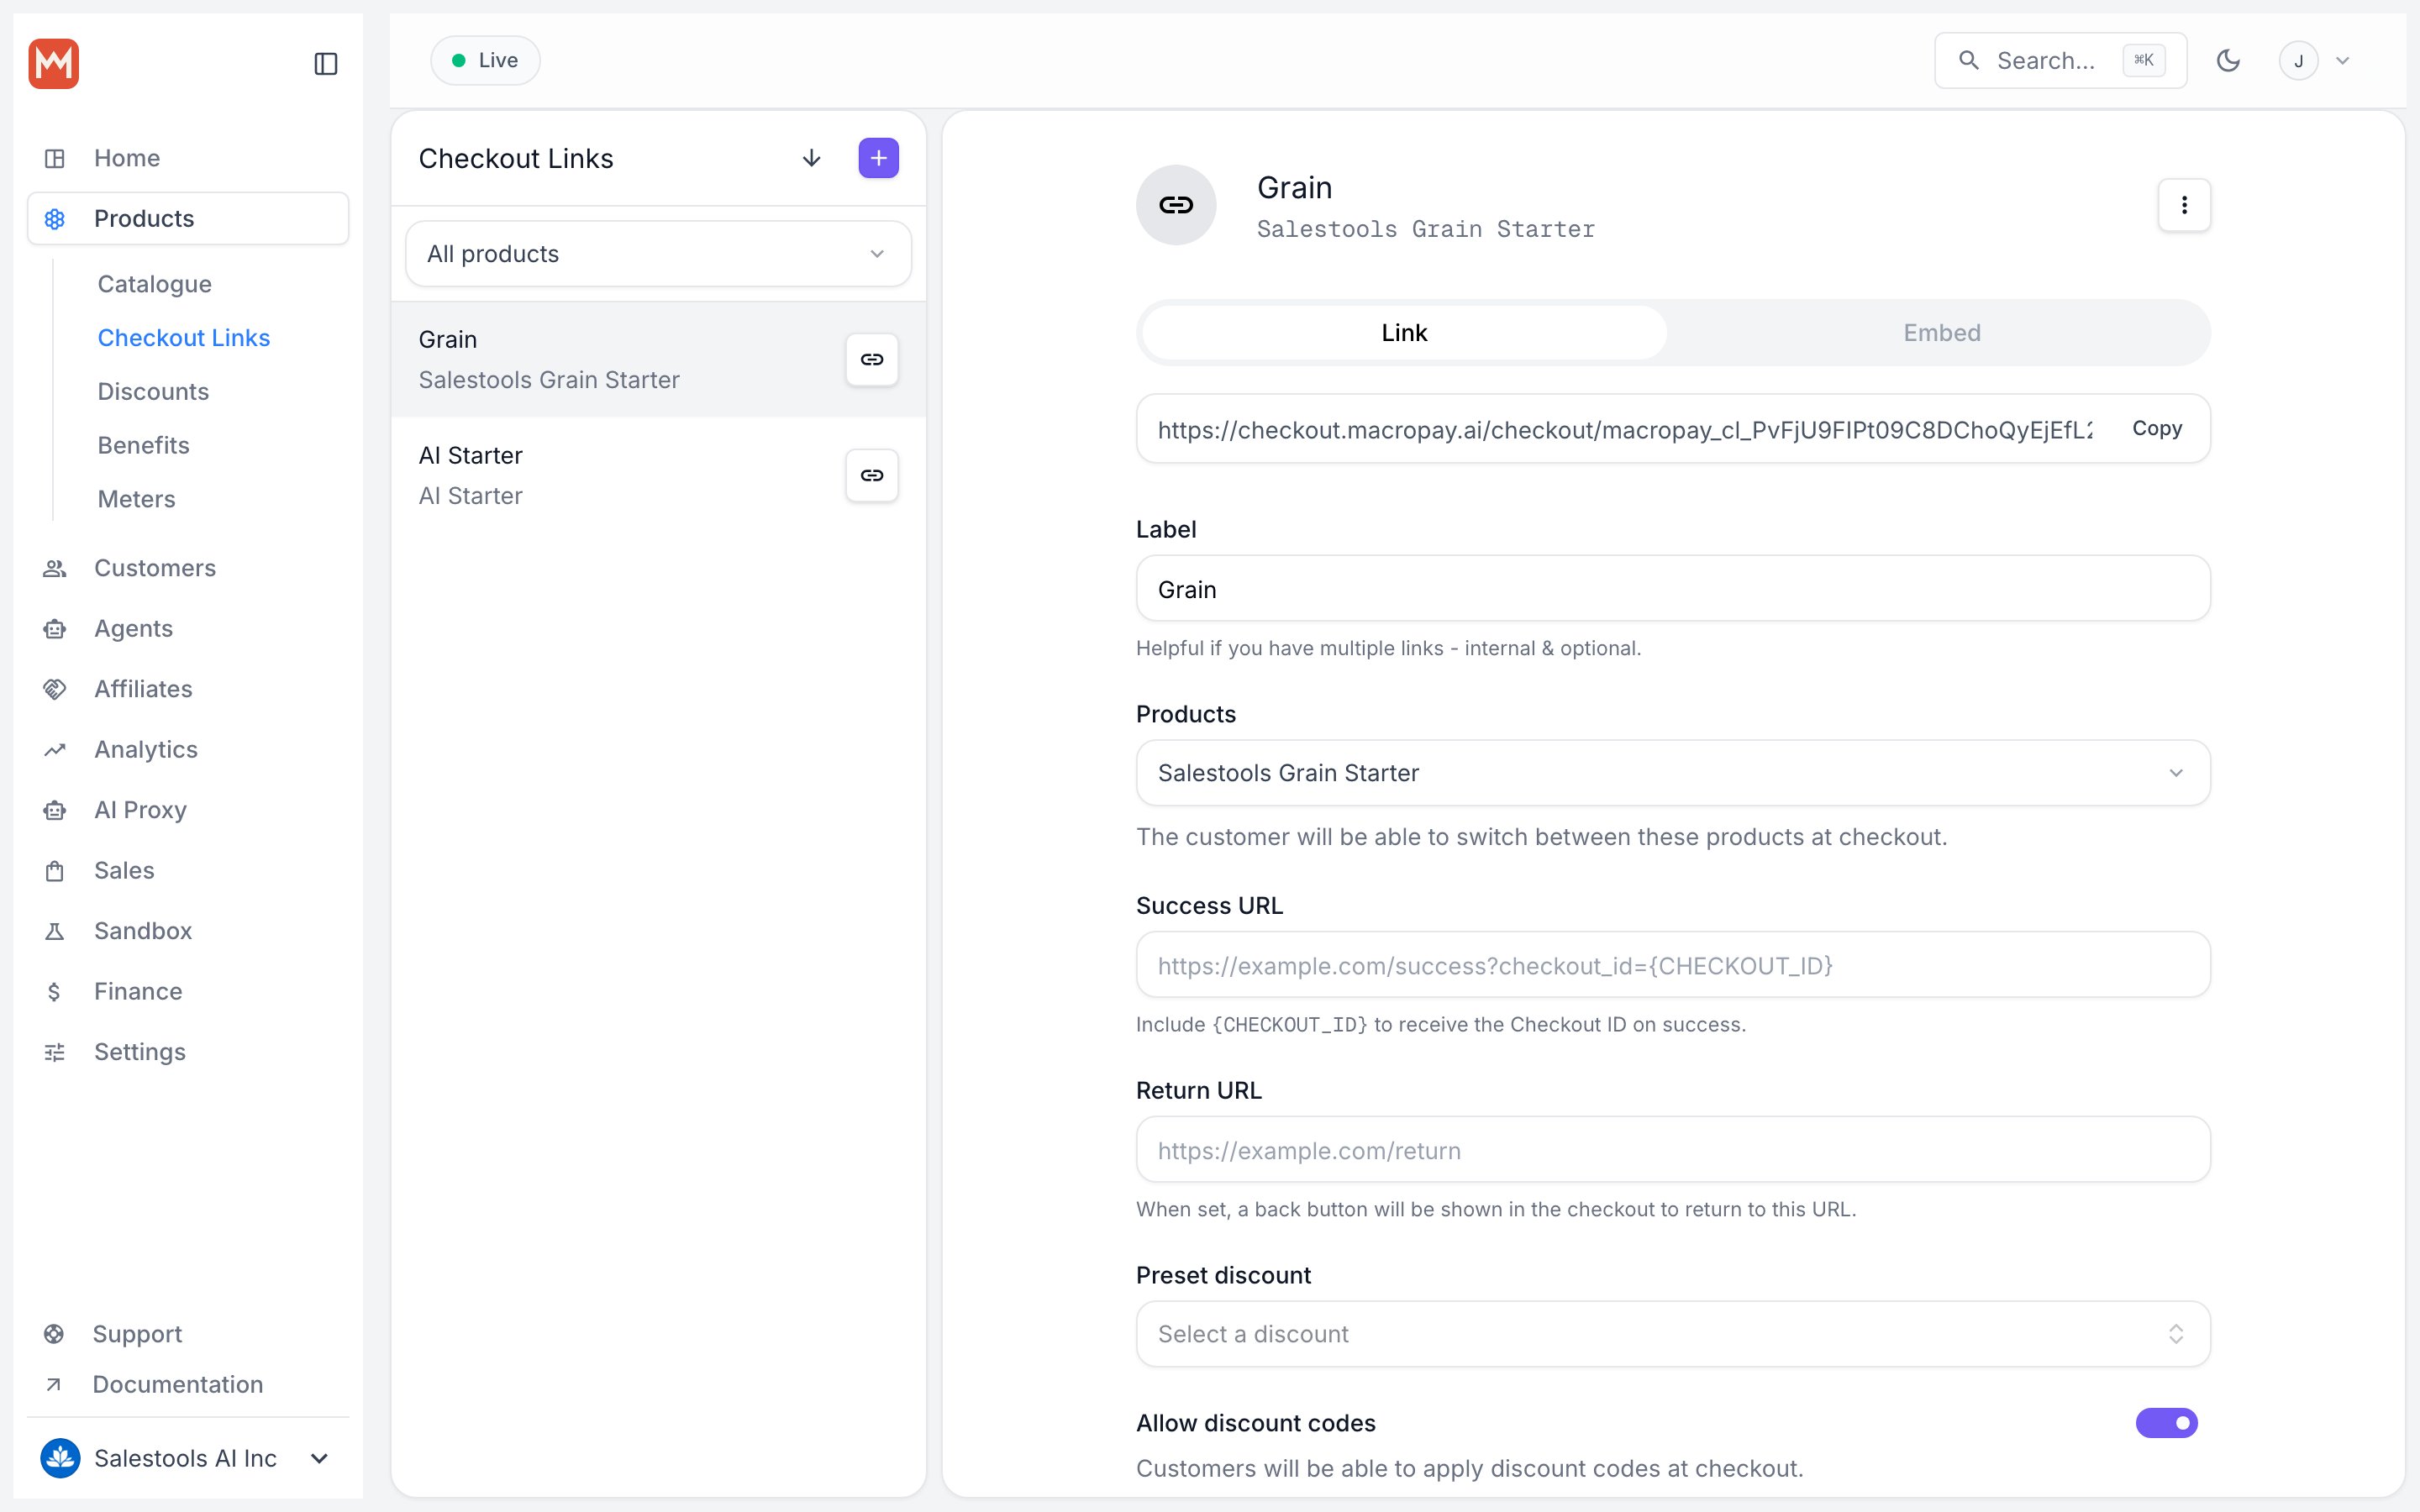
A single checkout link can present every tier at once, letting the customer choose their entry point on the same page.1
Open Checkout Links
In the sidebar, go to Products > Checkout Links, or navigate directly:
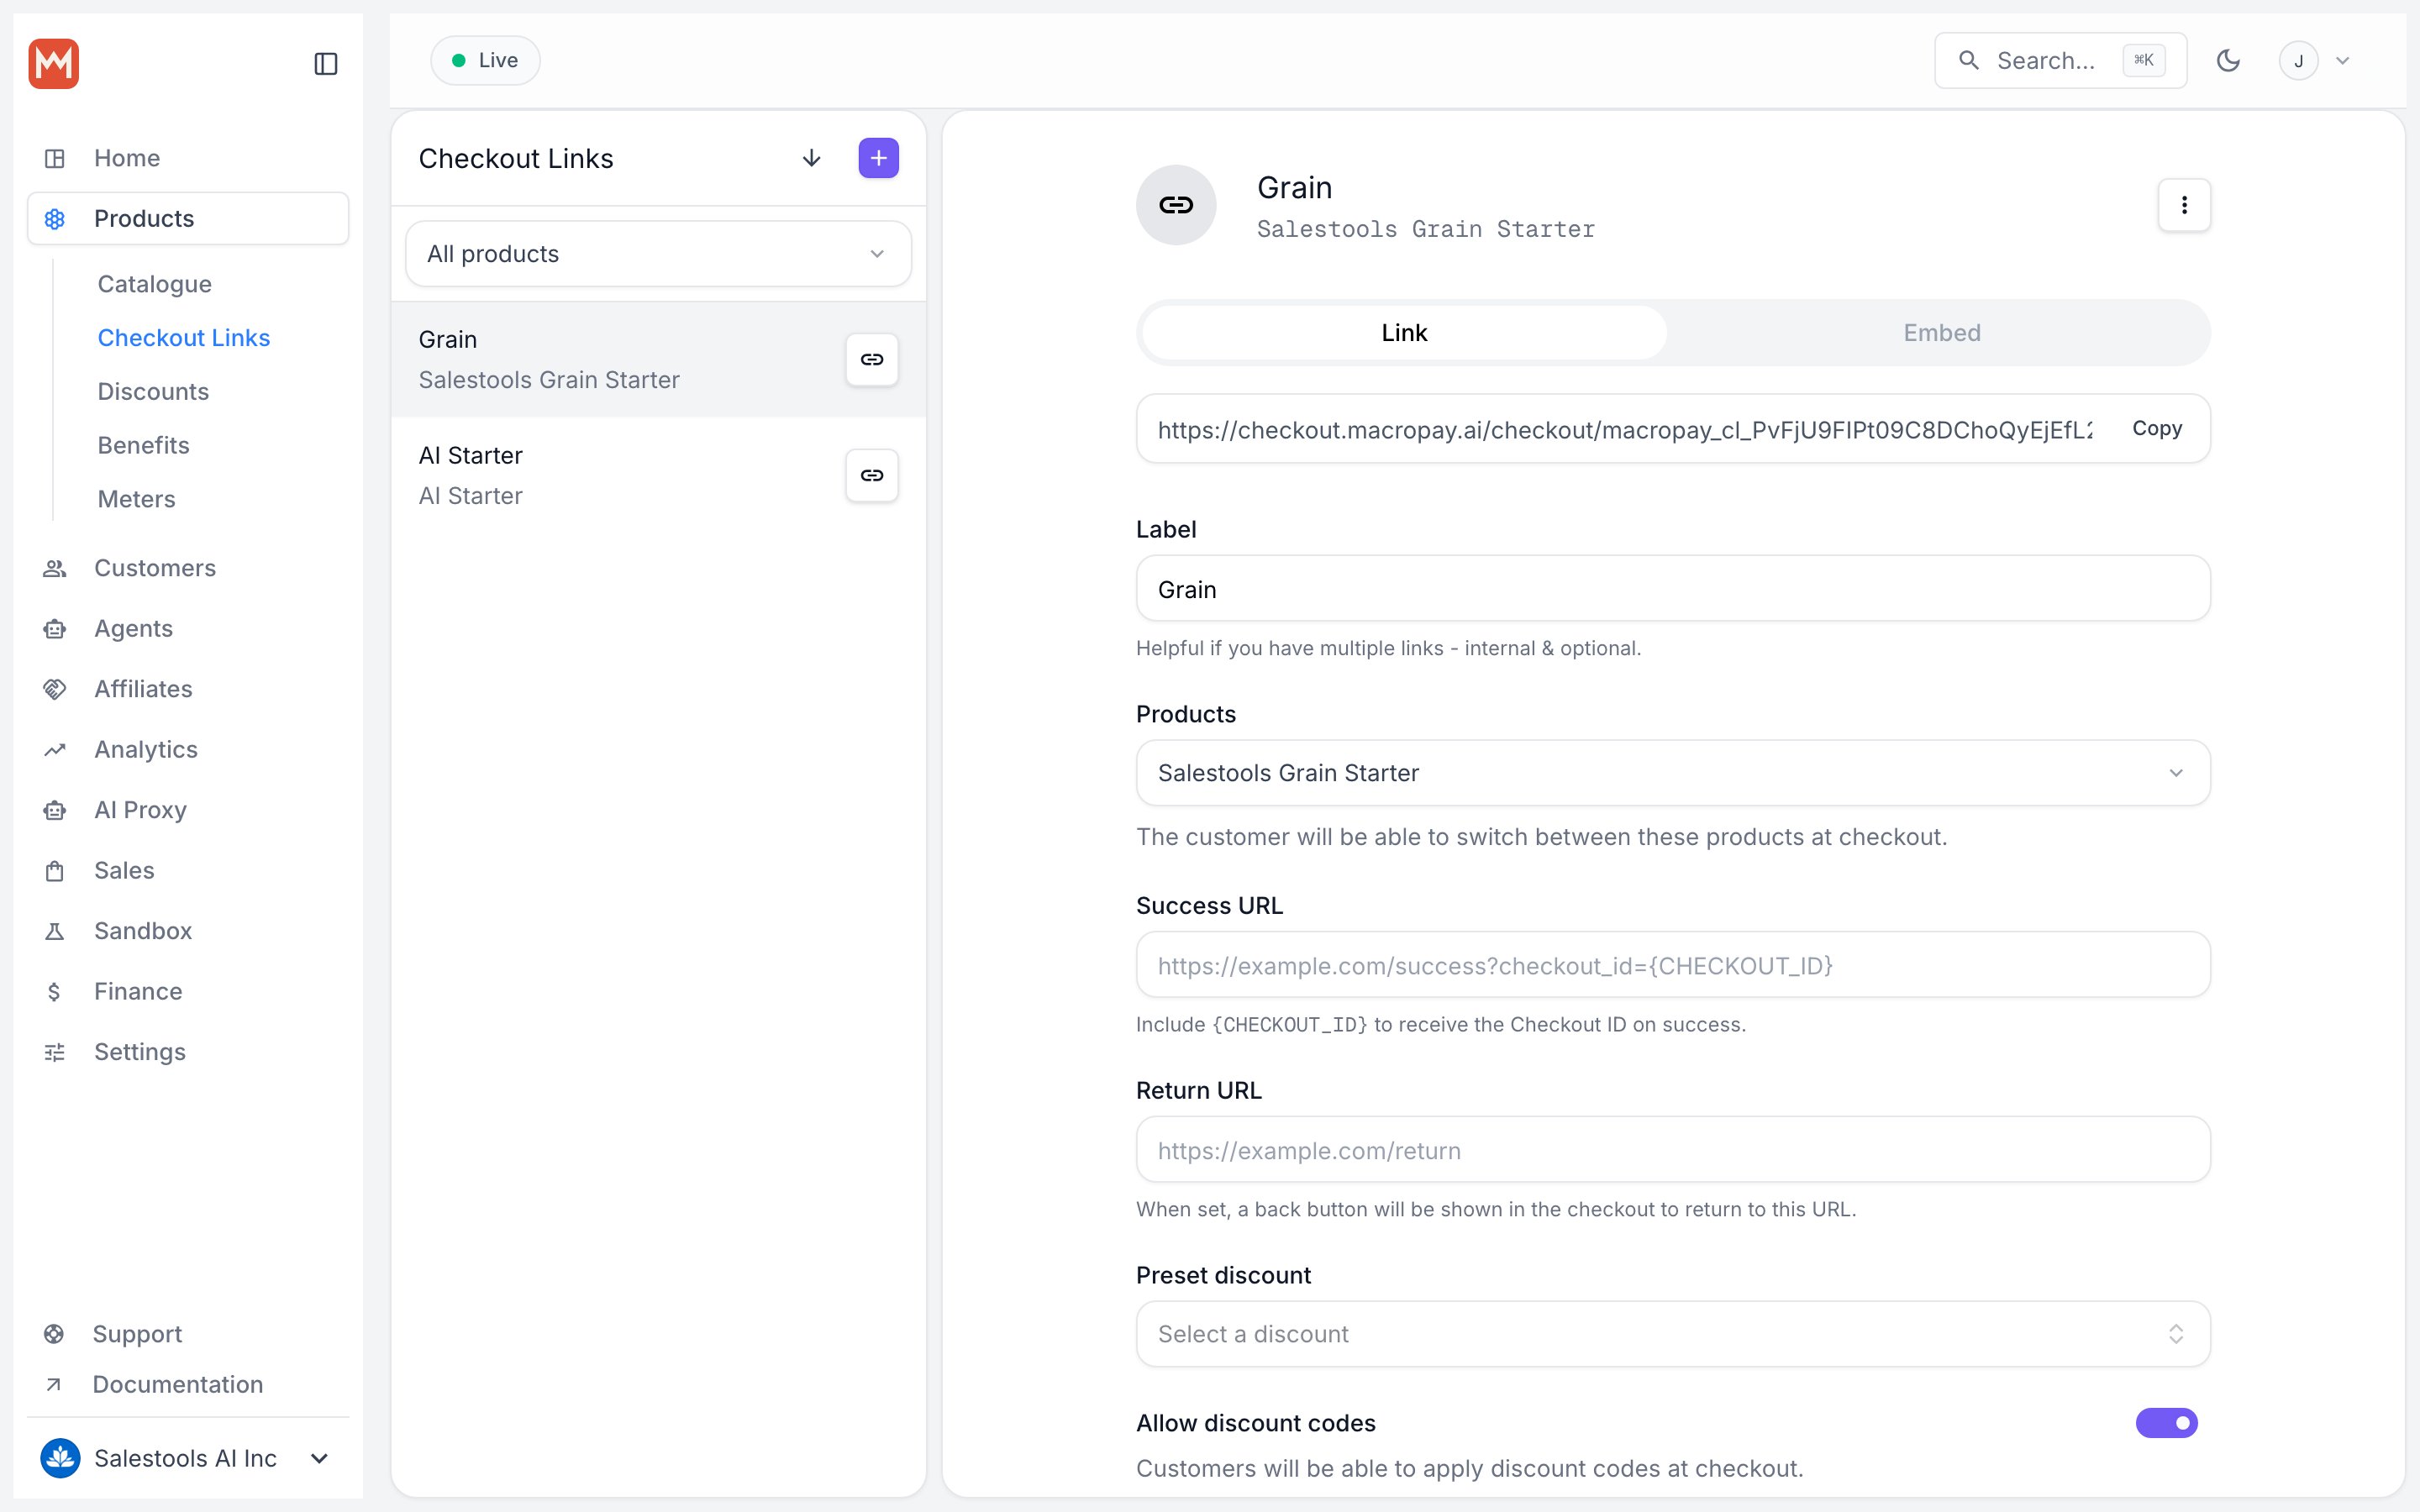
https://macropay.ai/dashboard/${org_slug}/products/checkout-links2
Bundle the tiers into a link
Click New Link and select all three products you want offered as variants — Starter, Growth, and Scale.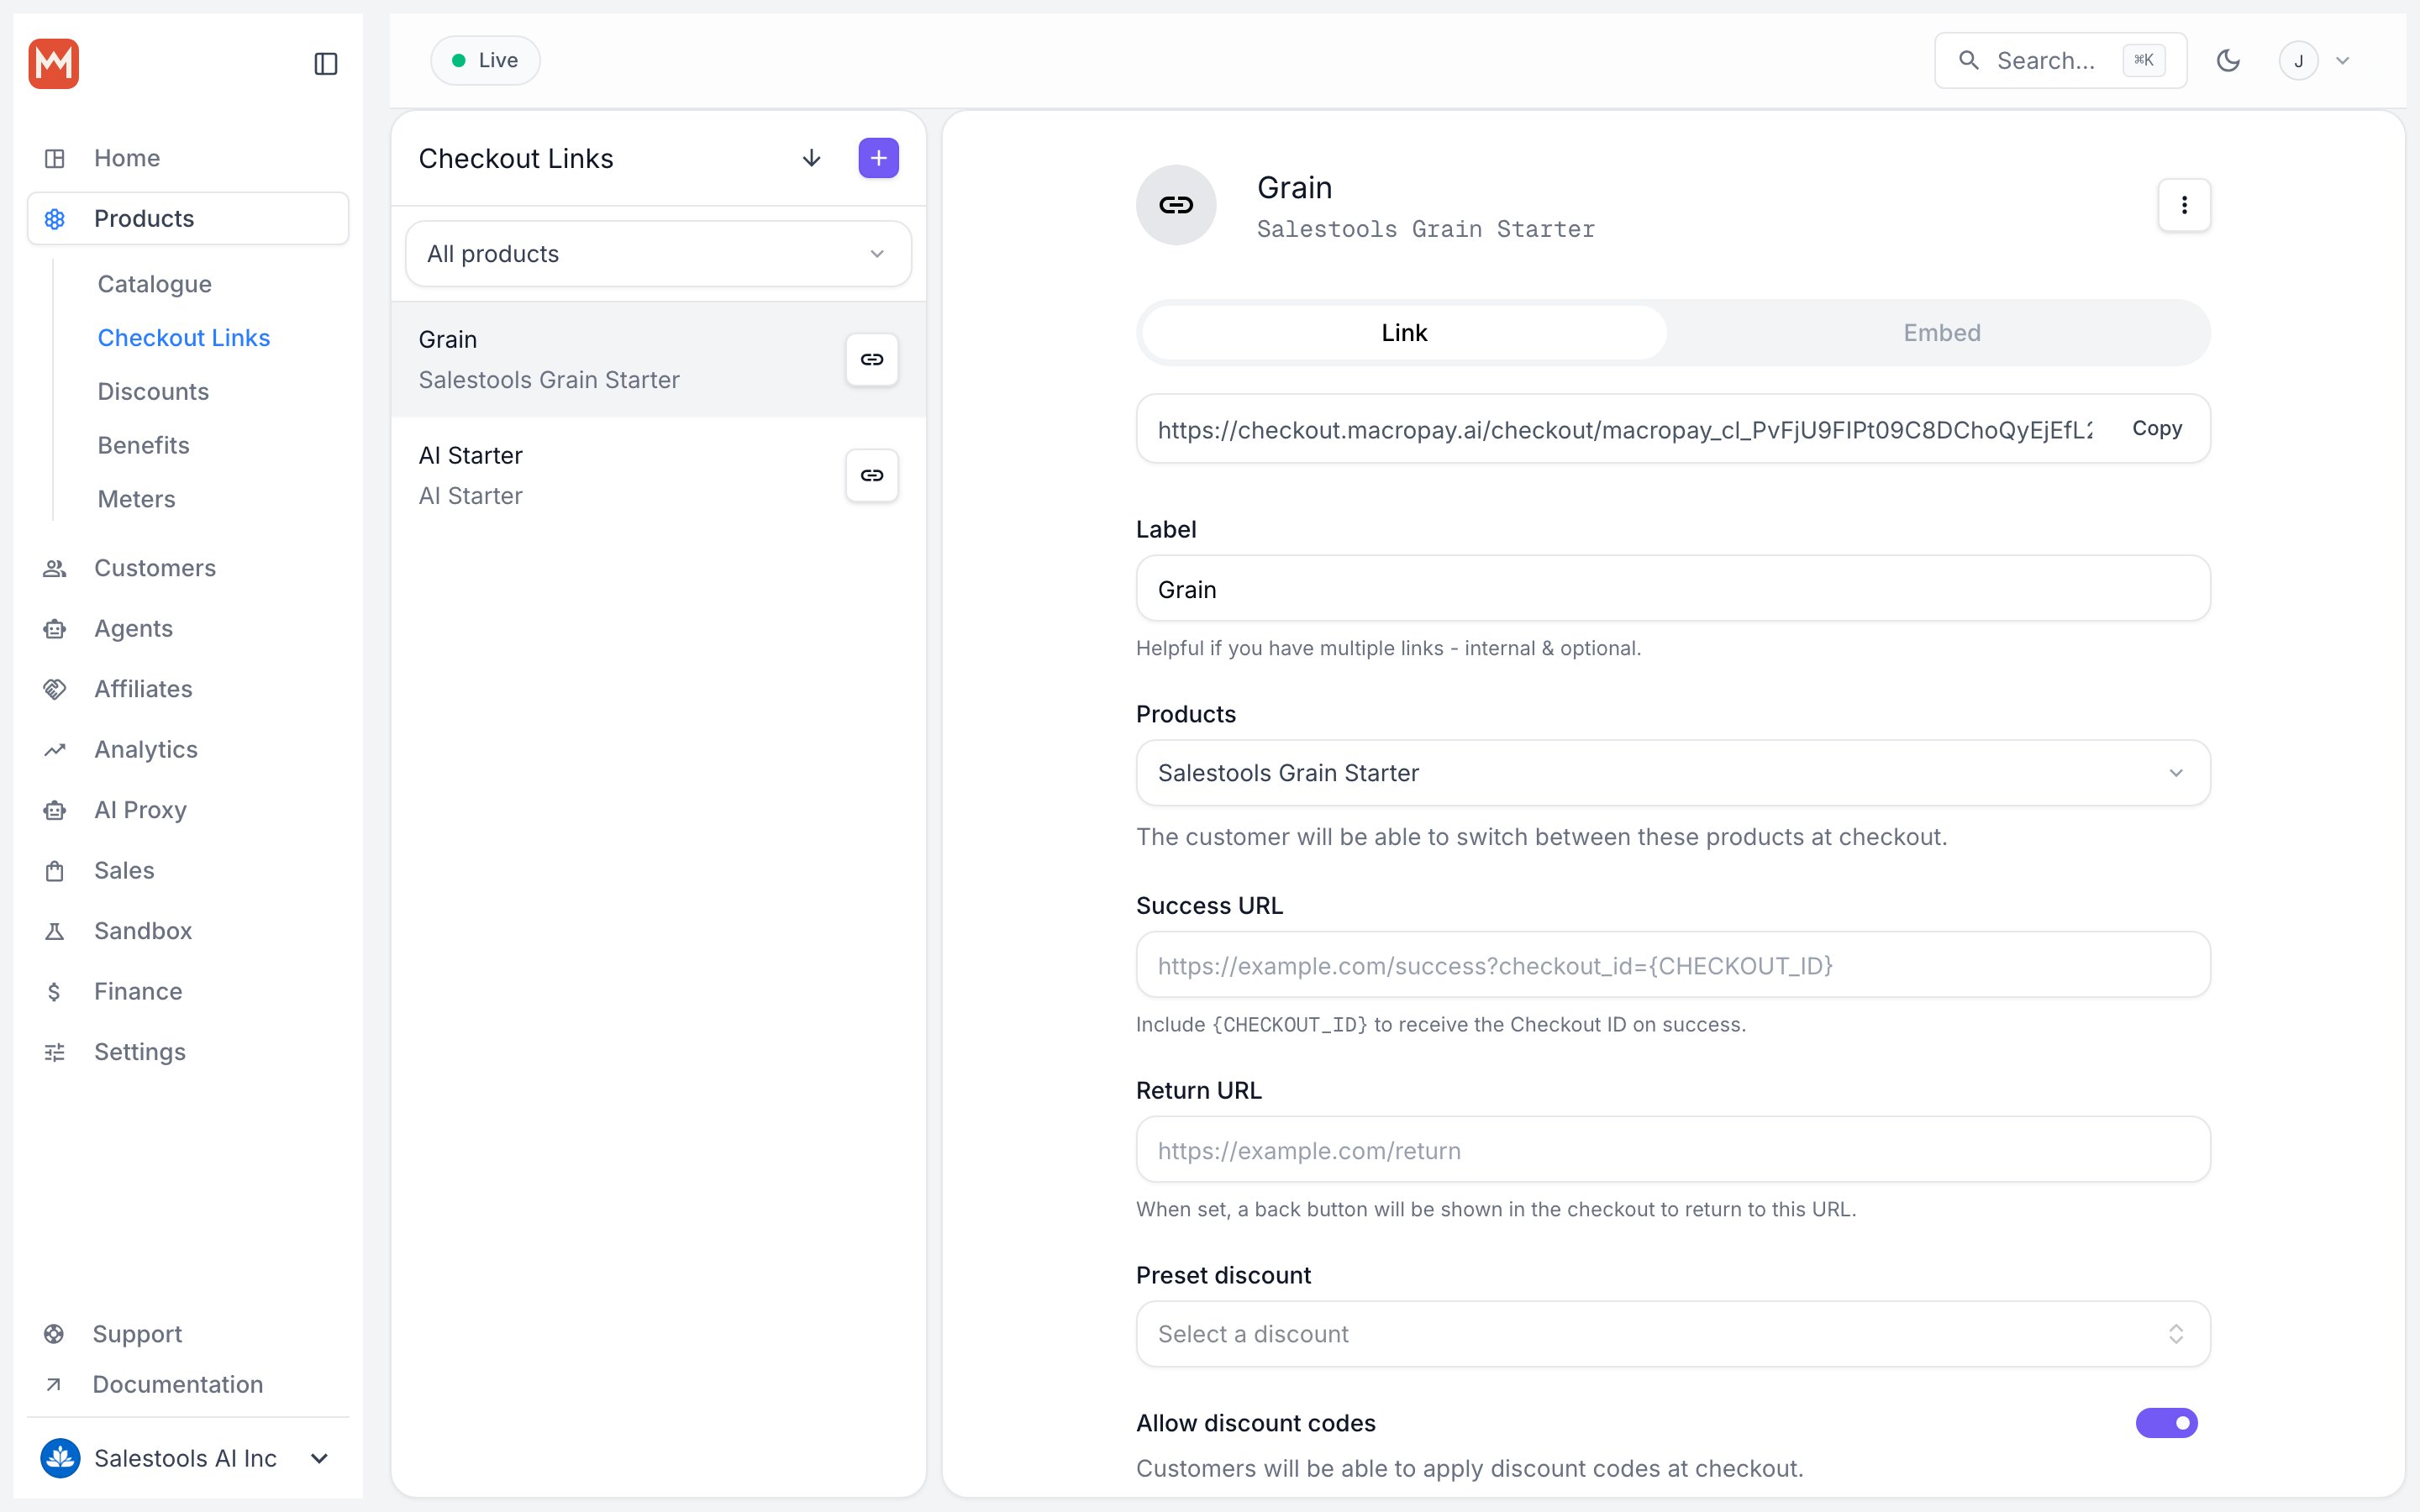
- a label for the link (internal name),
- a success URL to redirect to after purchase,
- custom metadata to carry through to orders and webhooks,
- whether discount codes are accepted,
- whether a billing address is required.
3
Grab the shareable URL
Your new link shows up under Checkout Links — here the system applied the default label 3 products.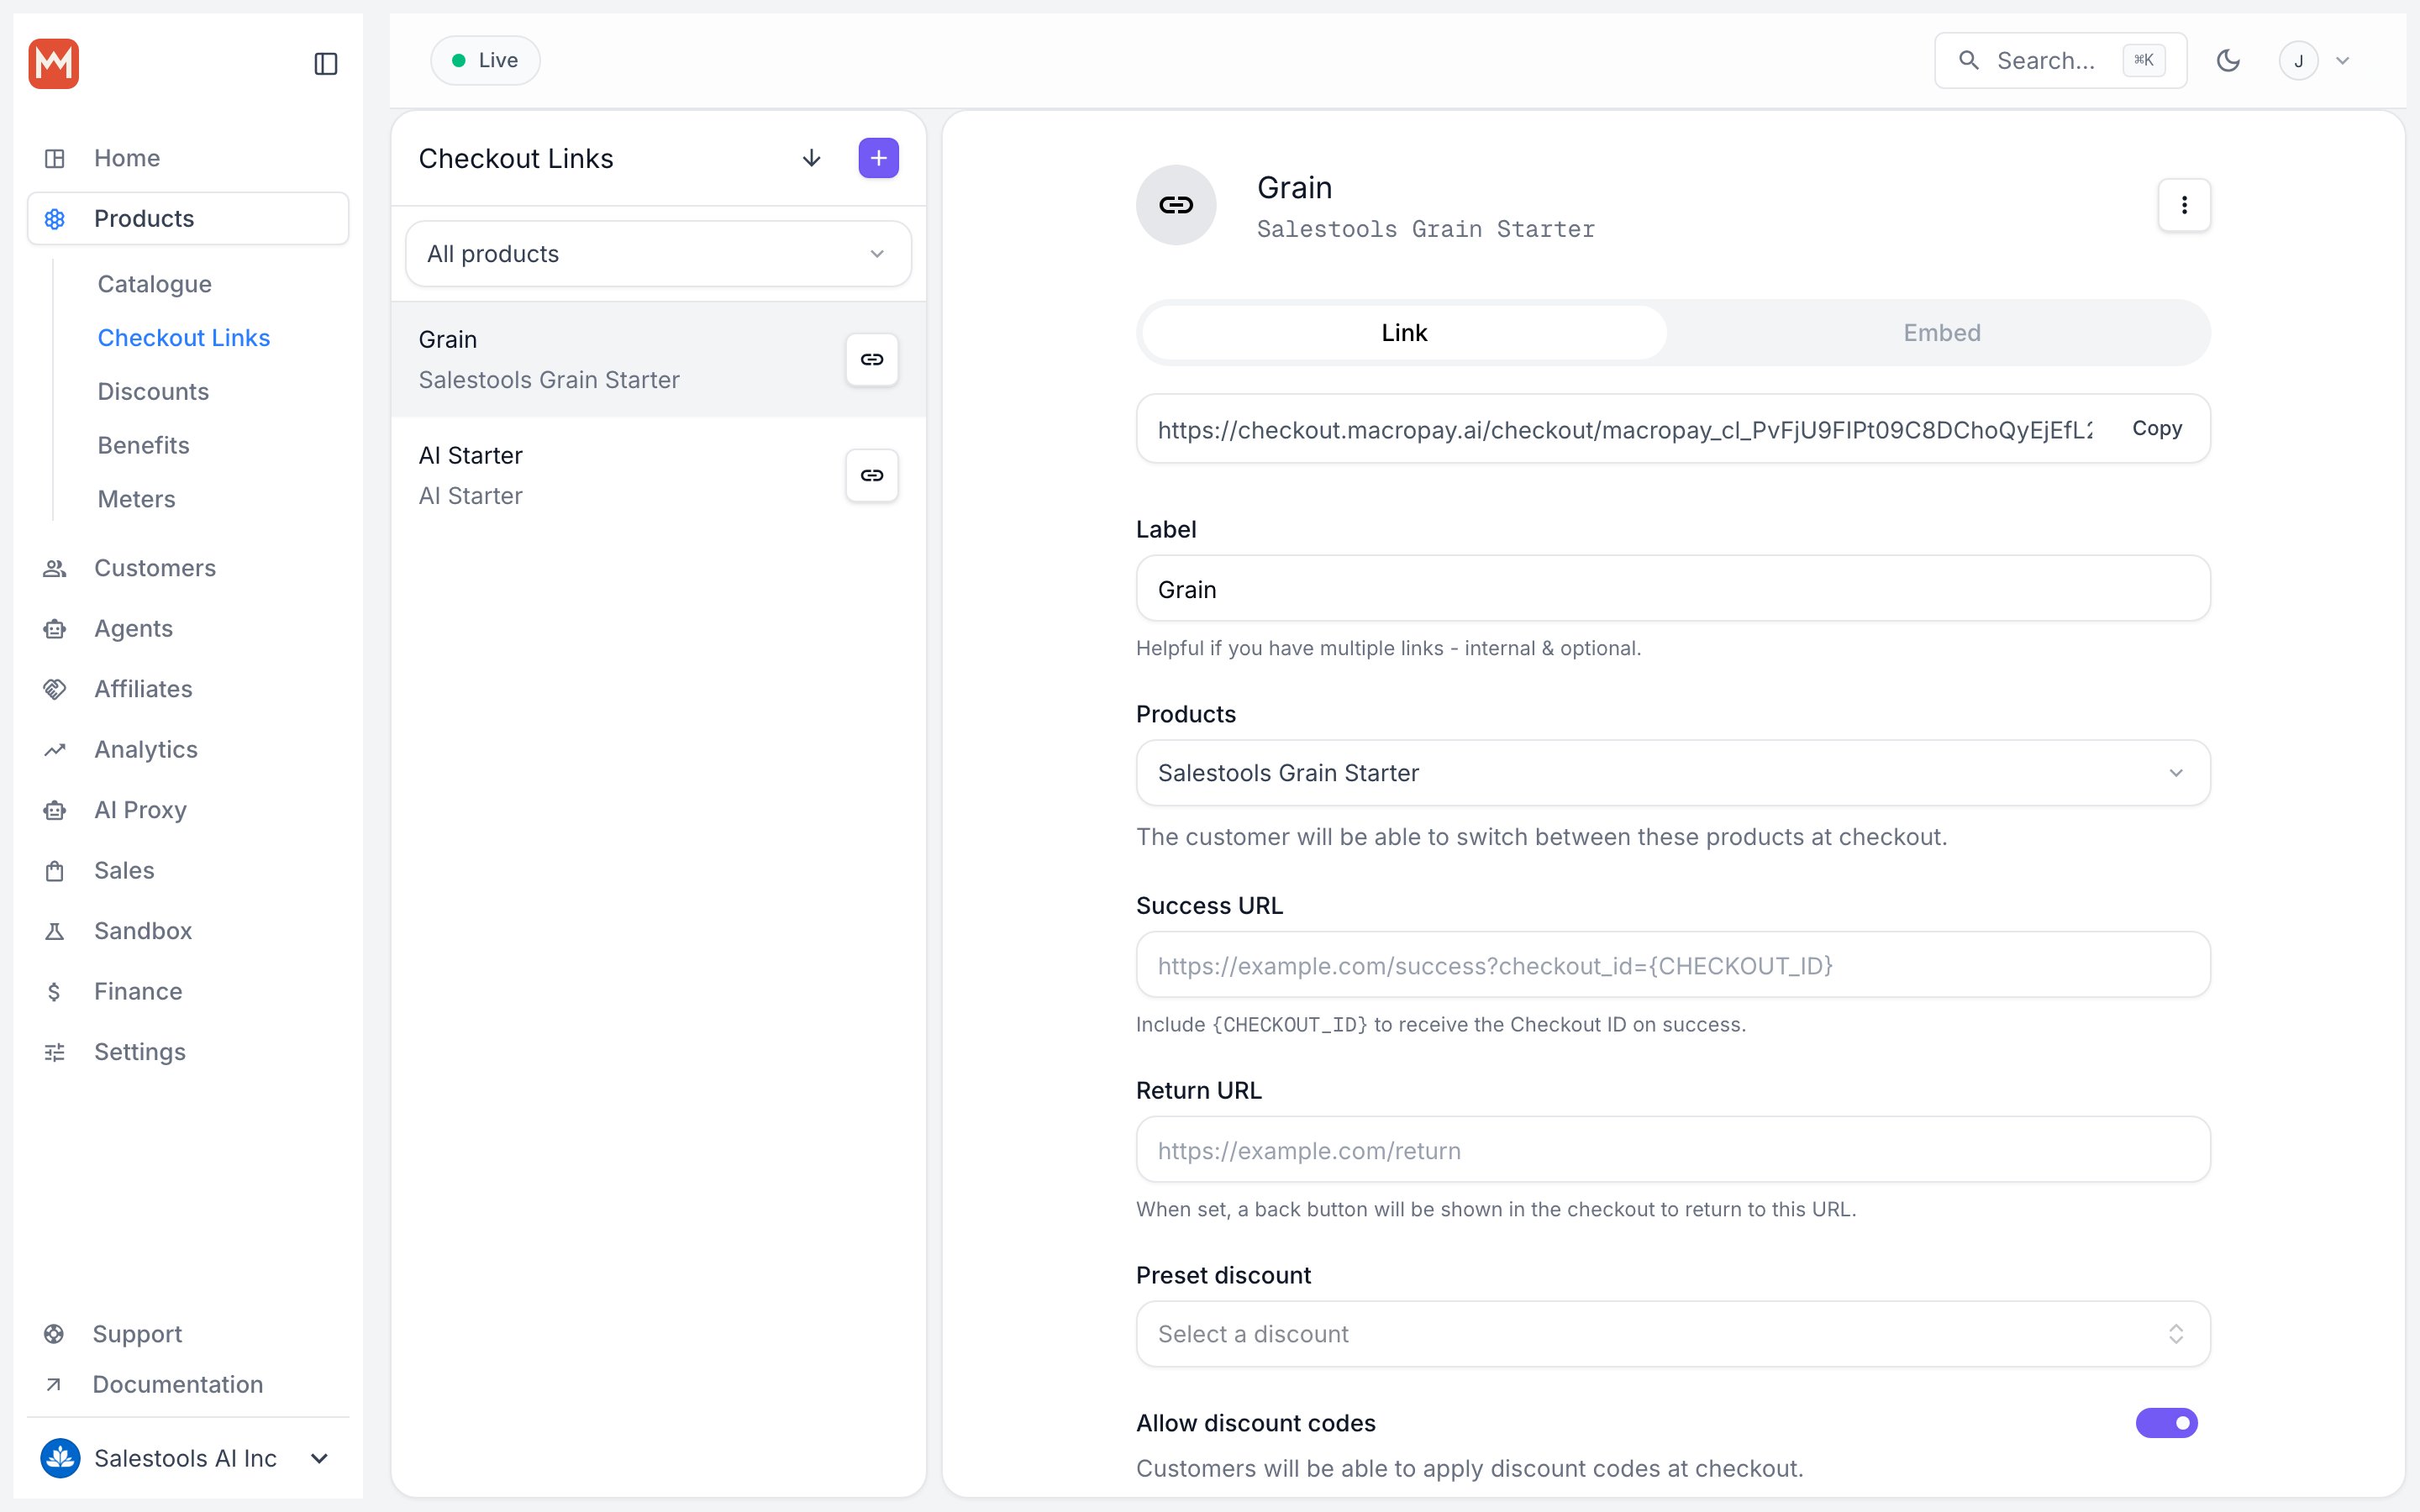
Step 3 — Customer picks a tier at checkout
1
Choose a tier and pay
On the hosted checkout, the customer selects their tier, enters their email, and pays. Card details are tokenized in our PCI DSS Level 1 compliant vault — neither you nor the page ever touches raw card data.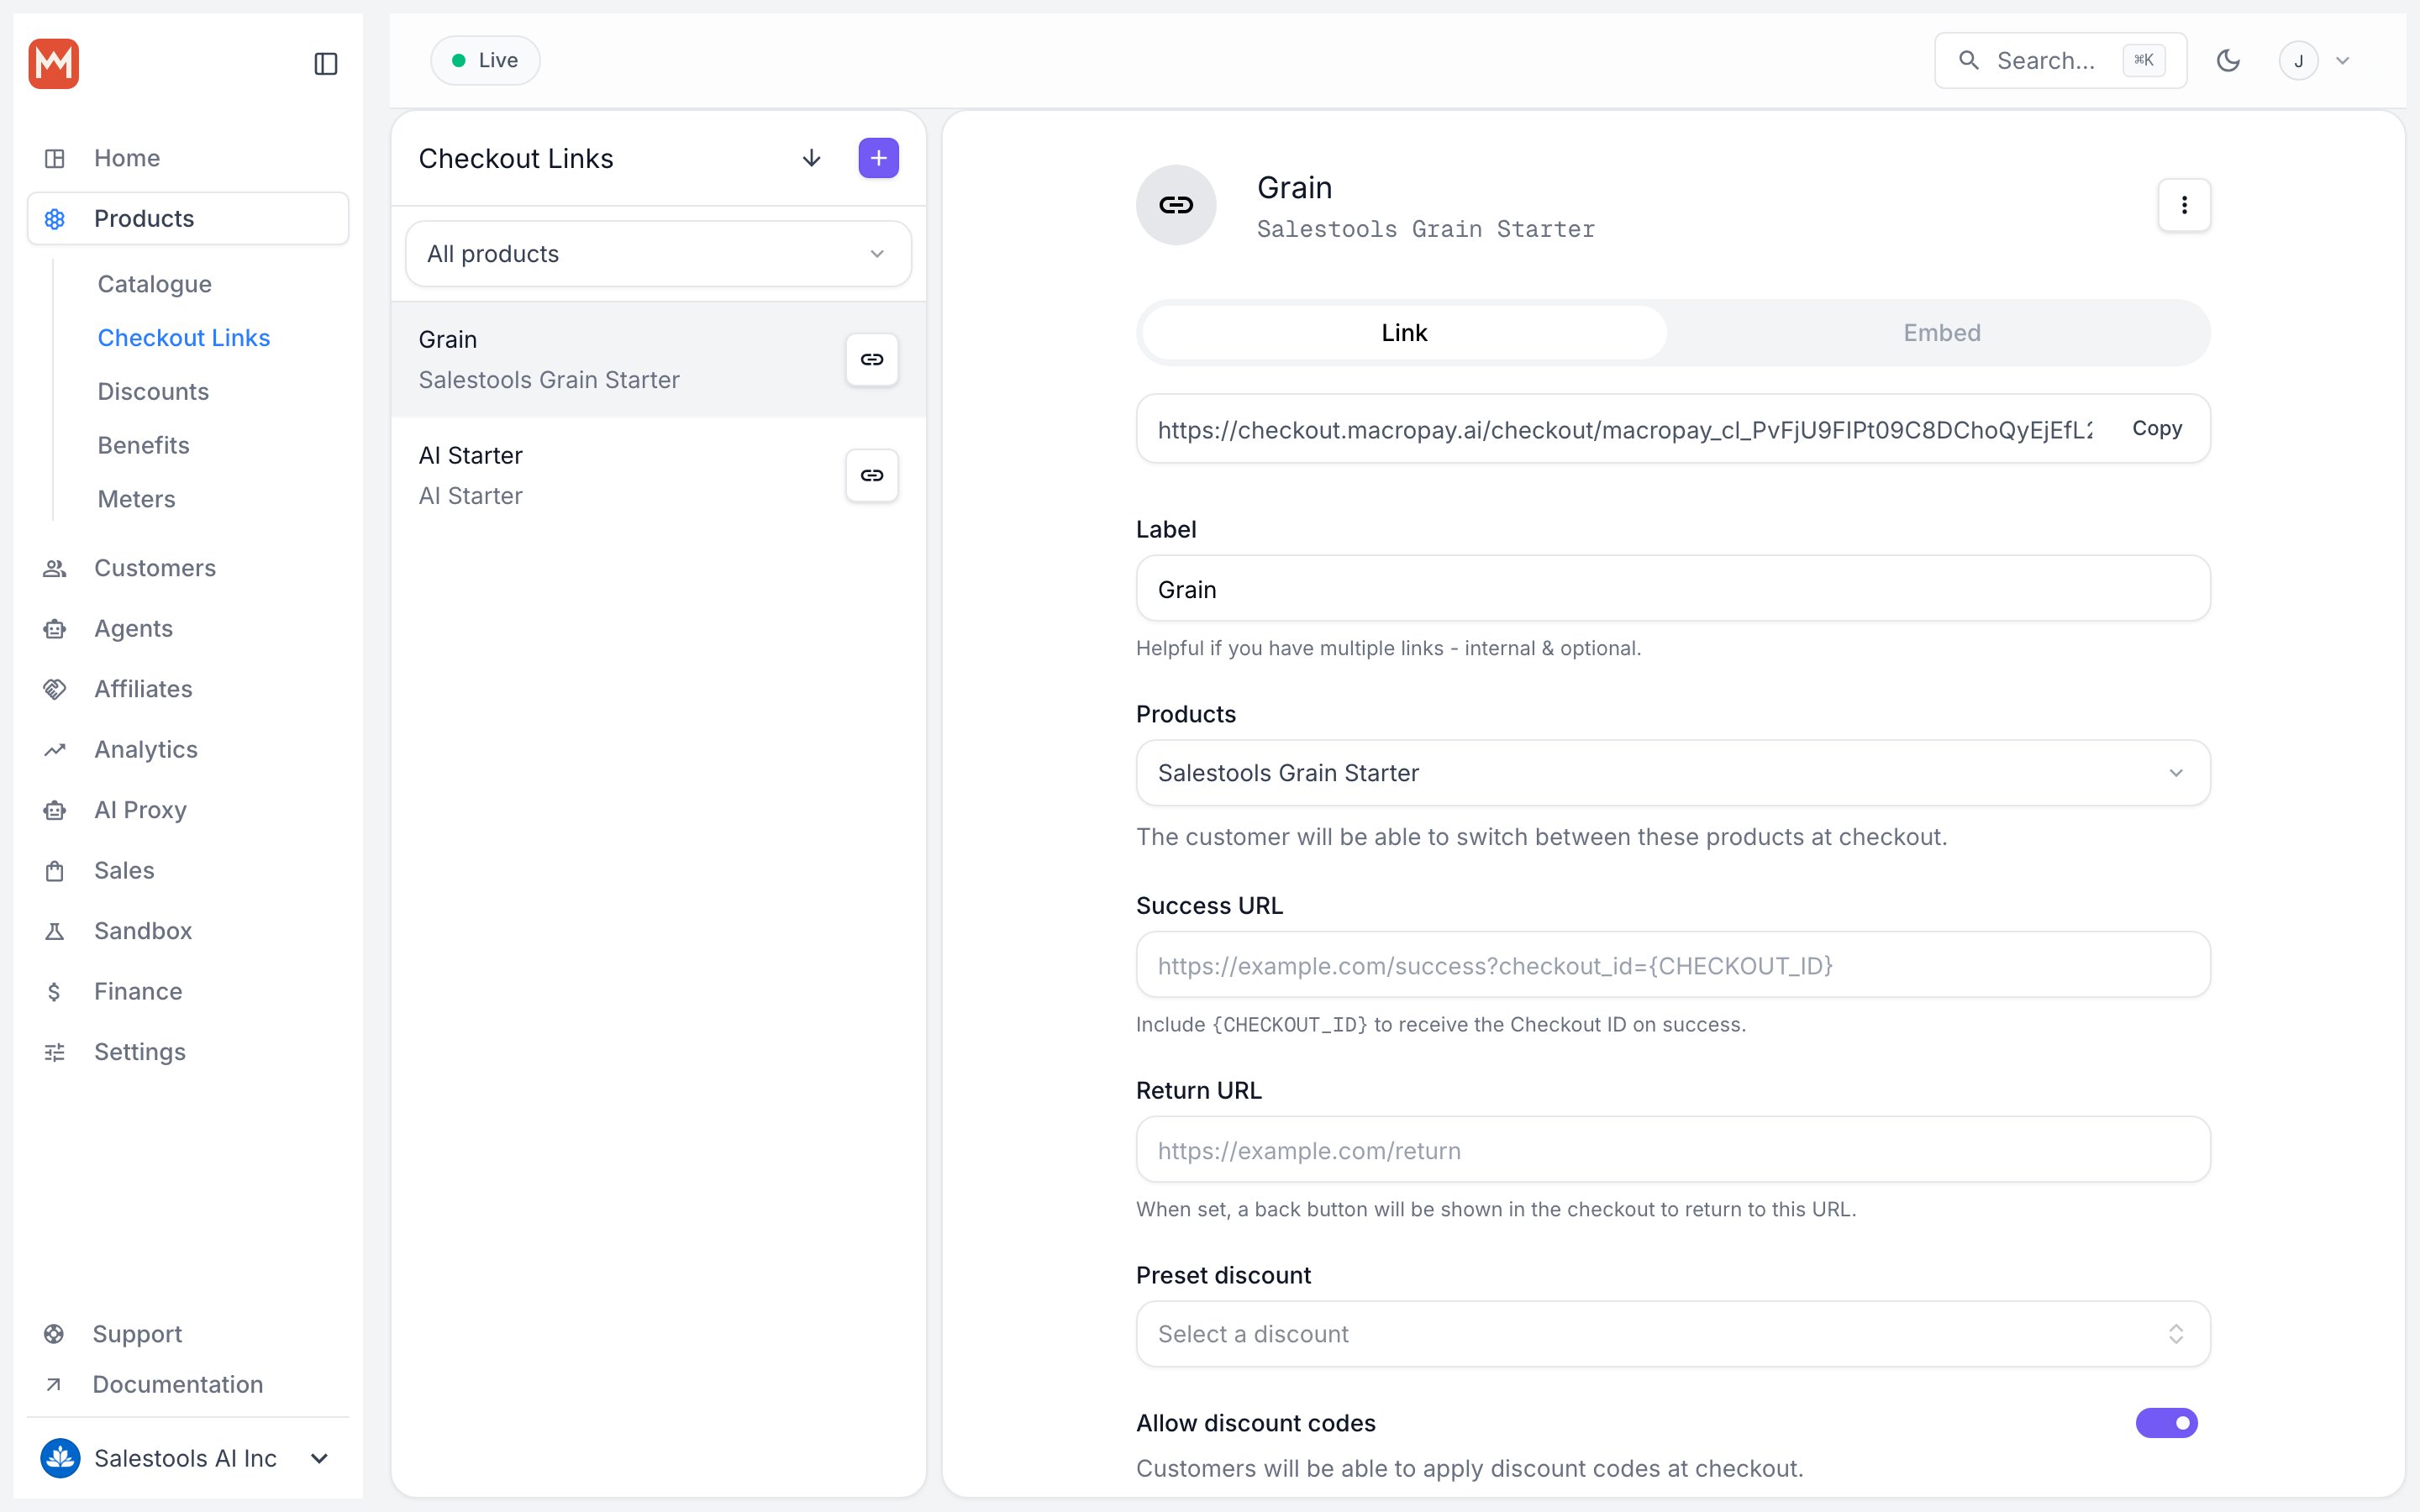
2
Receive the portal access email
After purchase, the customer gets a confirmation email with a link into their customer portal, where they can manage the subscription and change tiers later.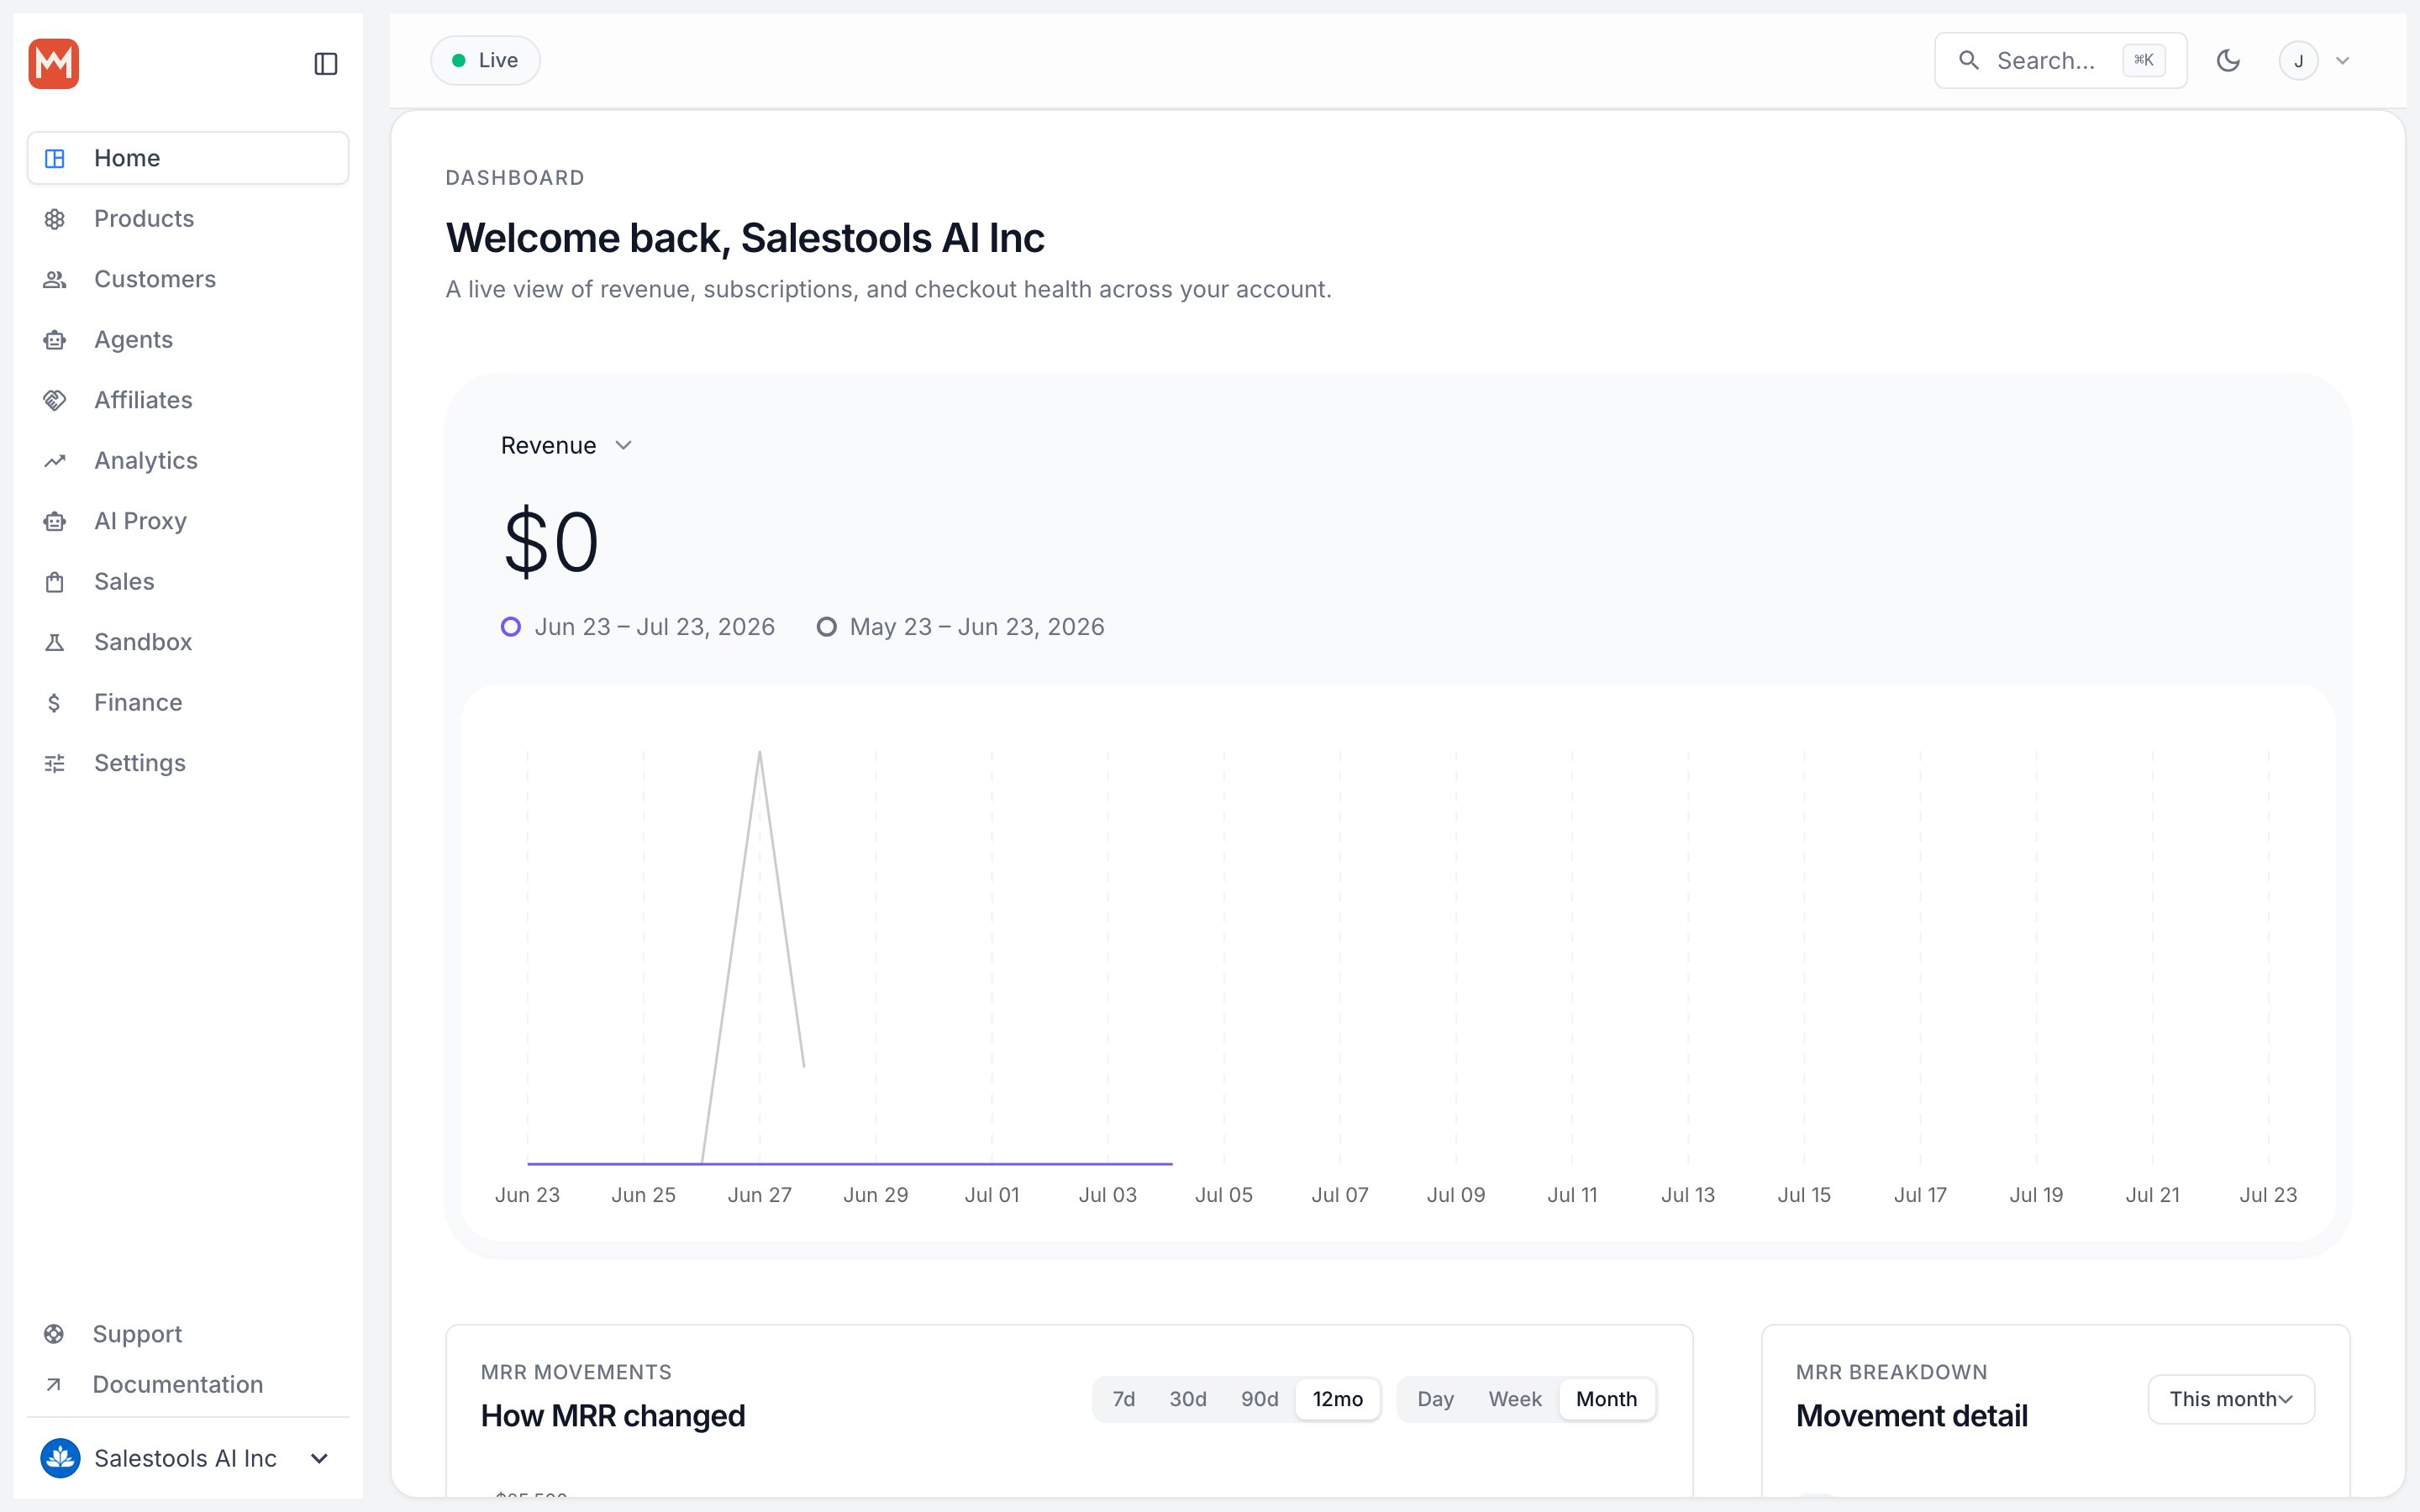
The portal is fully self-serve, so plan changes don’t generate support tickets. And because Macropay is the merchant of record, proration, tax recalculation, and the invoice are all handled for you on every switch.
Step 4 — Self-serve downgrades
When a customer moves to a cheaper tier — say from Growth down to Starter — they drive the change themselves.1
Open the portal and click Change Plan
From the email link, the customer opens the portal and clicks Change Plan.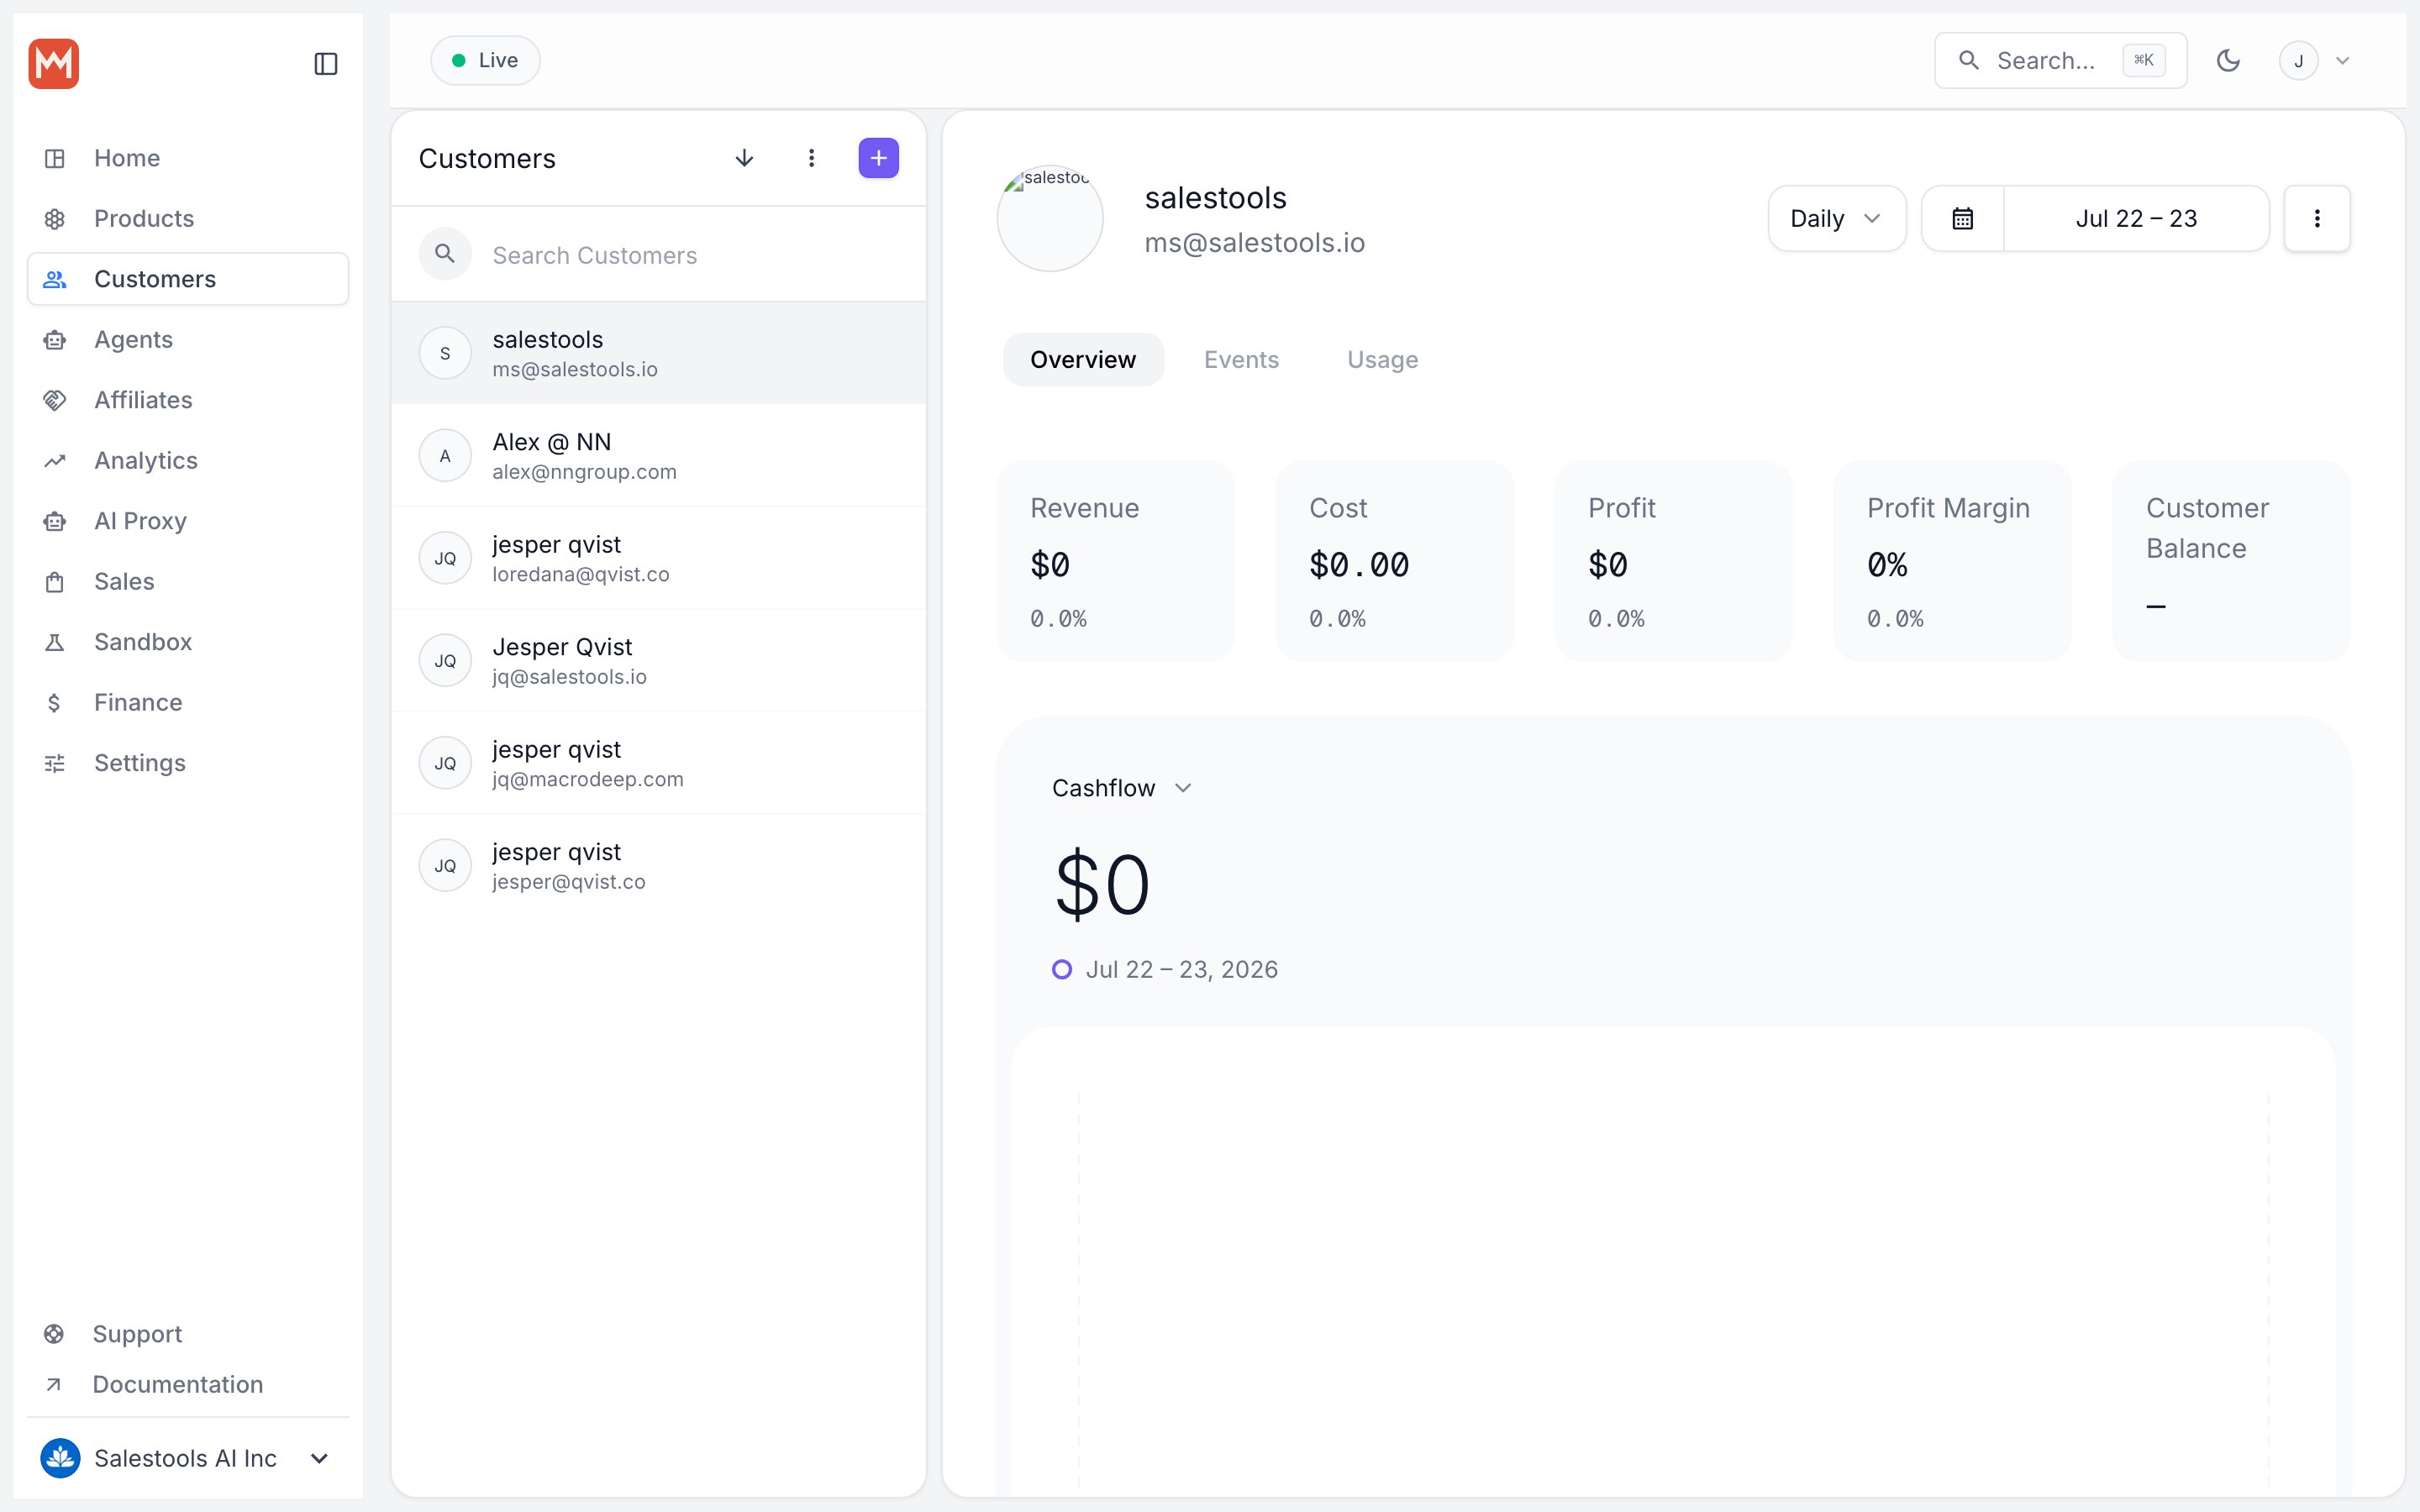
2
Pick the lower tier
They select the tier to move to and confirm with Change Plan.
3
Downgrade applied
The active subscription is now Starter instead of Growth.
Step 5 — Self-serve upgrades
Upgrades follow the same path in reverse — here the customer steps up to Scale.1
Open the portal and click Change Plan
From the email link, the customer opens the portal and clicks Change Plan.
2
Pick the higher tier
They select Scale and confirm with Change Plan.
3
Upgrade applied
The active subscription is now Scale.
You now have a Good/Better/Best ladder selling from one link, with customers upgrading and downgrading on their own. Tax, VAT, dispute handling, and PCI scope ride along on every tier — that’s the merchant-of-record model doing the heavy lifting.