A Custom Benefit is the free-form member of the benefits family. The Private note is the payload — it’s revealed only after a successful payment, so it’s the right place for any link or content you want gated behind a purchase.
What you’ll build
- A reusable Custom Benefit that holds your link and a description.
- A product that grants that benefit automatically on purchase.
- Automatic delivery of the link across checkout, email, and the customer portal — no manual follow-up.
Step 1 — Create the Custom Benefit
1
Open the Benefits page
In the Macropay dashboard sidebar, select Benefits.Direct link: 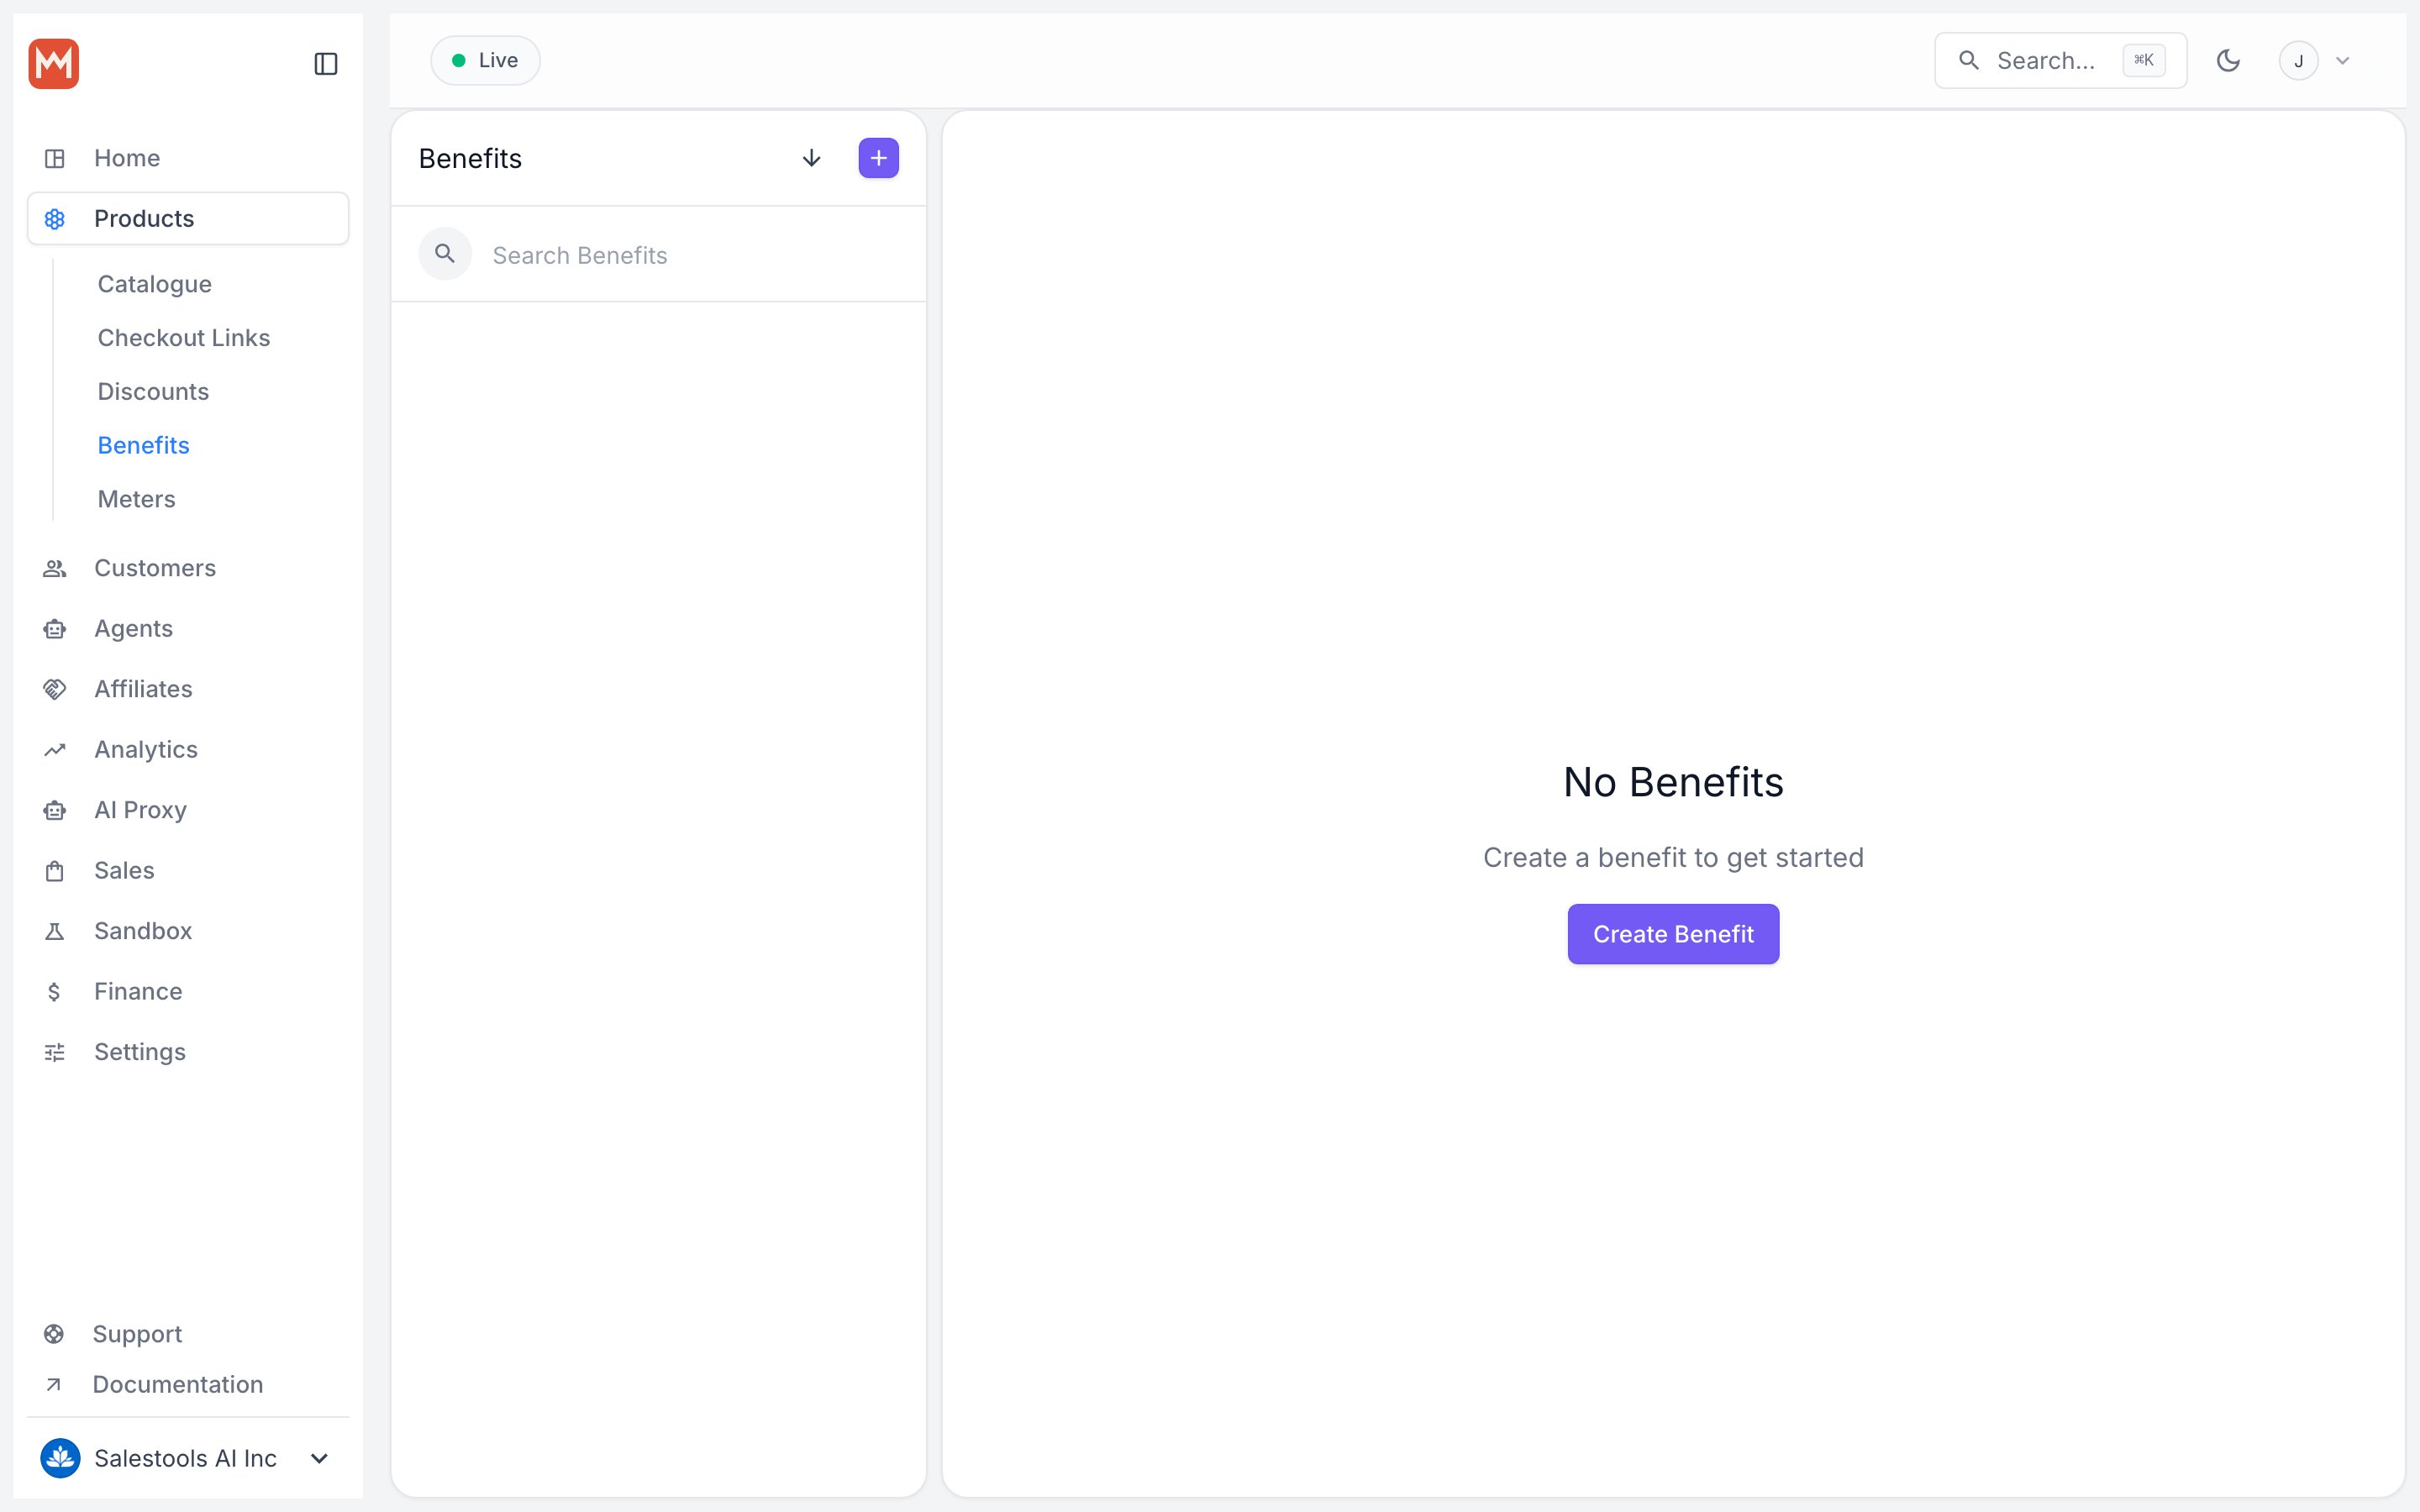
https://macropay.ai/dashboard/${org_slug}/products/benefits.2
Start a new benefit
Click Create Benefit. You’ll see three fields: Description, Type, and Private note.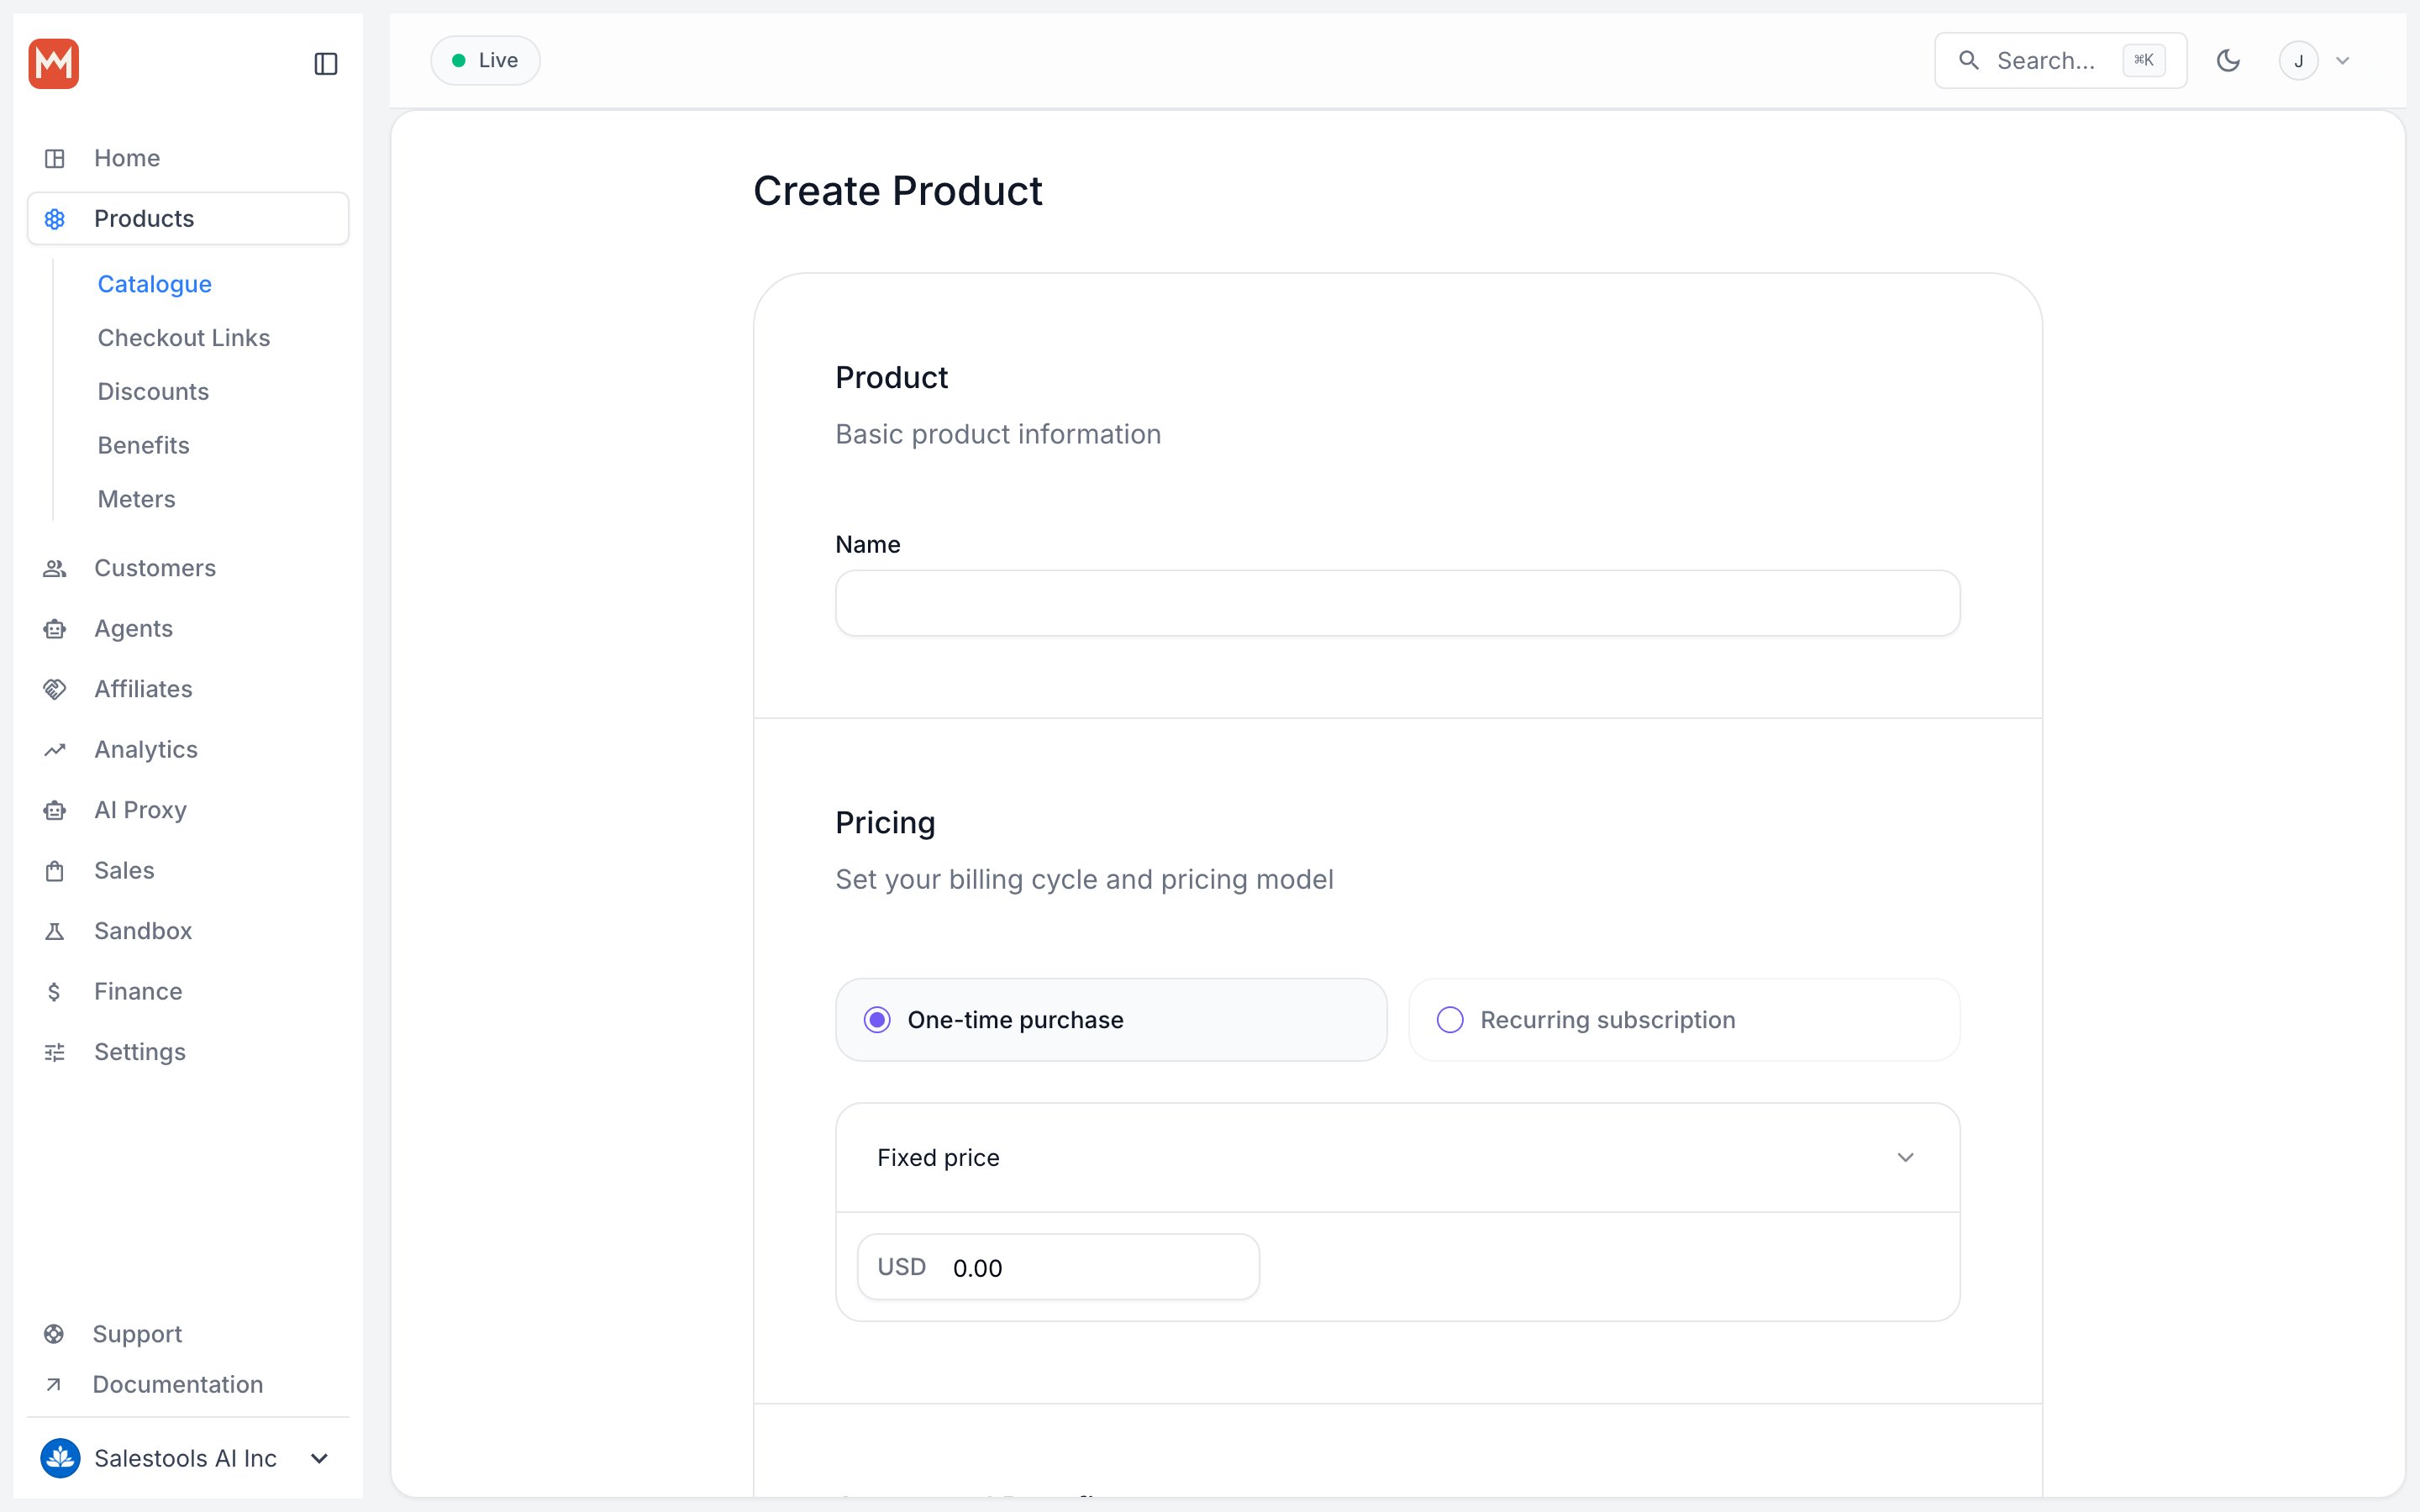
The Private note field belongs to the Custom type. Pick a different Type — license keys, file downloads, GitHub or Discord access — and the form swaps in fields specific to that benefit instead.
3
Add your description and gated link
Fill in the two content fields: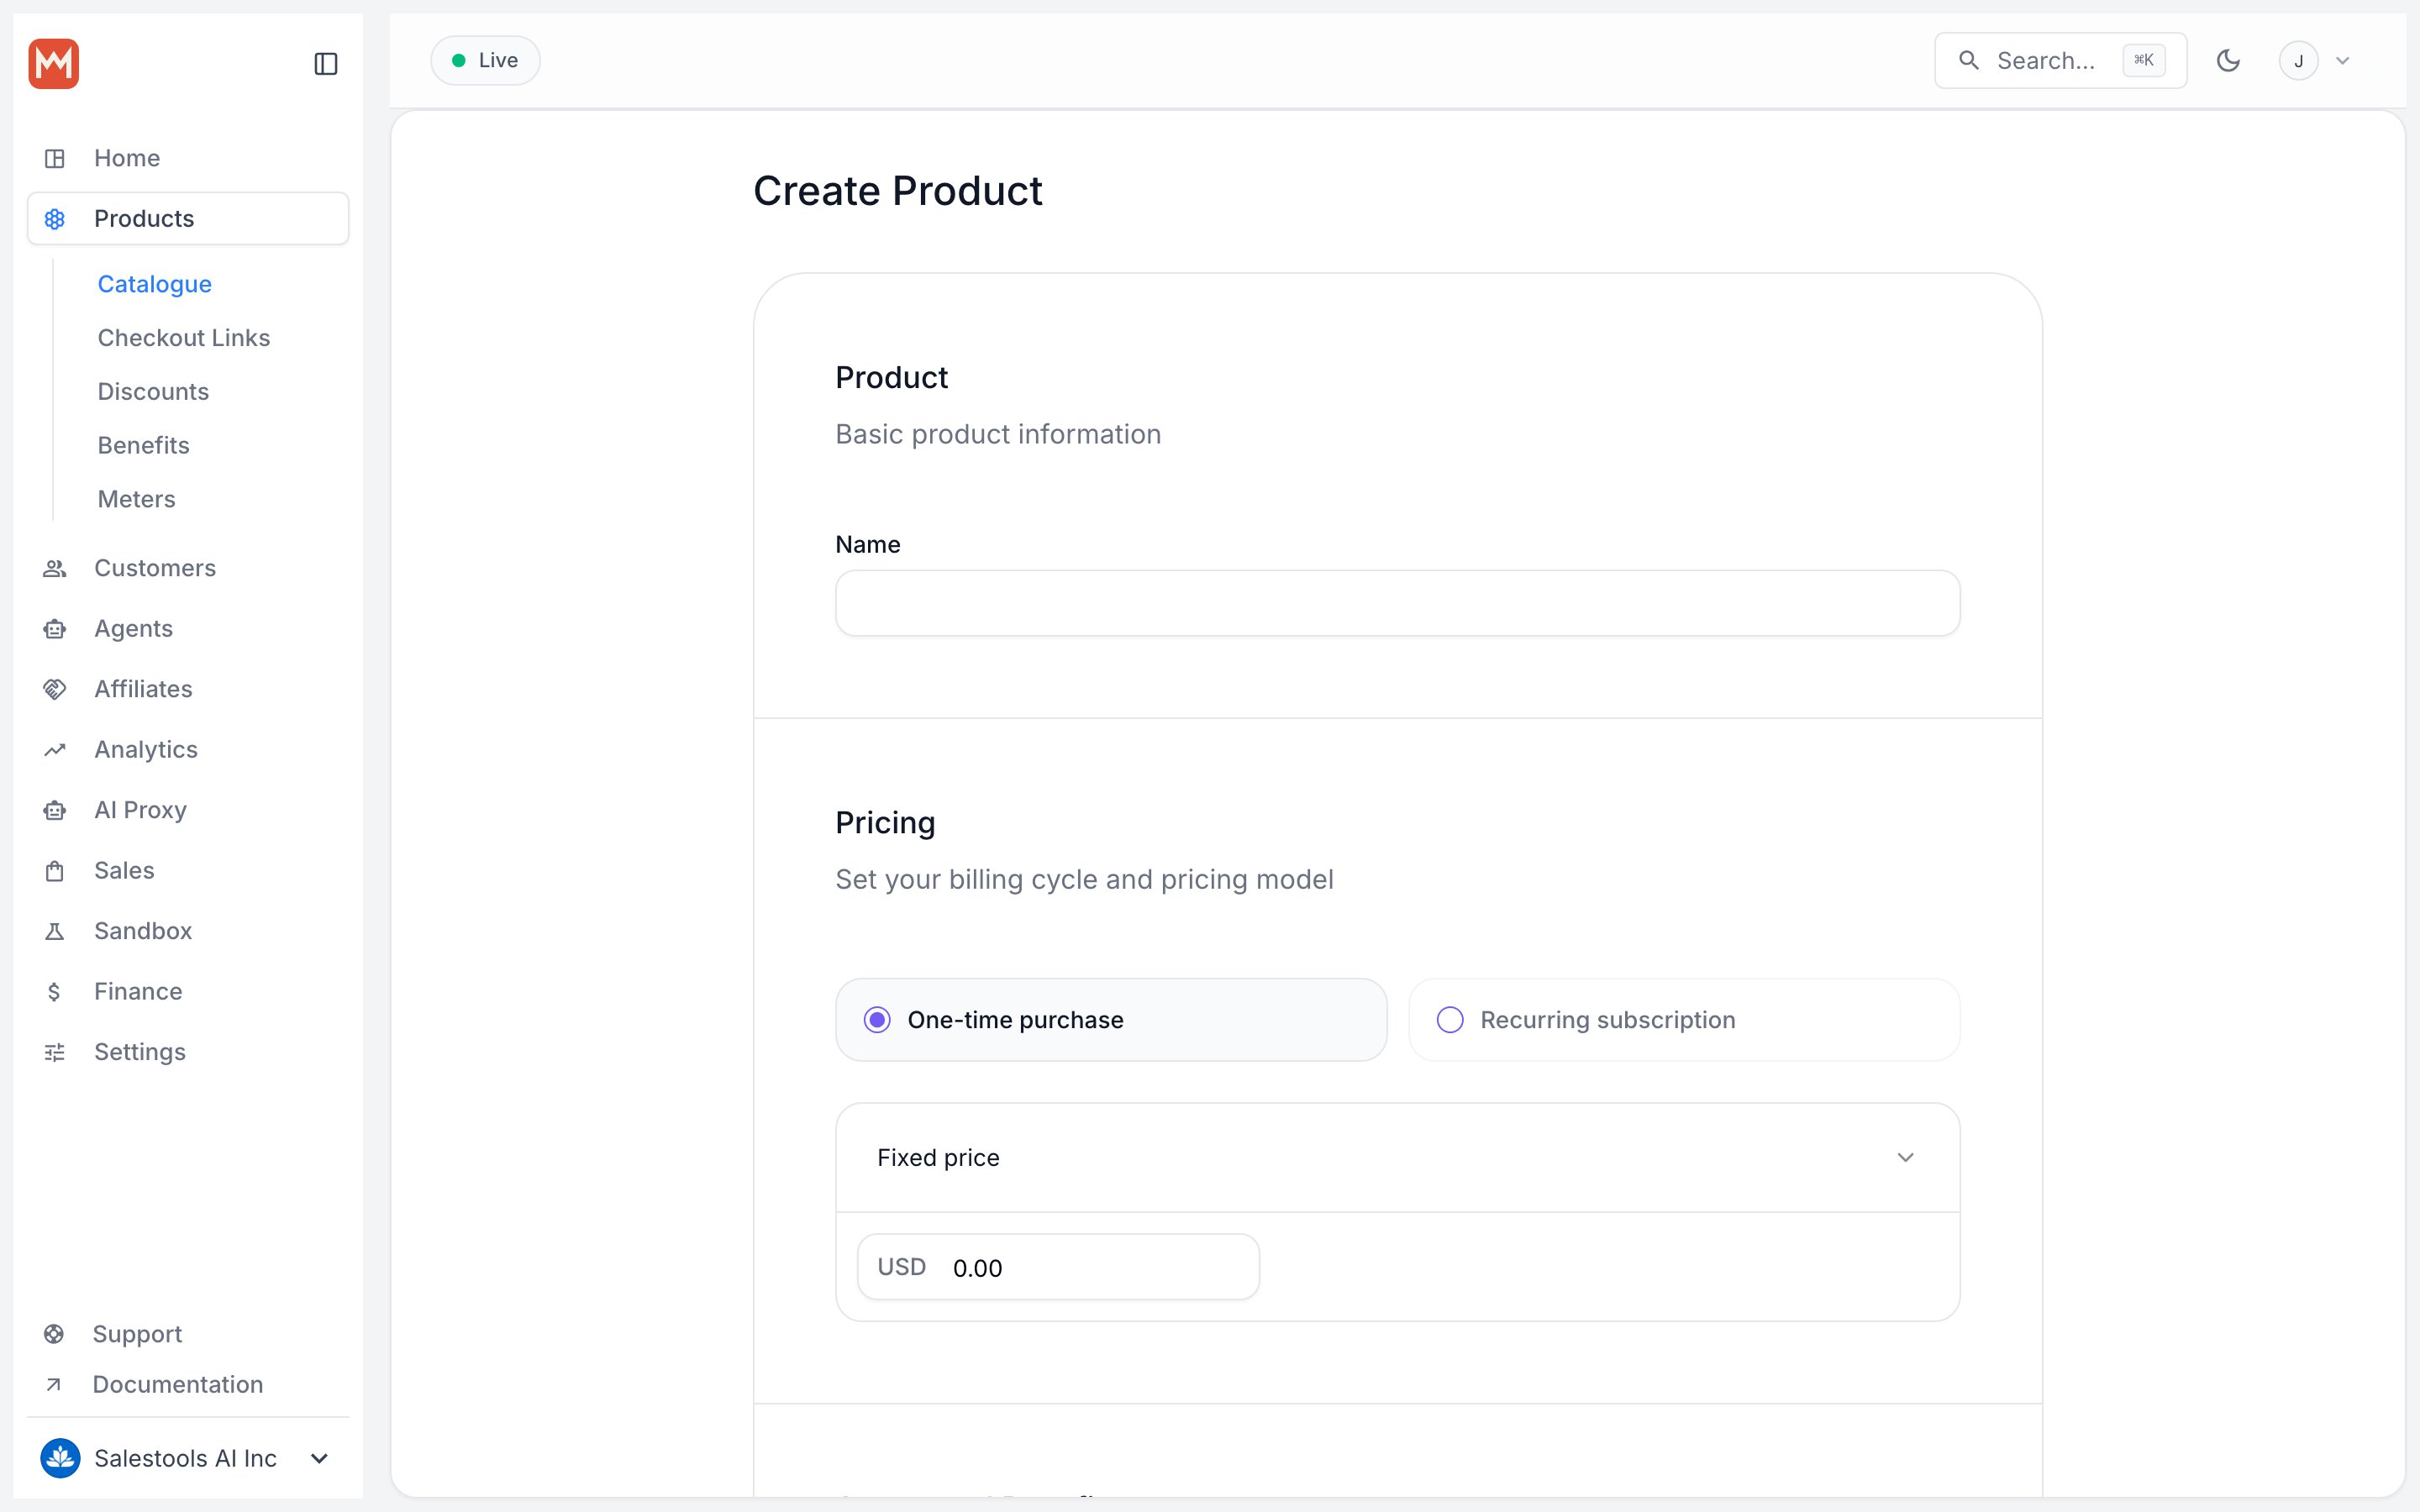
- Description — plain text. This is the label the customer sees for the benefit (e.g. “Onboarding call booking link”).
- Private note — supports Markdown, so you can add formatted text, bullet lists, and one or more links.
4
Benefit created
Your Custom link benefit is now saved and ready to attach to any product.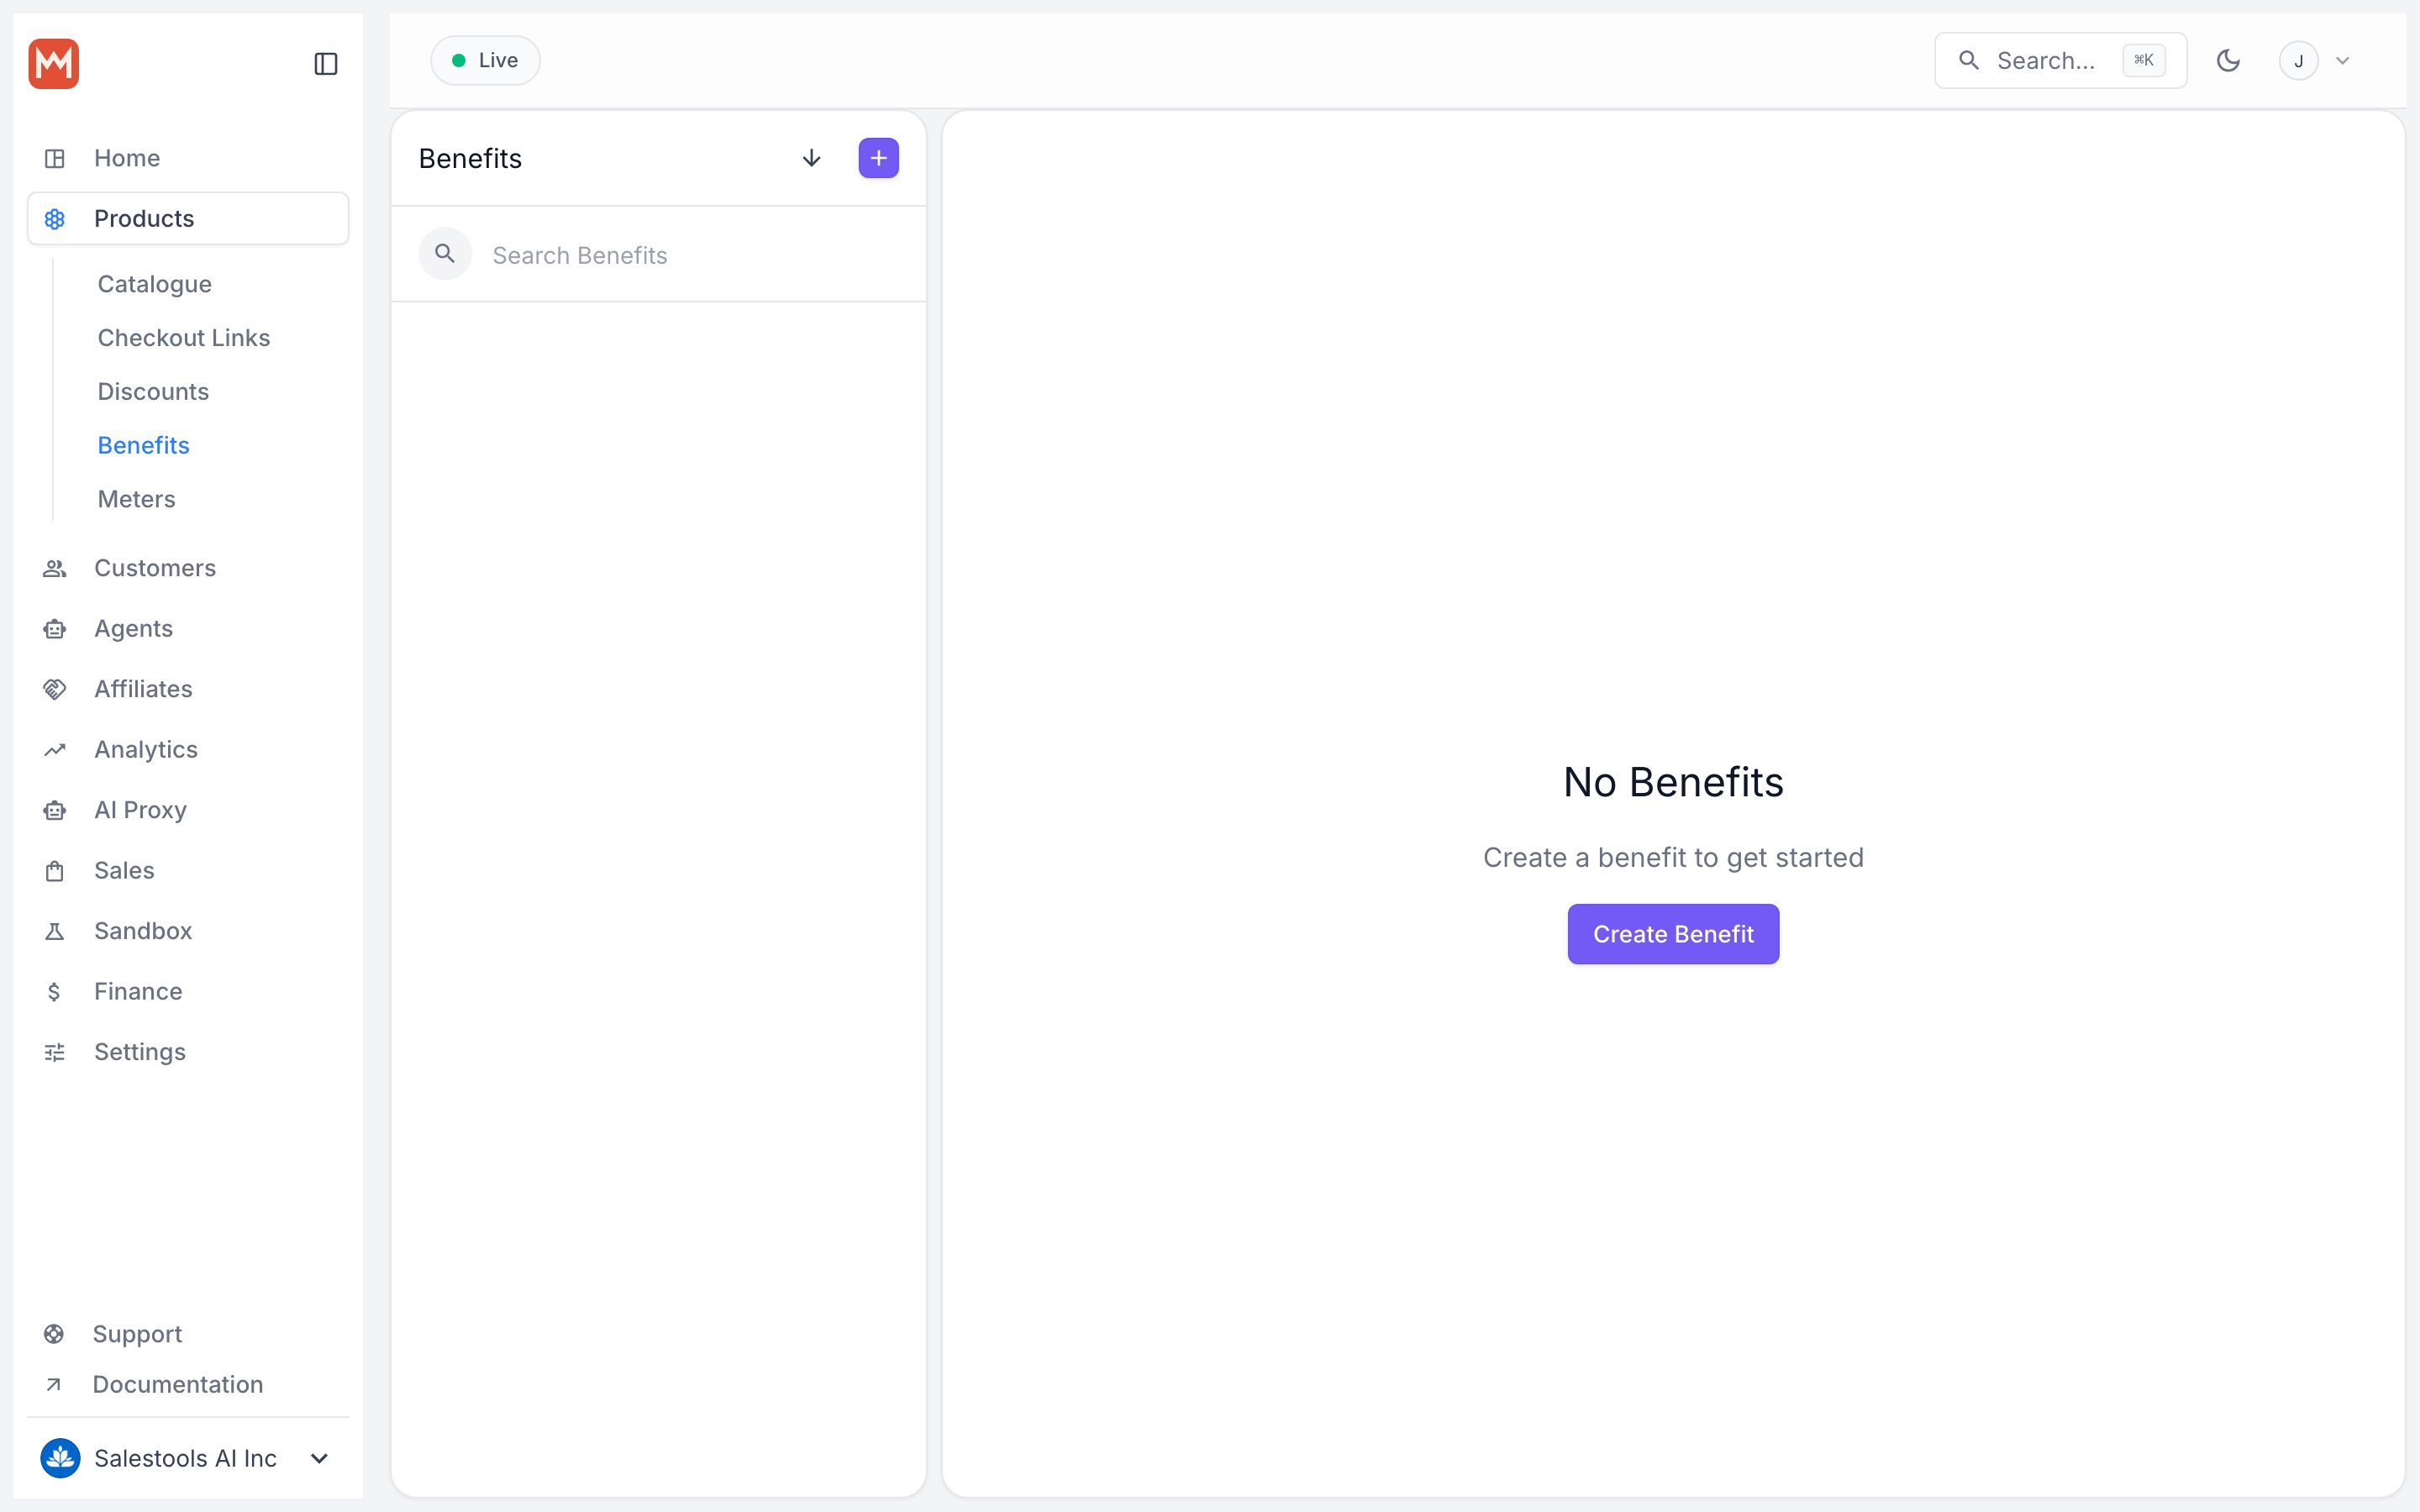
Step 2 — Attach it to a product
1
Open your product catalogue
In the sidebar, go to Products > Catalogue.Direct link: 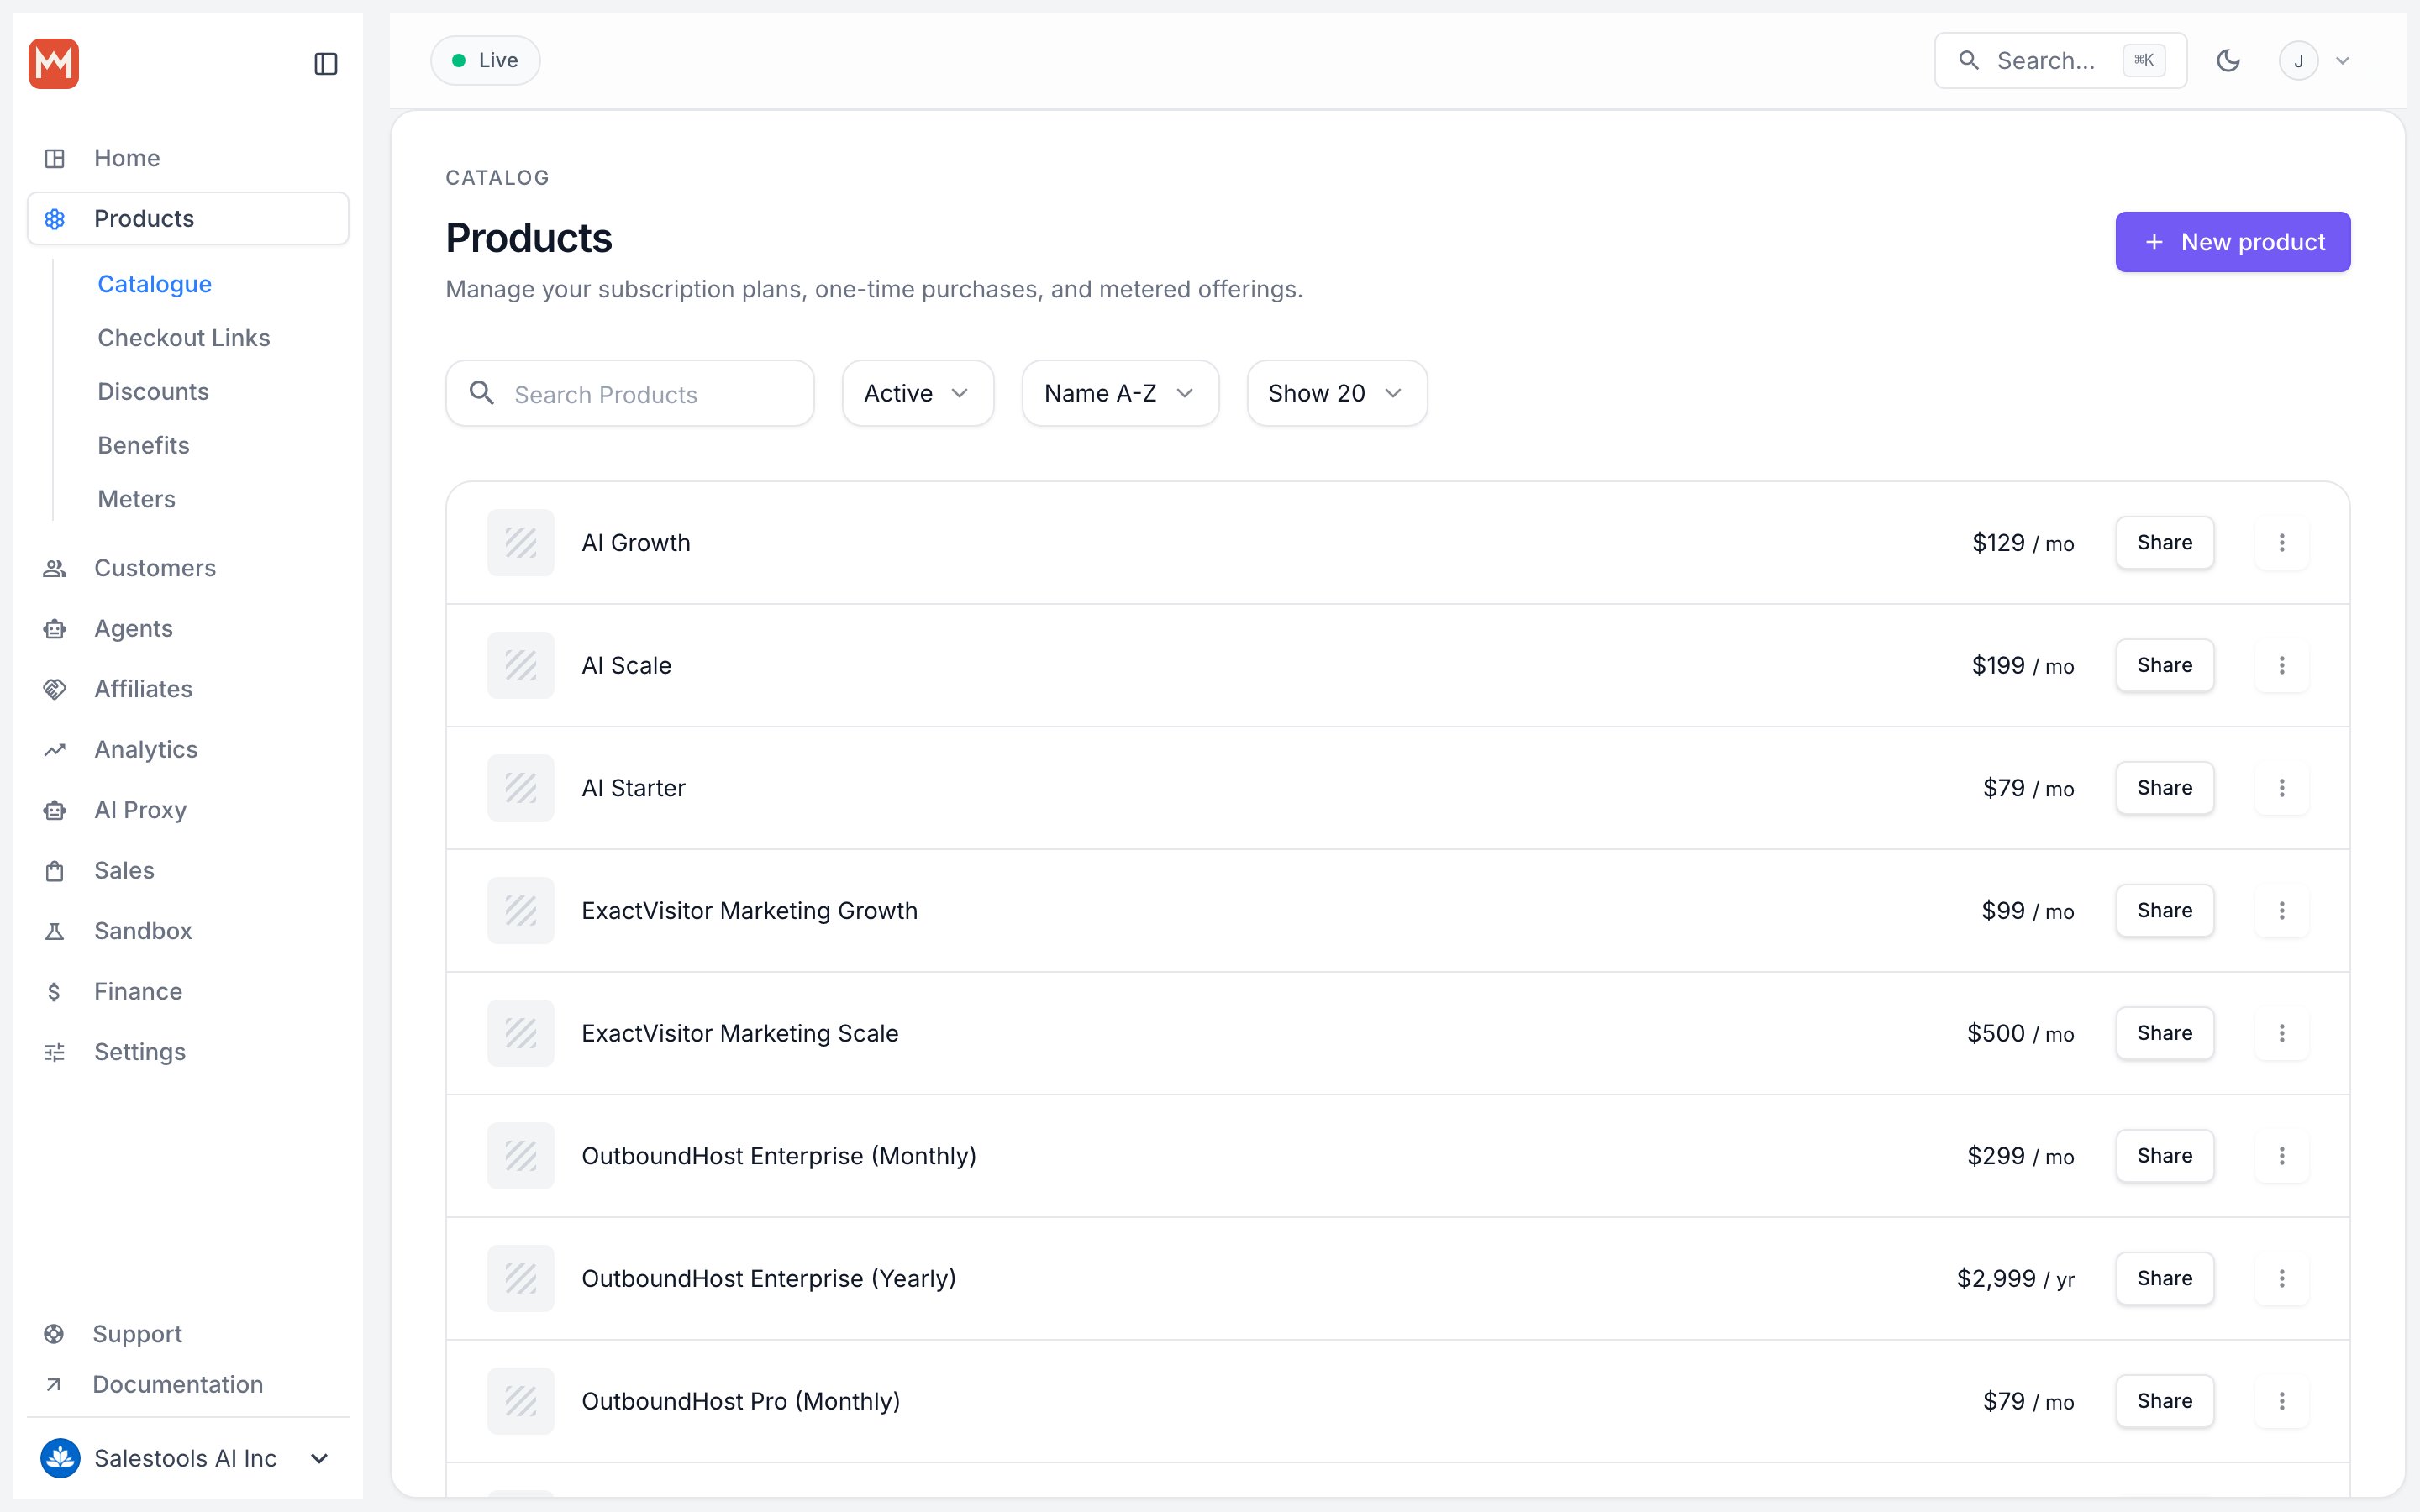
https://macropay.ai/dashboard/${org_slug}/products.2
Create the product
Click New Product and fill in the product details — name, description, and pricing. This works for one-time products and subscriptions alike, since both share the same data model.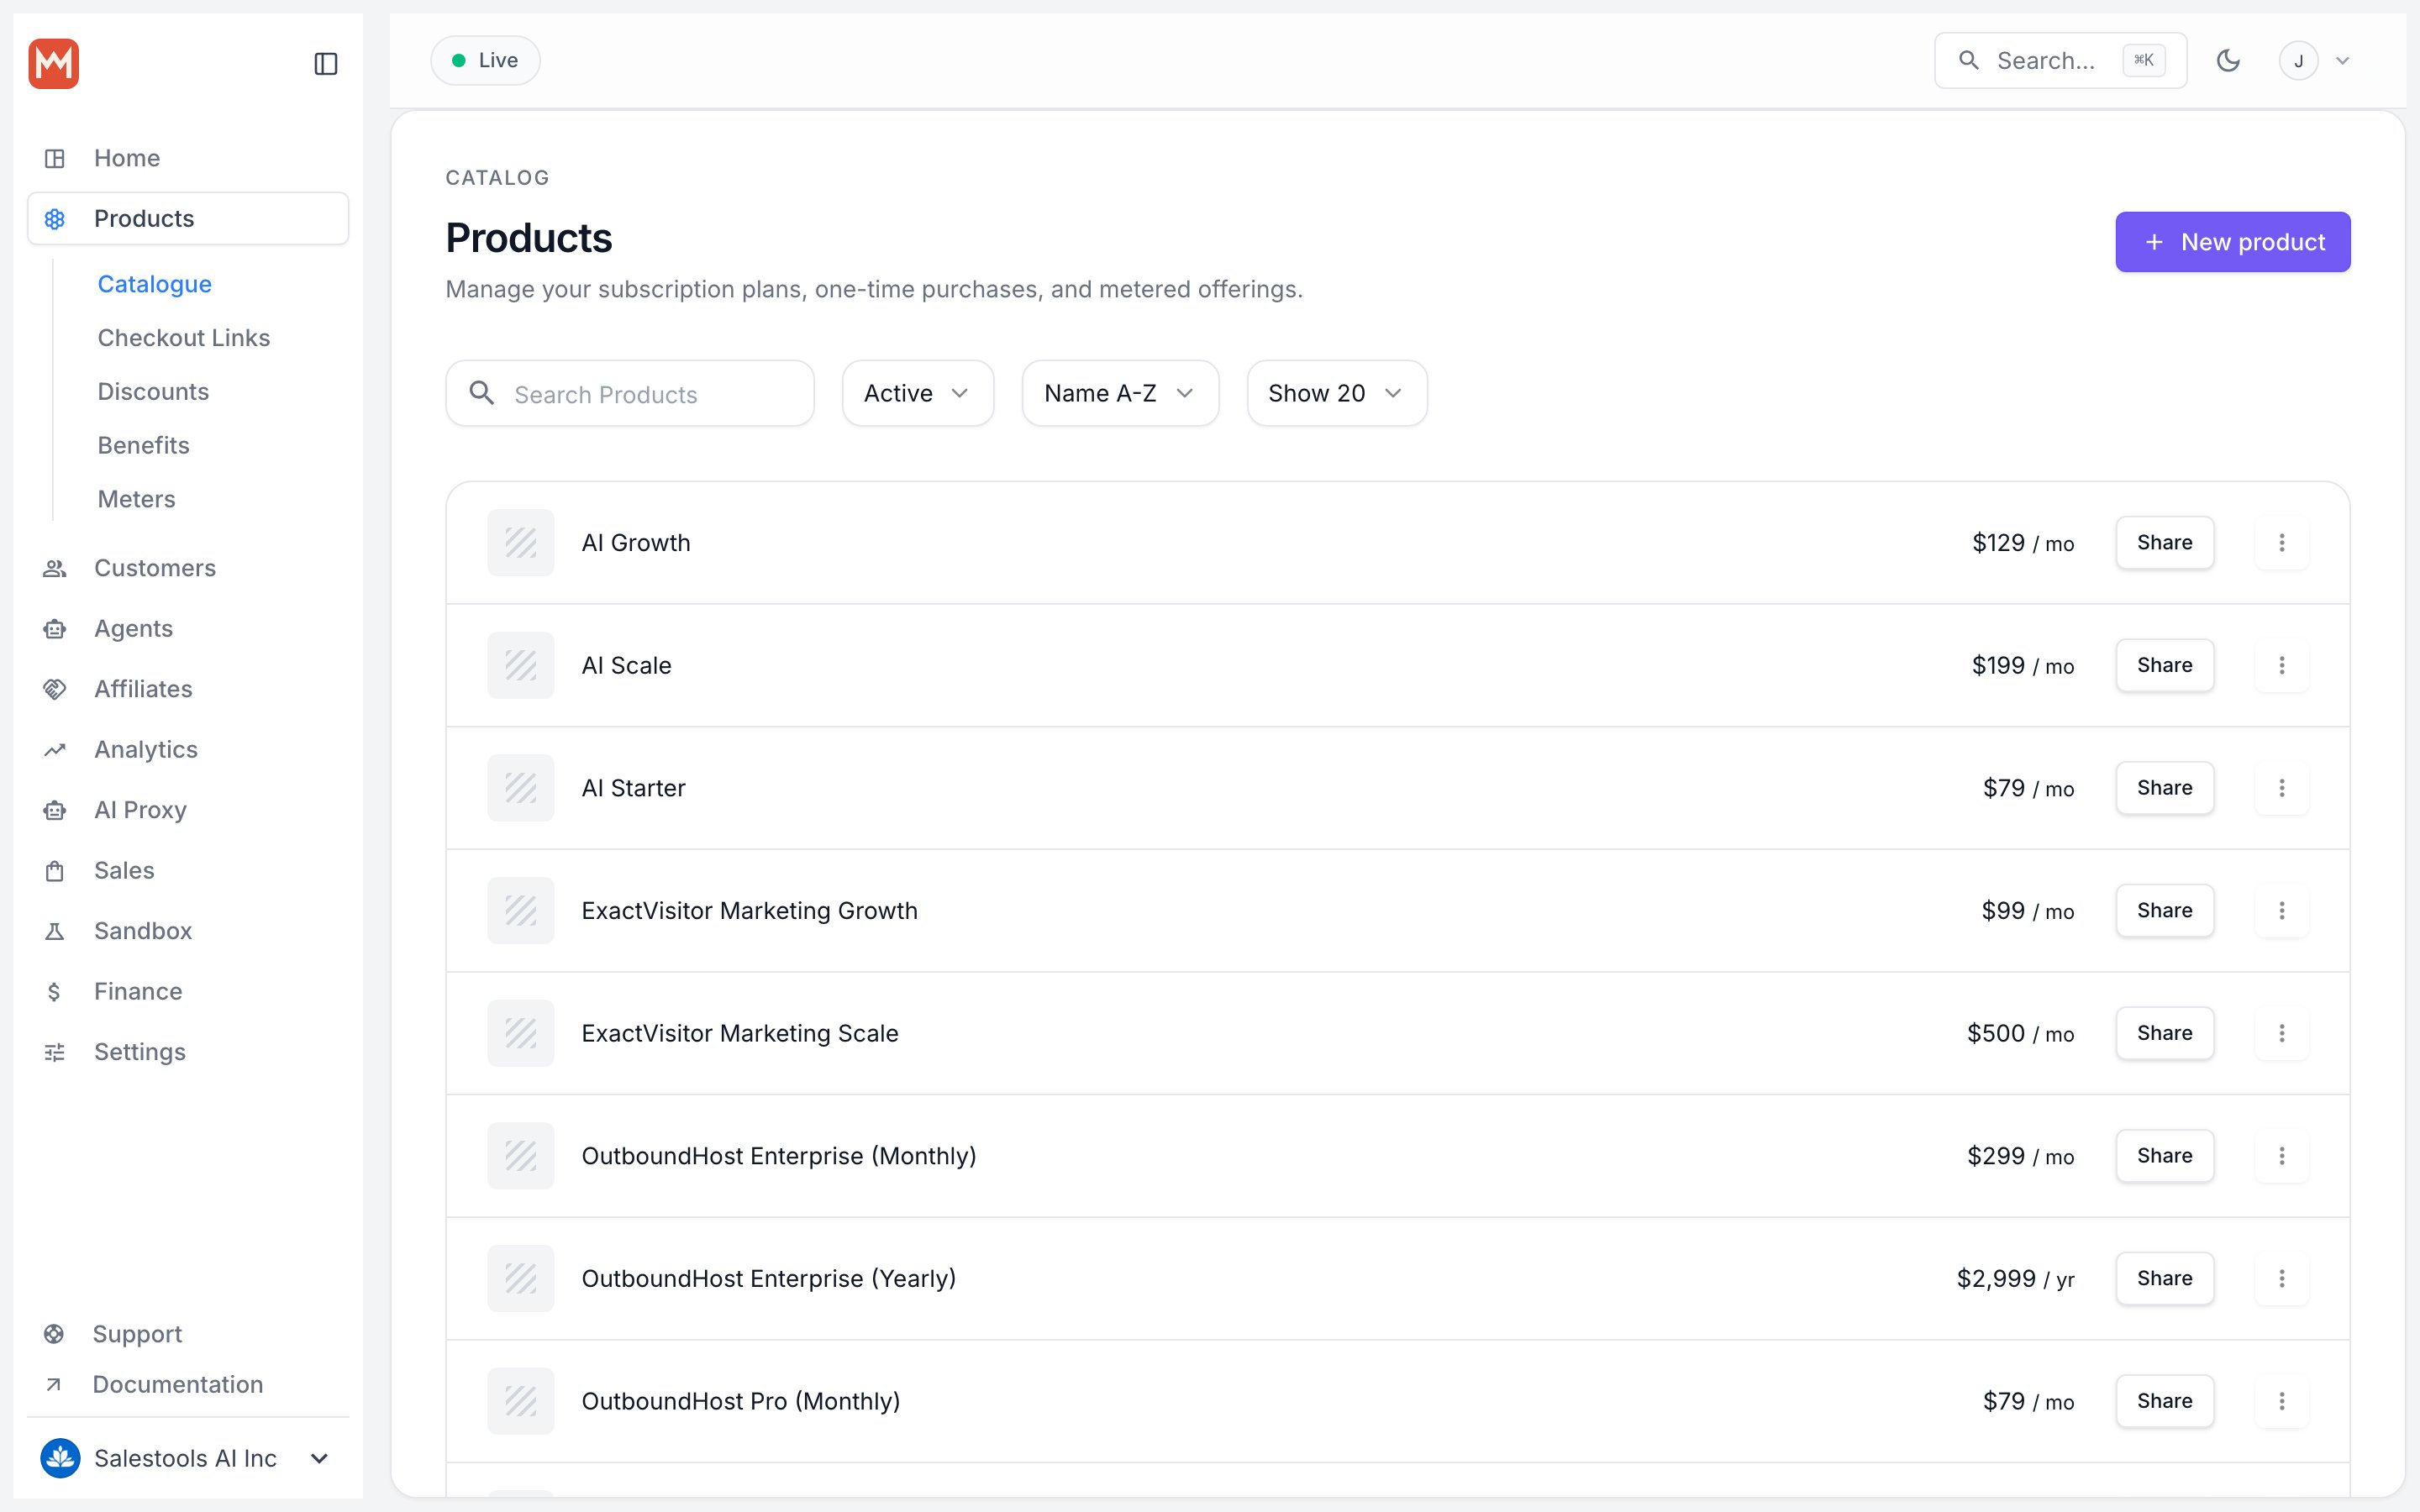
3
Find Automated Benefits
Scroll to the bottom of the product form to the Automated Benefits section.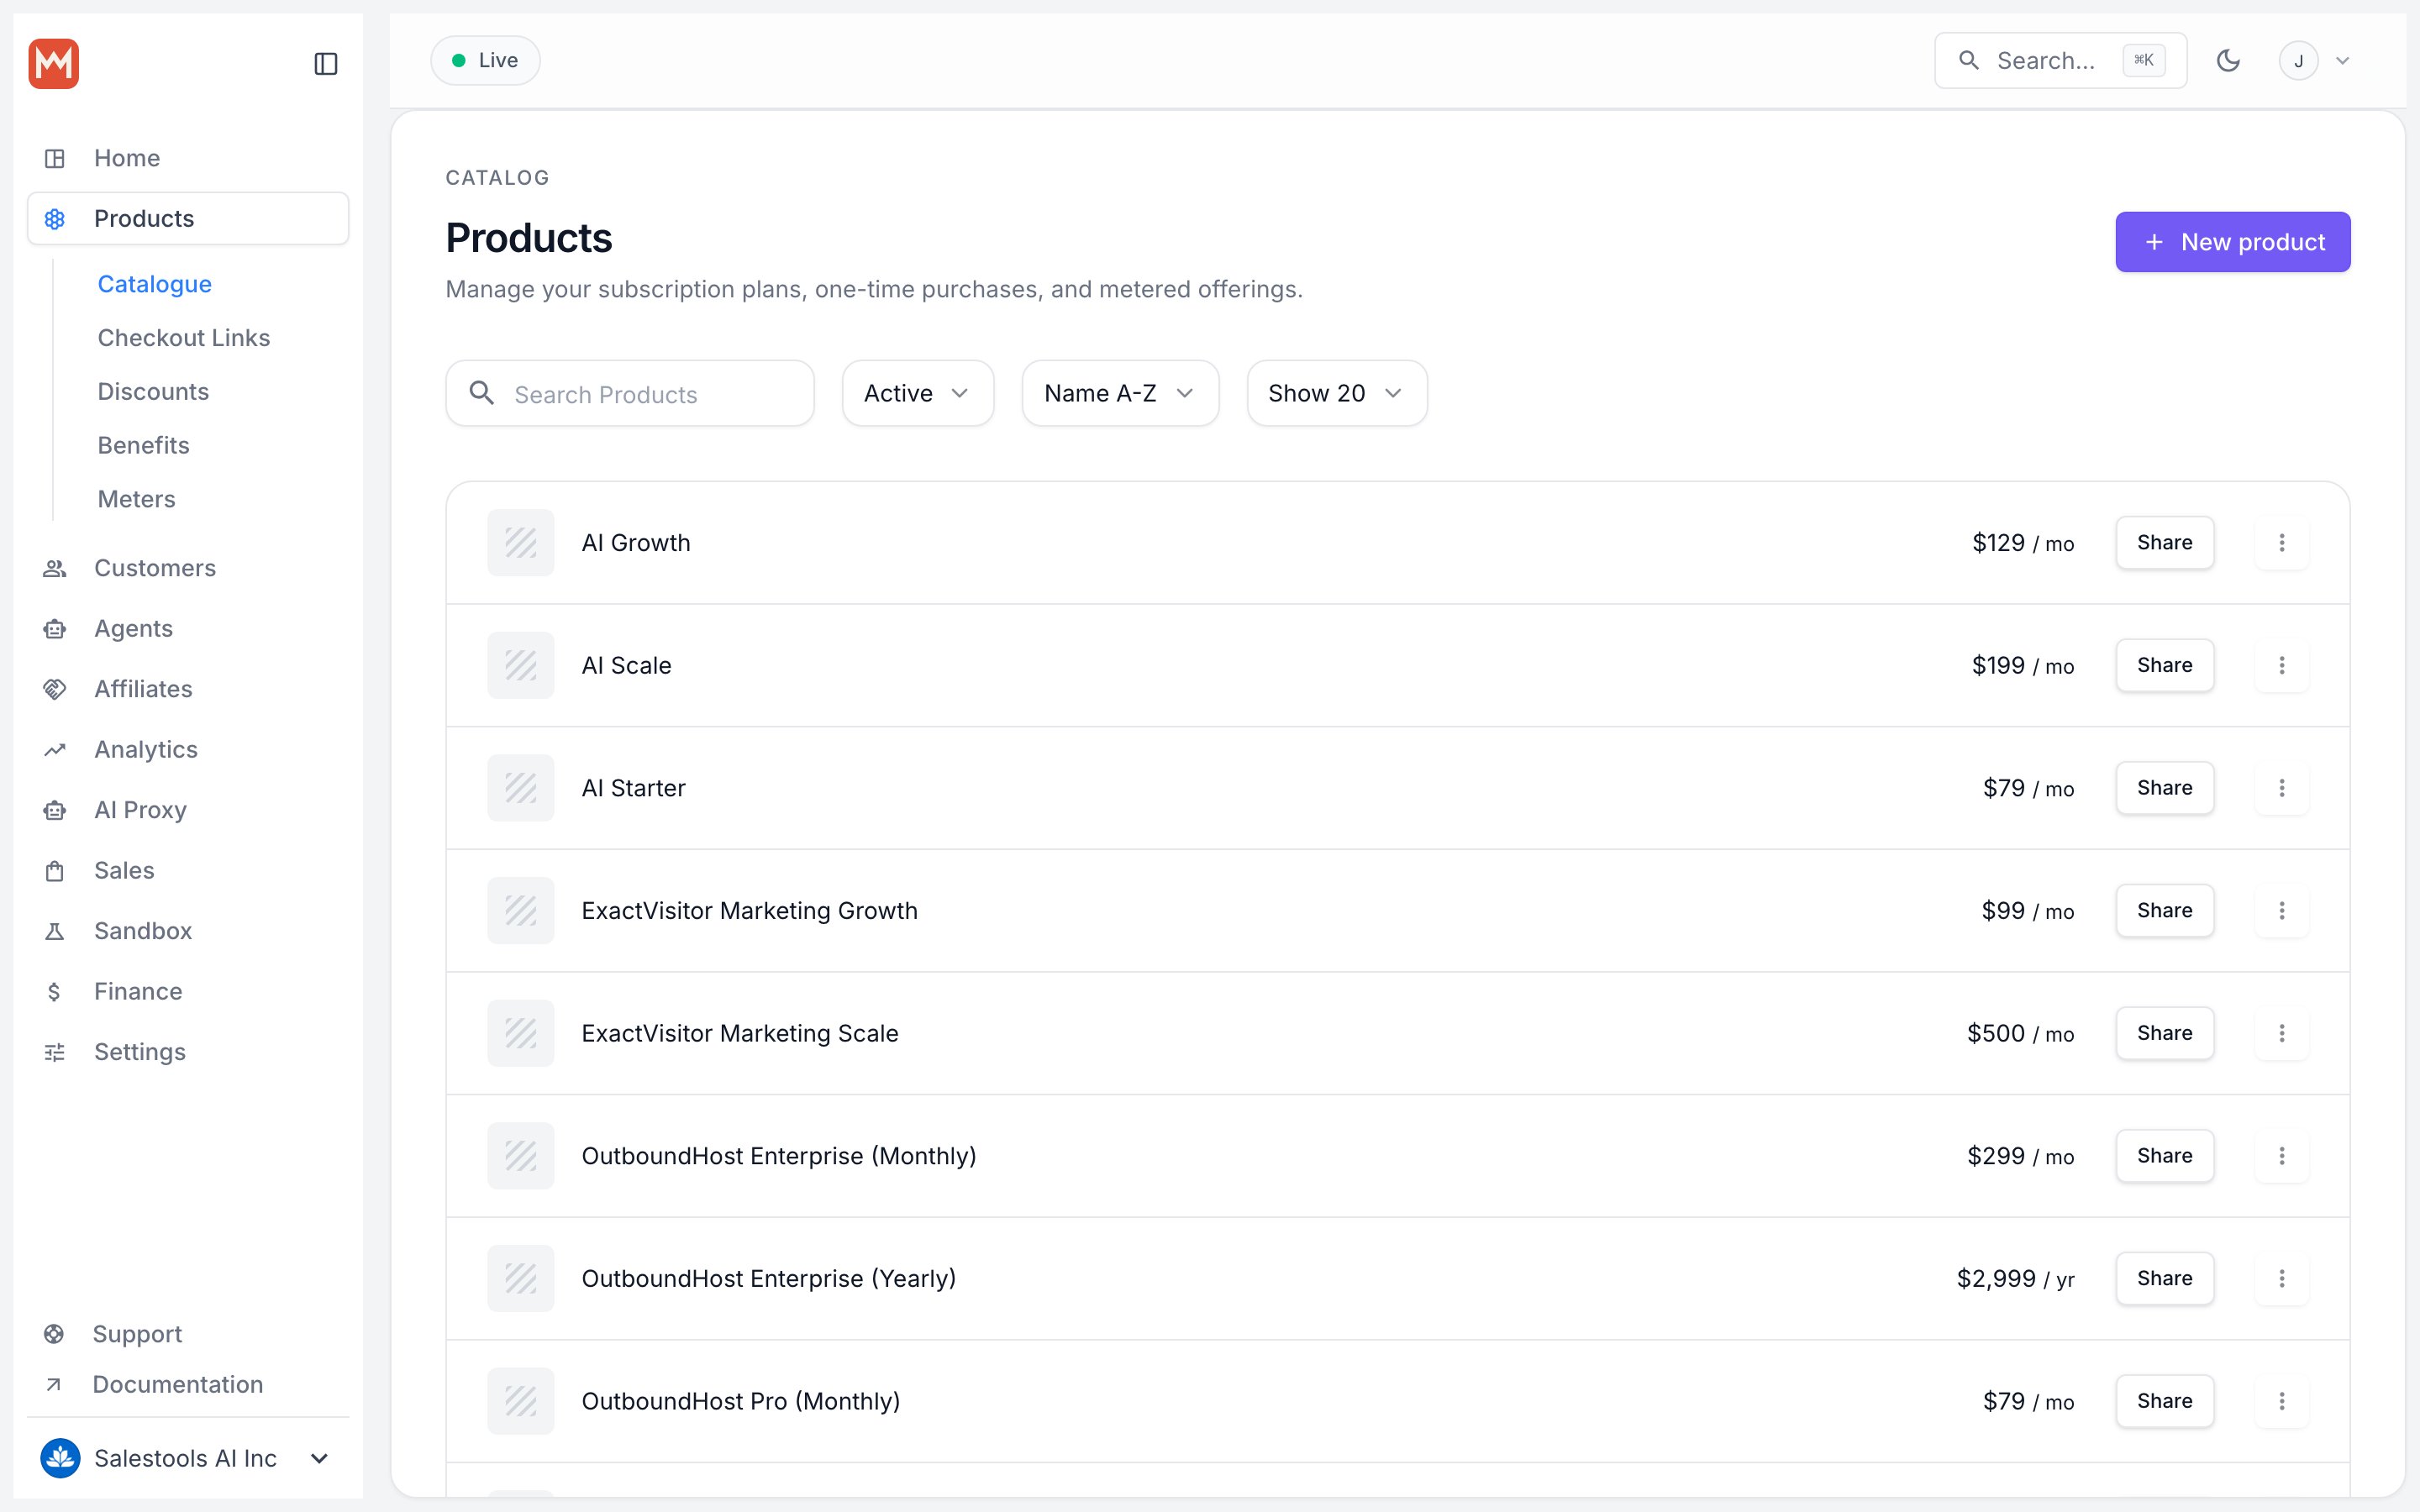
4
Enable your Custom Benefit
Click Custom to list the custom benefits you’ve created, then toggle ON the one you want this product to grant.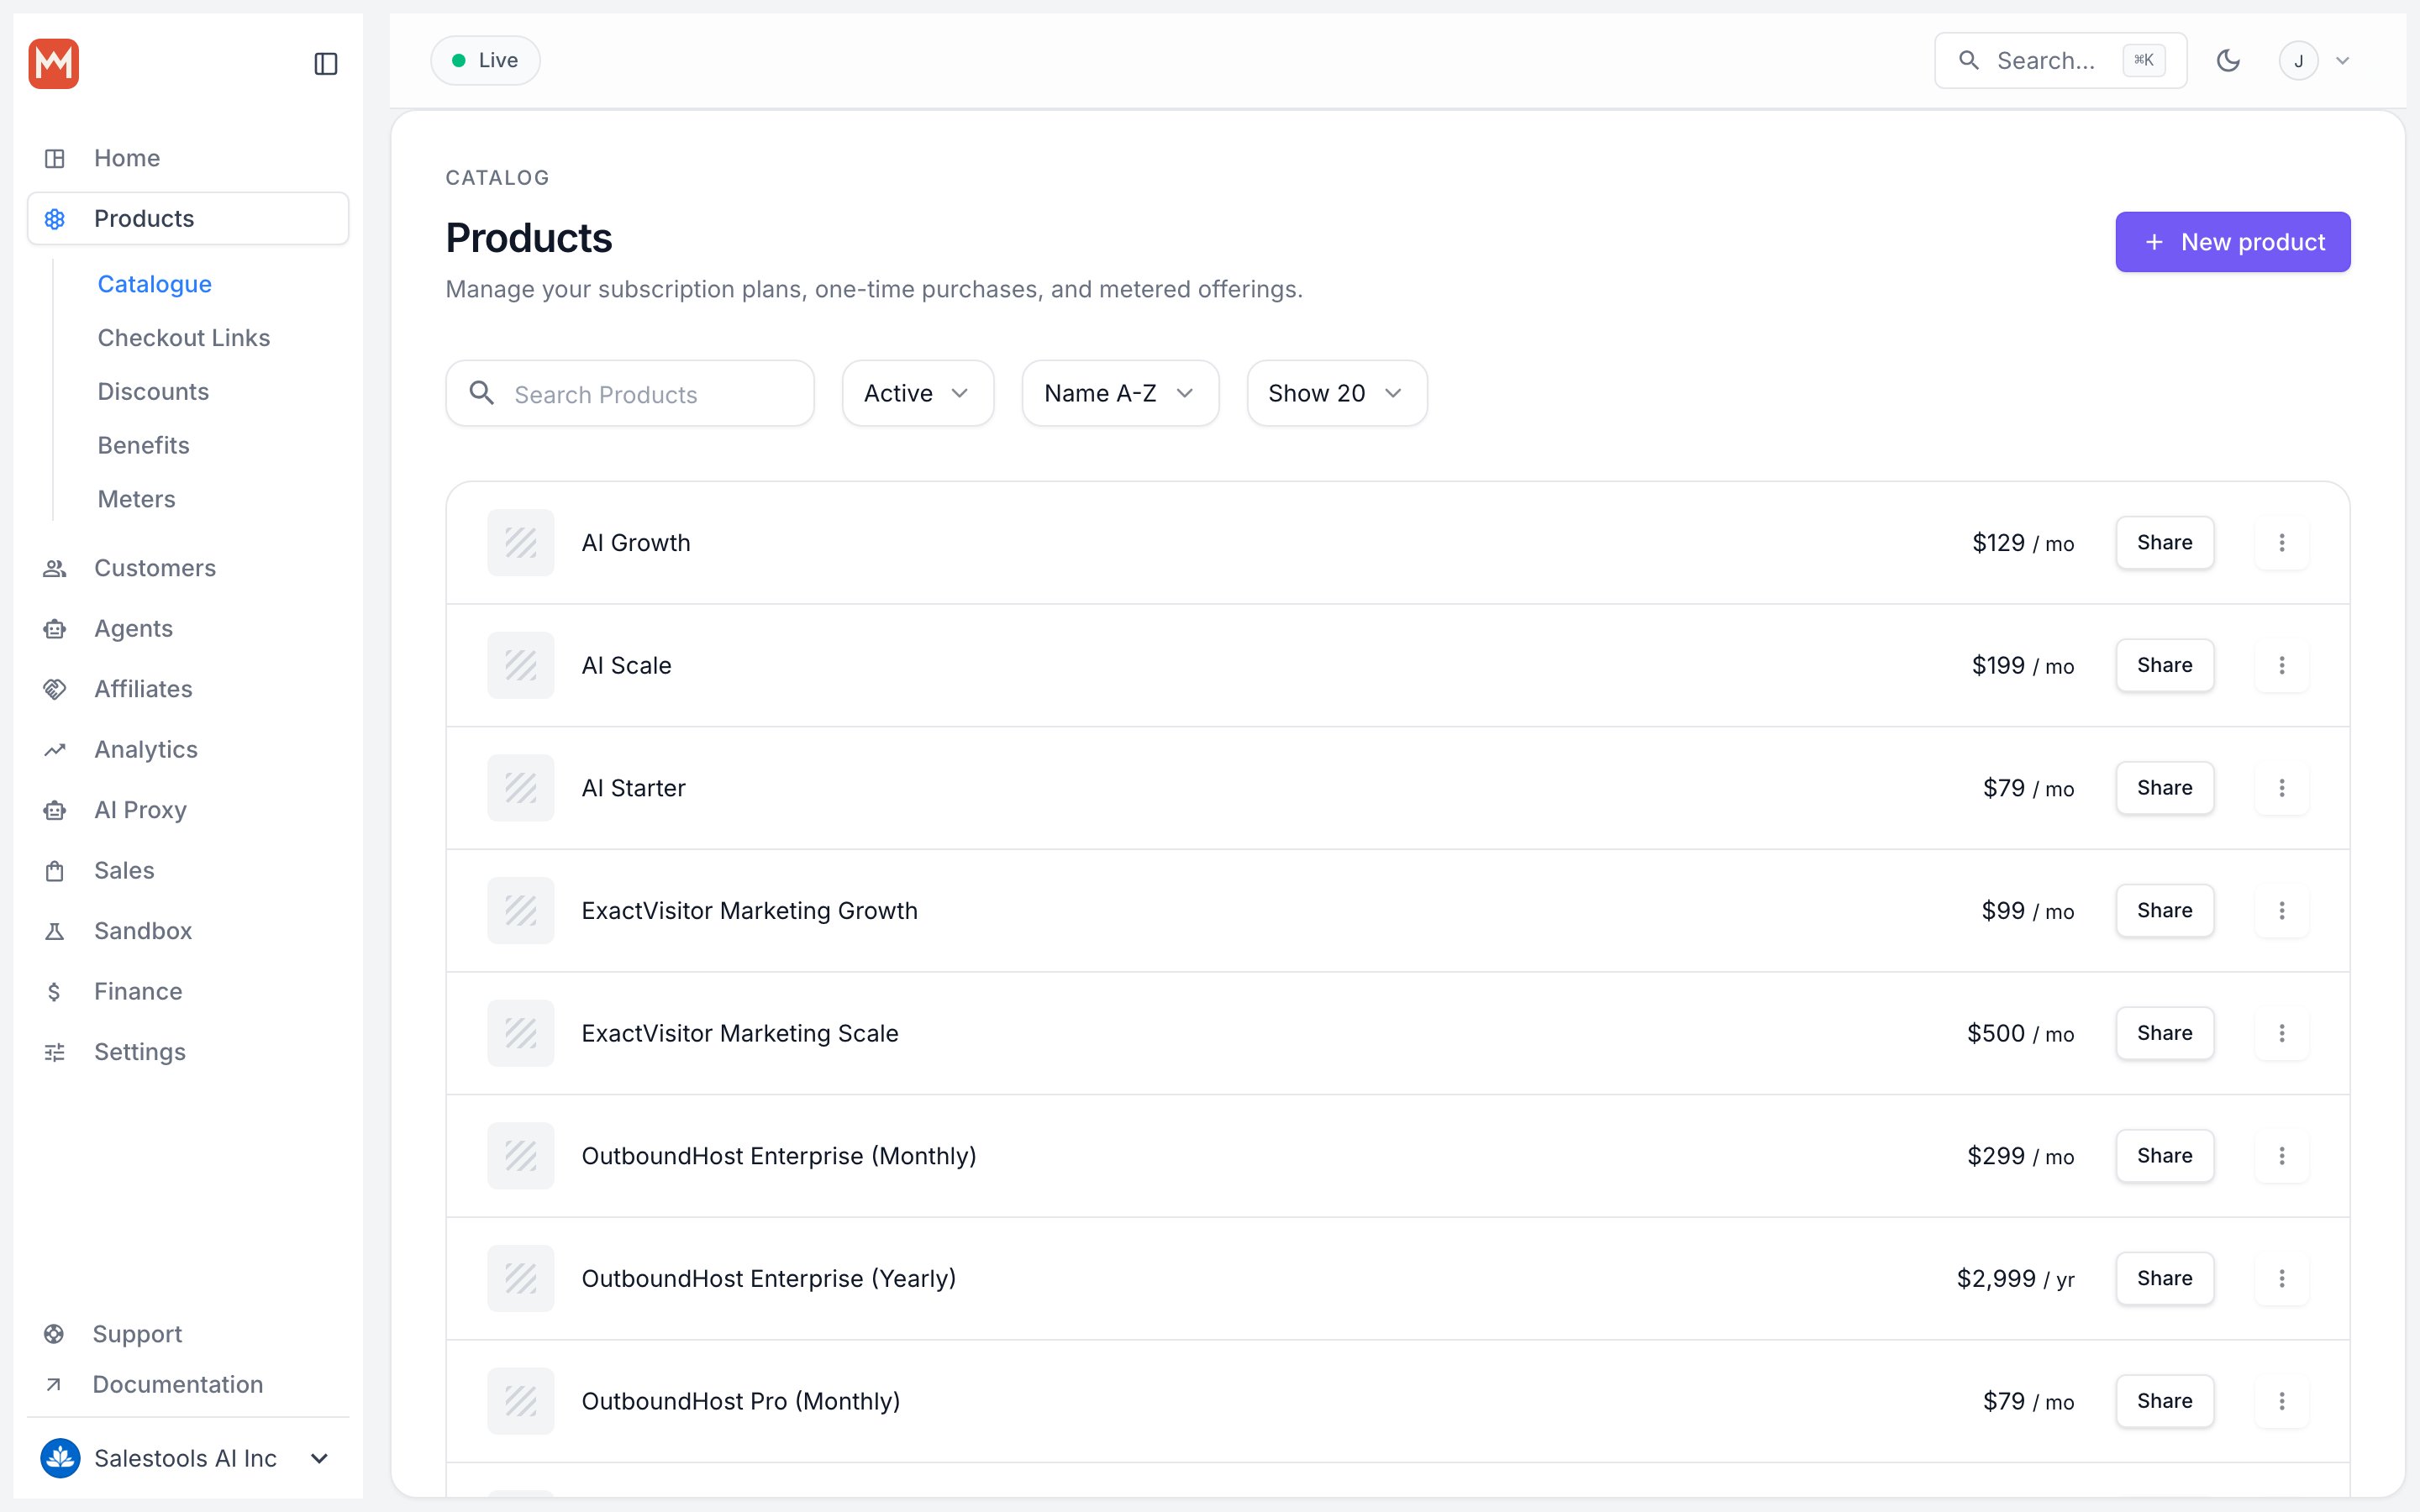
Need a new benefit instead of an existing one? Click Create new and fill in the configuration exactly as in Step 1 — Create the Custom Benefit.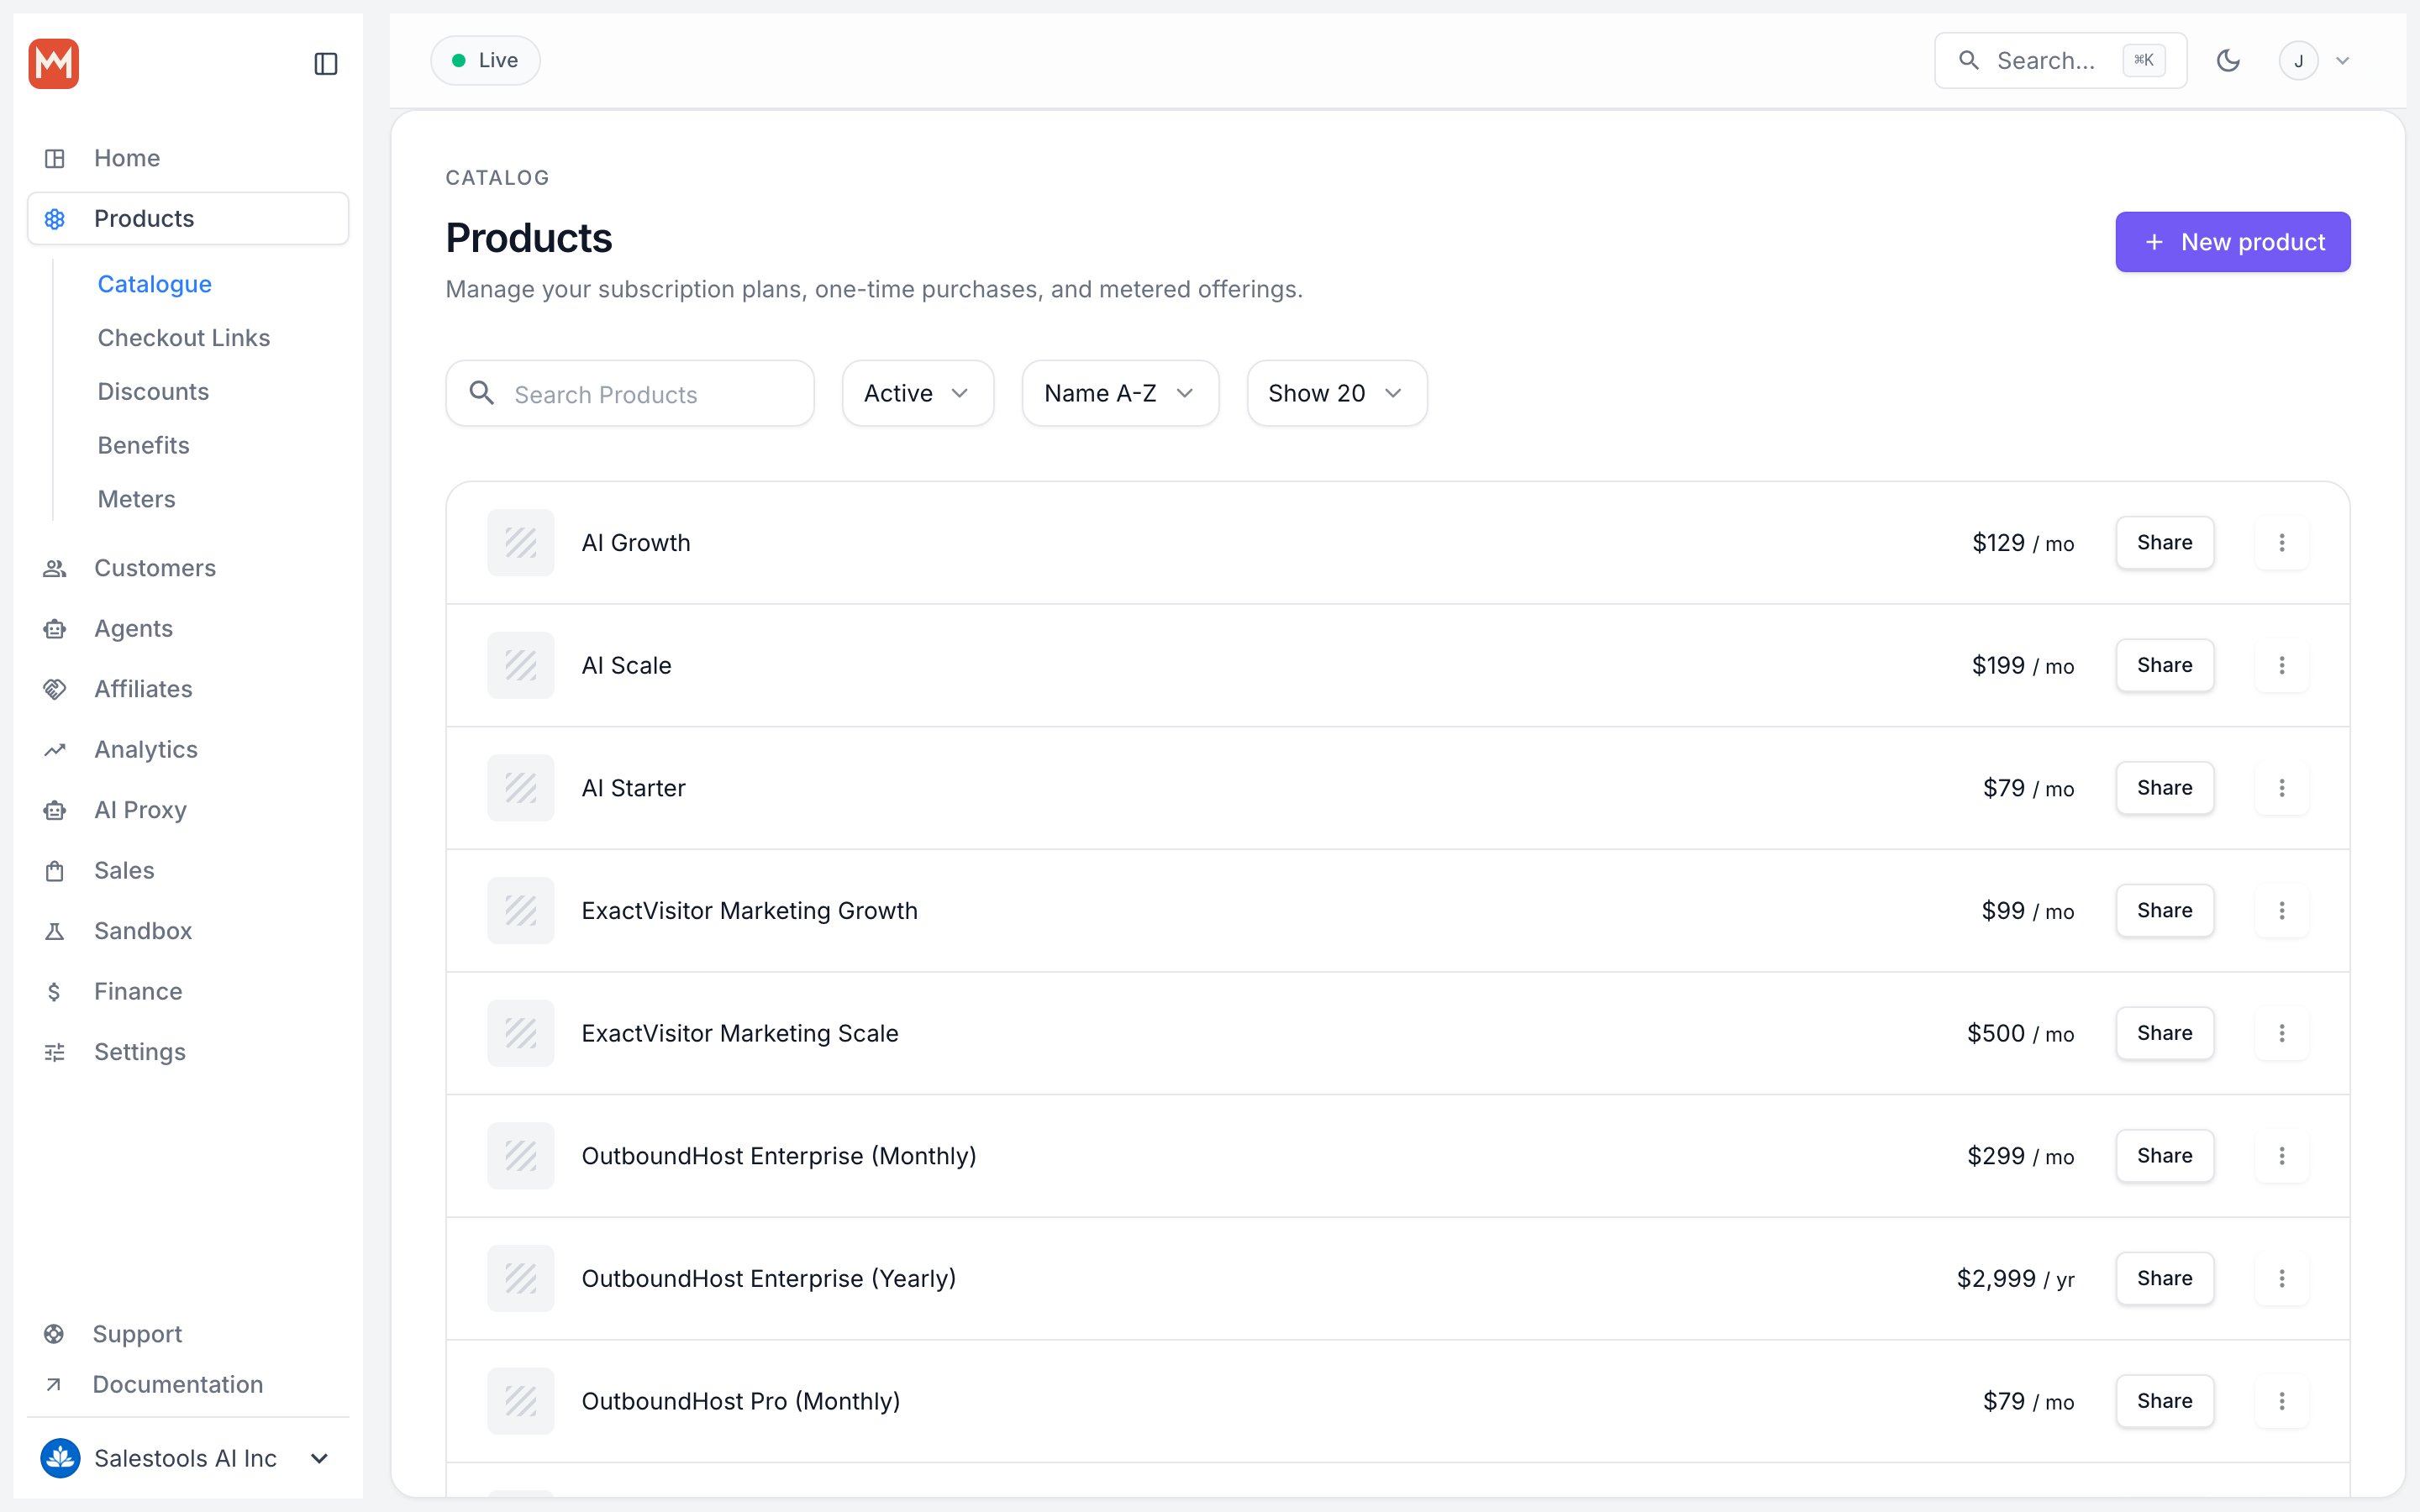
5
Save the product
Click Create Product.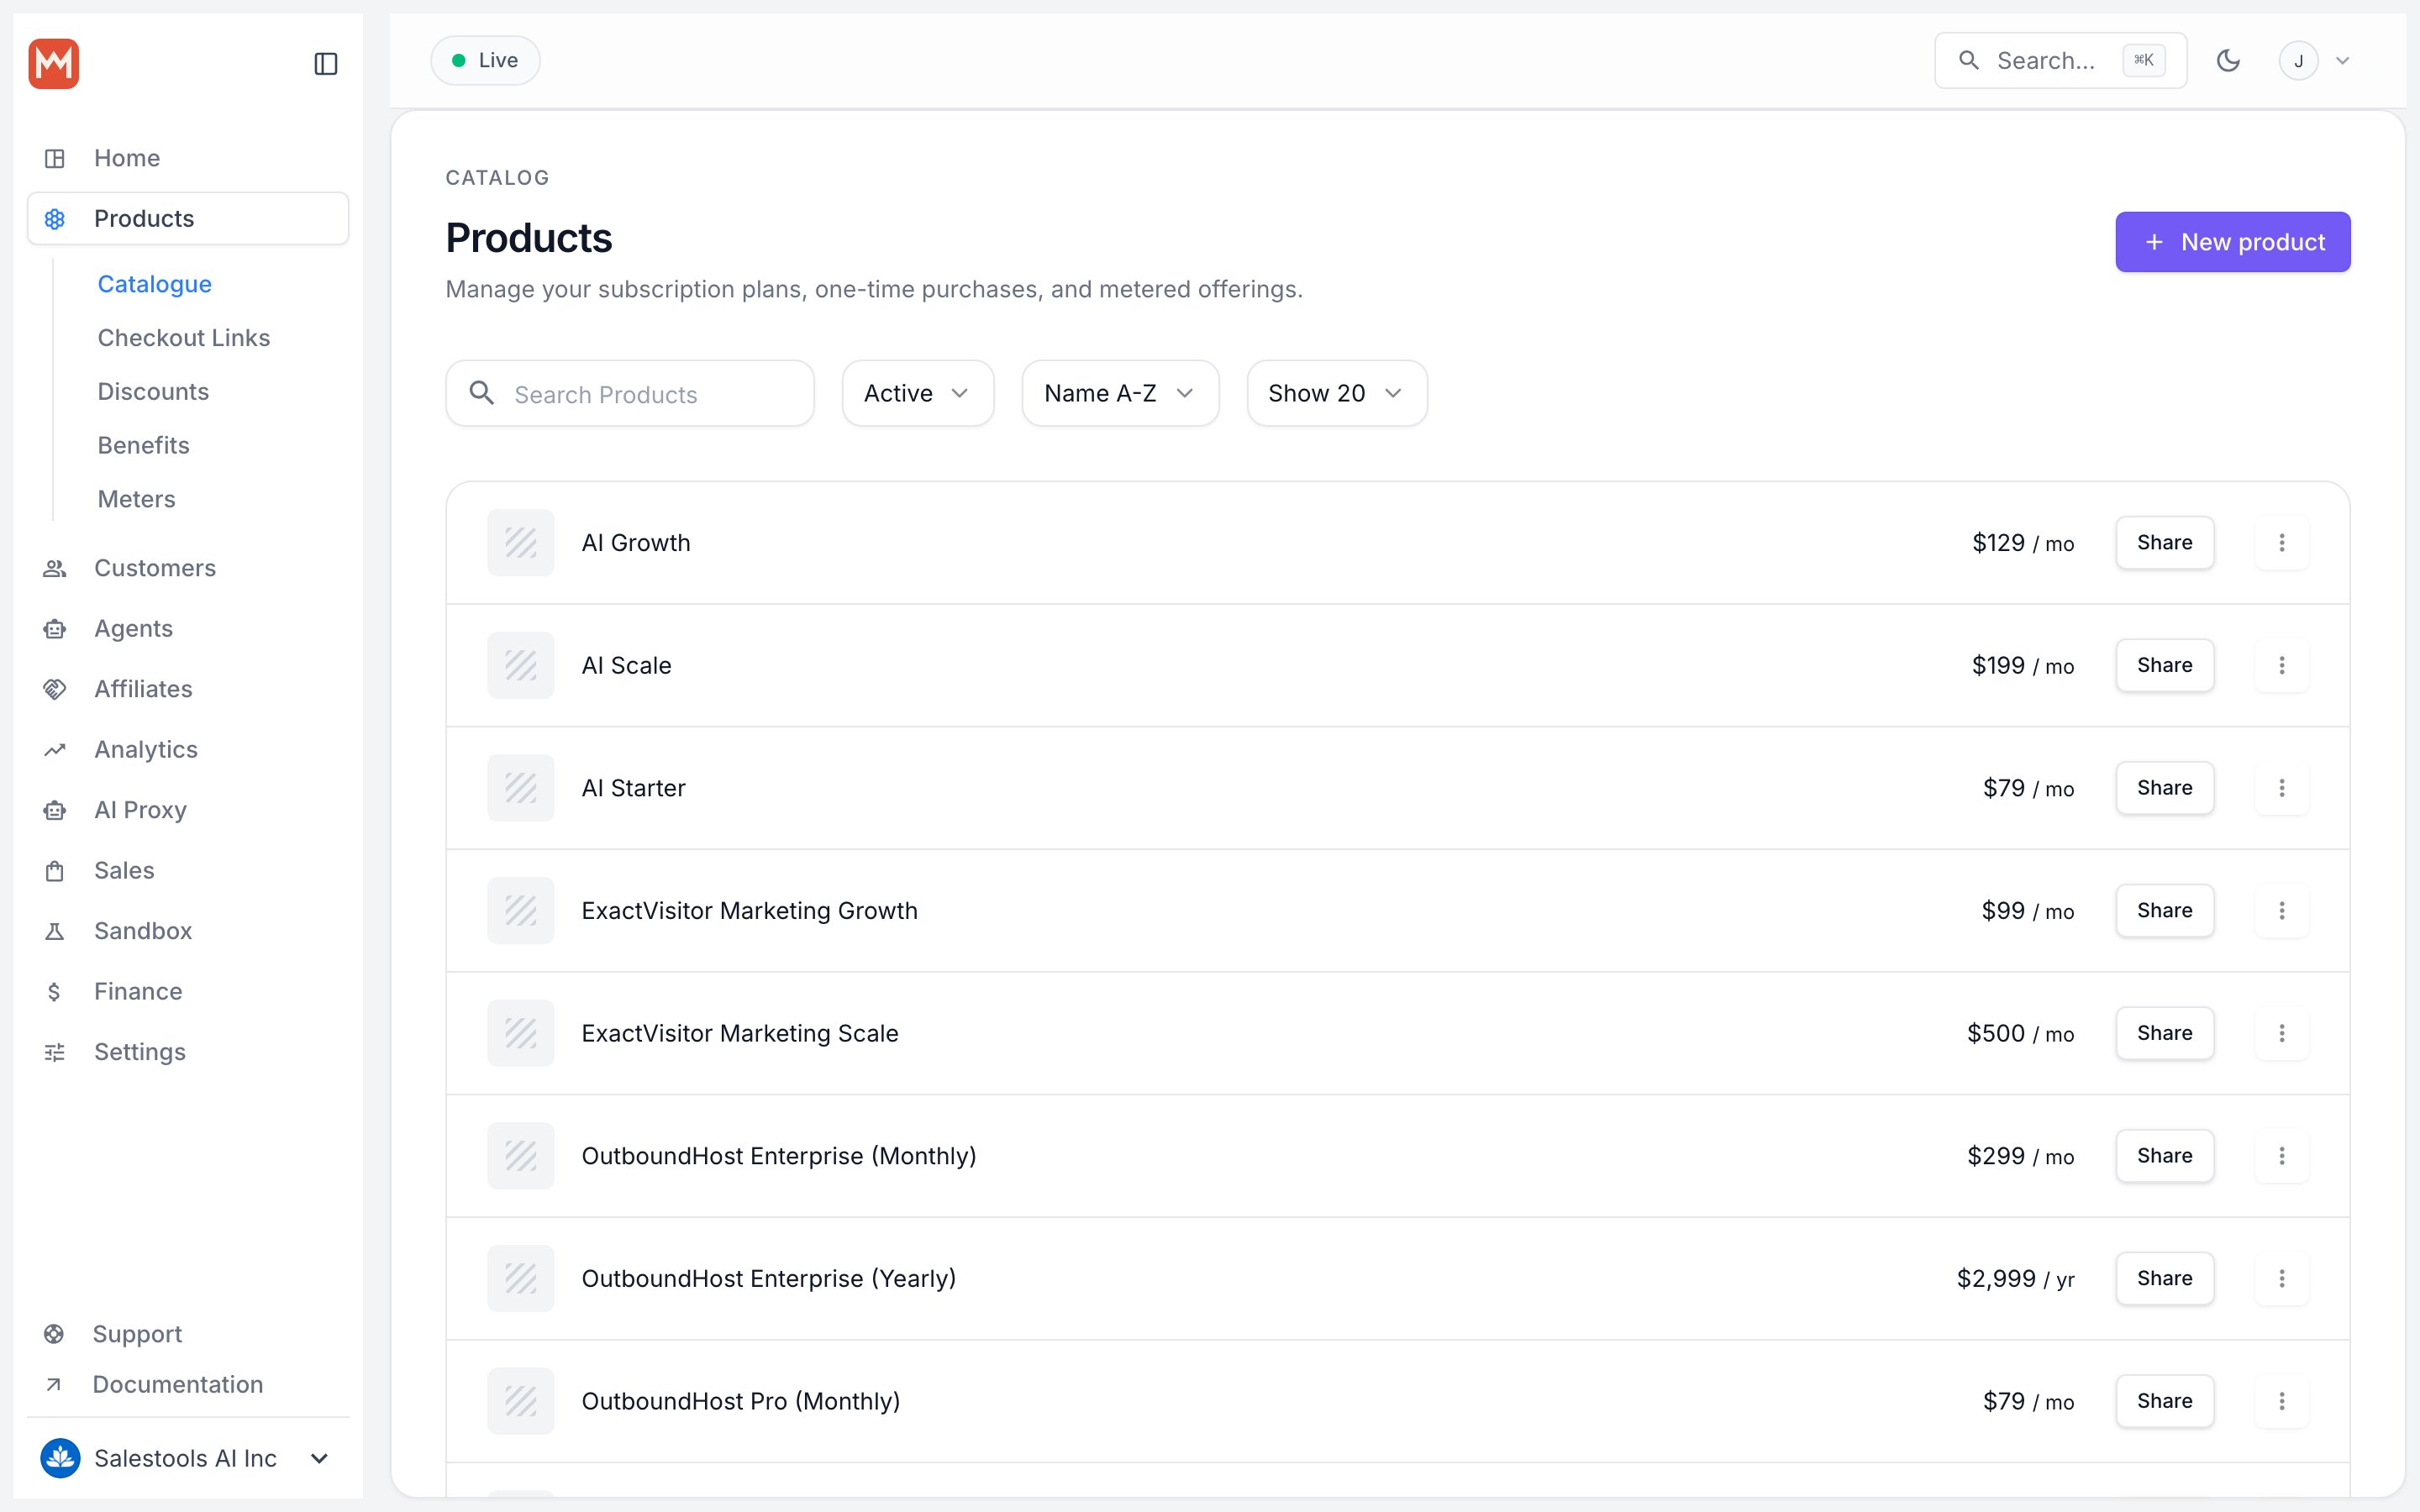
Where the link shows up
Once the benefit is attached, your customer sees it at every touchpoint of the purchase. The link inside the Private note stays hidden until the payment completes.On the checkout page
When a customer opens checkout, the Description of your Custom Benefit appears under Included — so they know what they’re getting before they pay. The link itself stays gated.
Right after purchase
The moment payment succeeds, the confirmation screen renders the Description, the Benefit Type (here, Custom), and the Markdown from your Private note — making your link immediately clickable.
In the confirmation email
Macropay also includes the Description and rendered Markdown in the purchase confirmation email, so the link reaches the customer’s inbox automatically.
In the customer portal
Following the link in their confirmation email opens the customer portal, where the Custom Benefit — and your link — stay available whenever the customer returns.