

Reordering the products shown in a checkout is currently an API-only capability. There is no dashboard toggle for it yet.
What you’ll need
Step 1 — Get a token and your product IDs
1
Mint an organization access token
Follow the Organization Access Tokens guide to create a token. After it’s generated, copy it immediately — it’s shown only once.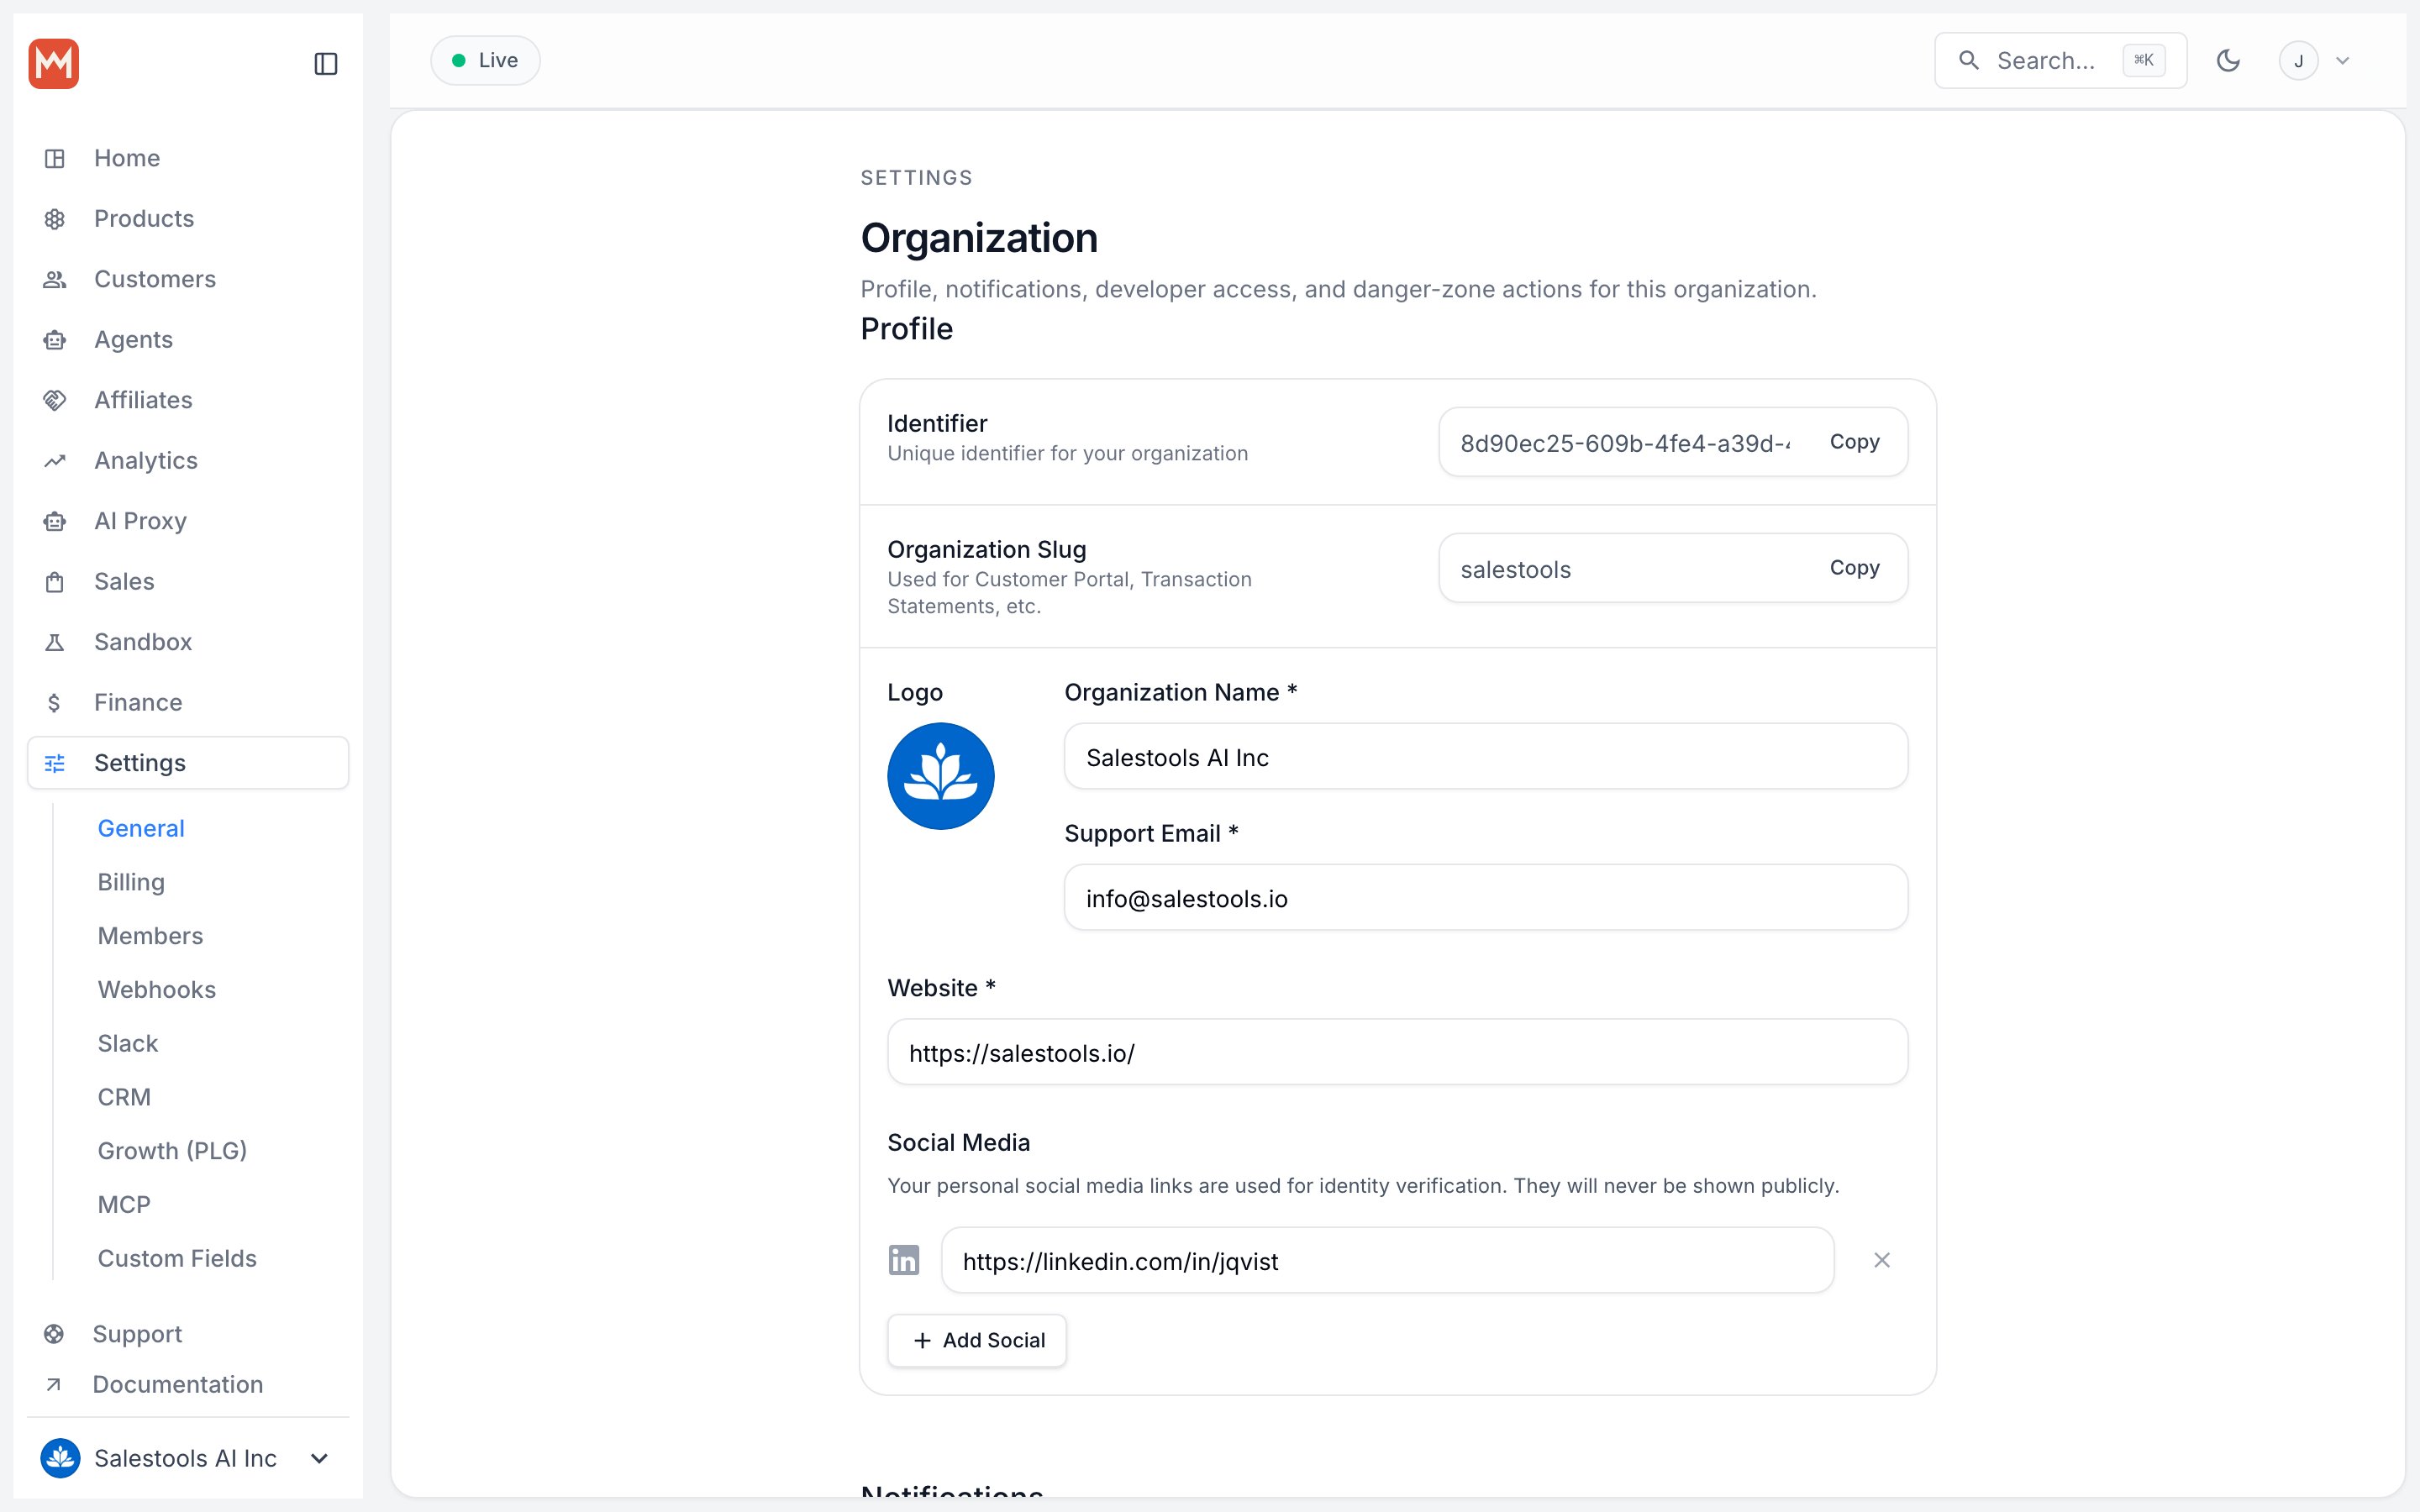
2
Open the product catalogue
In the dashboard sidebar, go to Products → Catalogue, or jump straight to 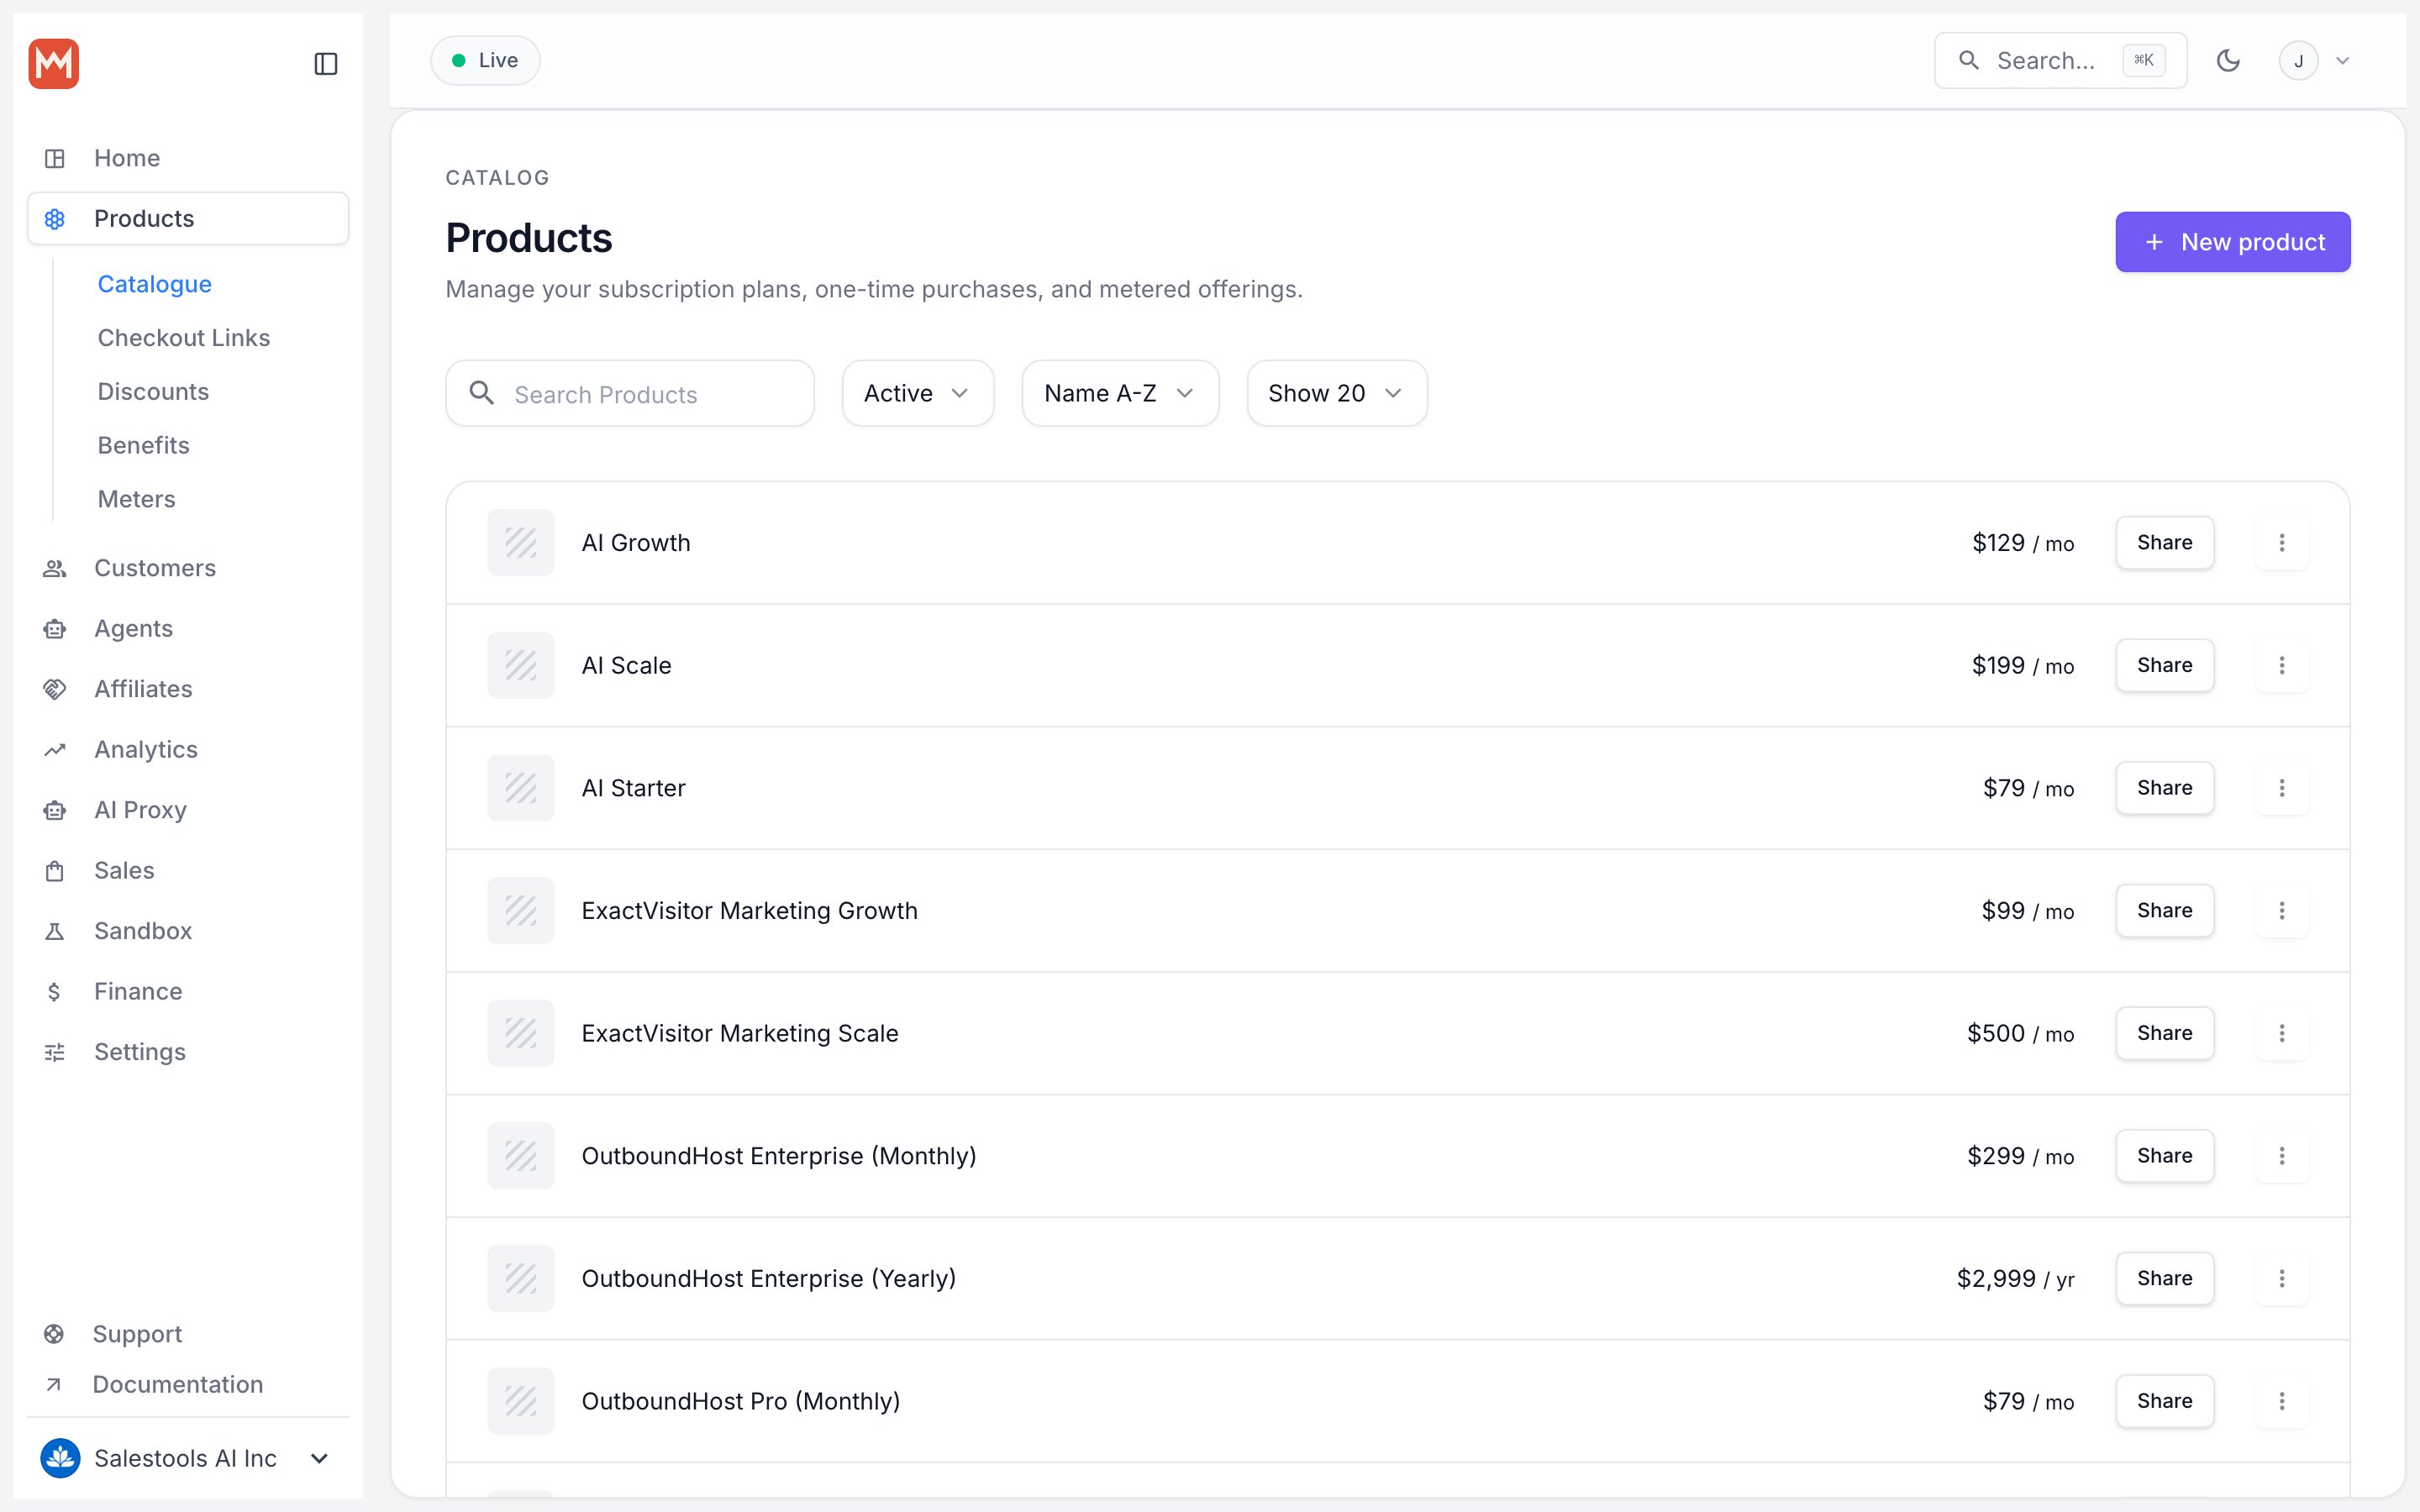
https://macropay.ai/dashboard/${org_slug}/products.3
Copy each product ID
For every product you want in the checkout, open the ⋮ (More options) menu beside it and choose Copy Product ID. Keep these handy — the order you list them in next is the order buyers will see.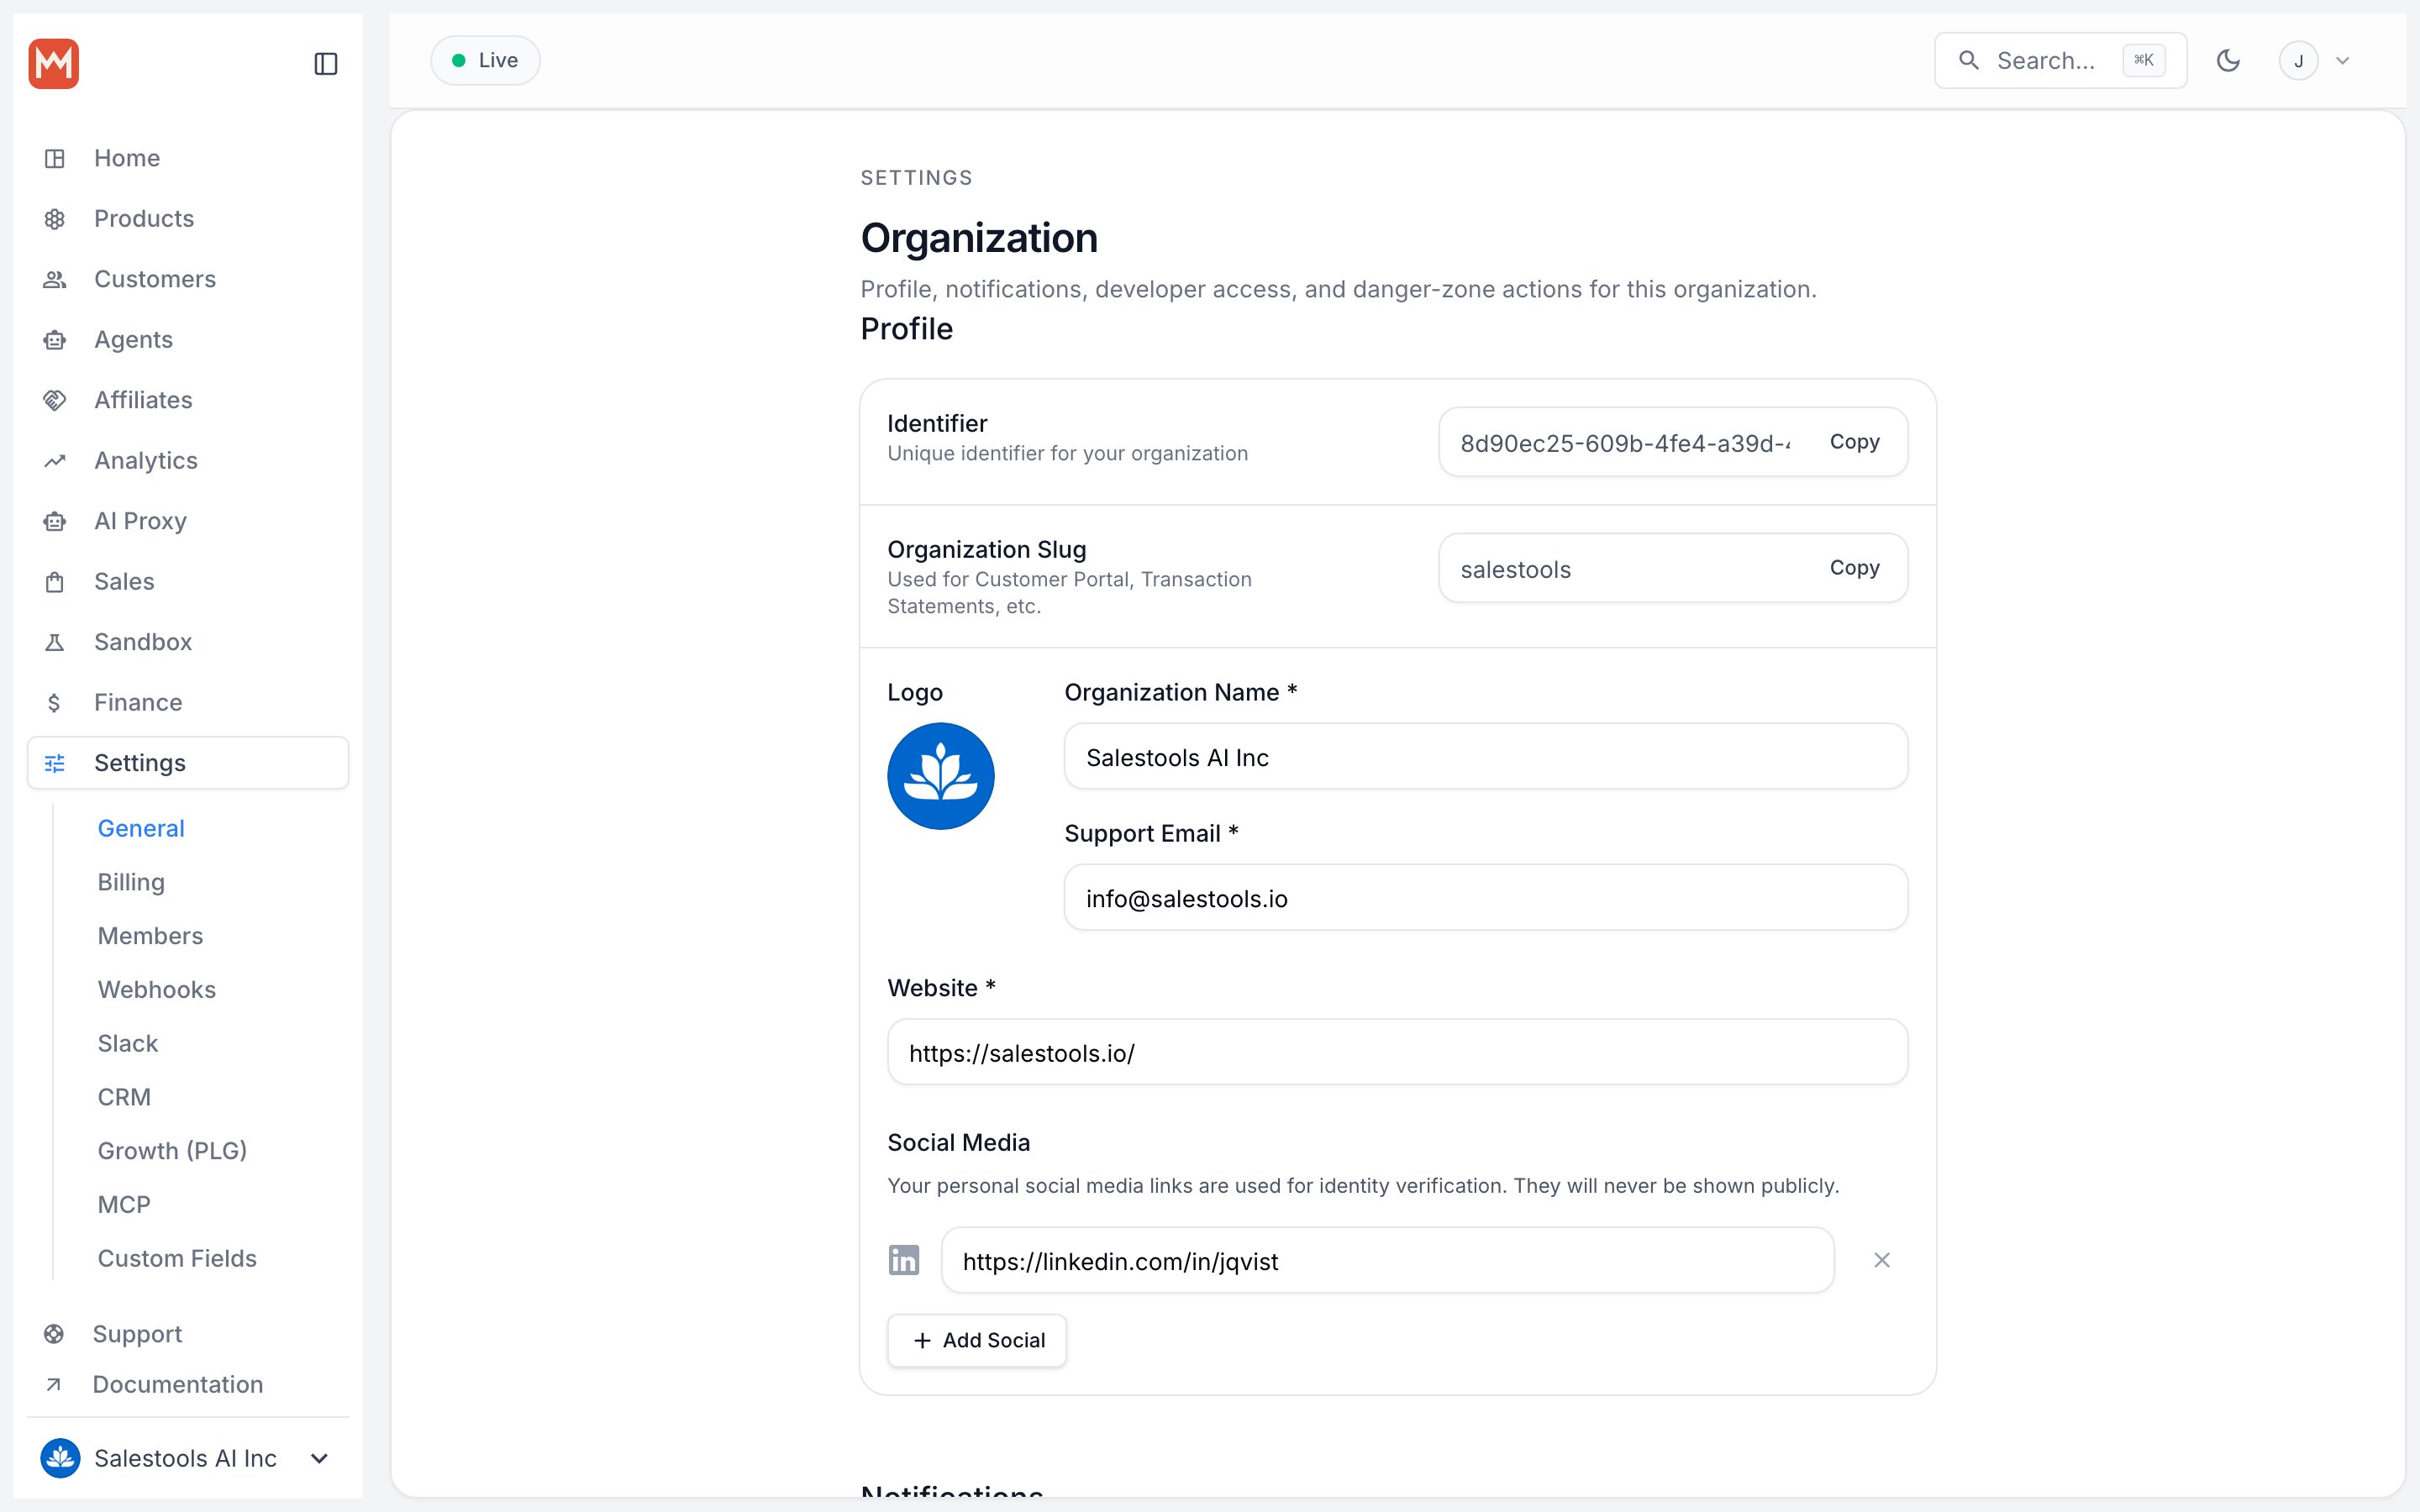
Step 2 — Order products in a checkout link
Checkout links are reusable, shareable URLs — drop one in an email, a docs page, or a Slack message and anyone who opens it lands on a ready-to-pay checkout. Theproducts array sets the order.
1
Create the link with products in your preferred order
Replace Every available parameter is documented in the Create Checkout Link API reference.
<YOUR_ACCESS_TOKEN> with your token, then list the product IDs top-to-bottom in the order you want them rendered.Your token needs the
checkout_links:write scope to call the Create Checkout Link endpoint.Terminal
2
Open the returned URL
The response is JSON. Grab the With the Starter plan listed first, it appears first on the page: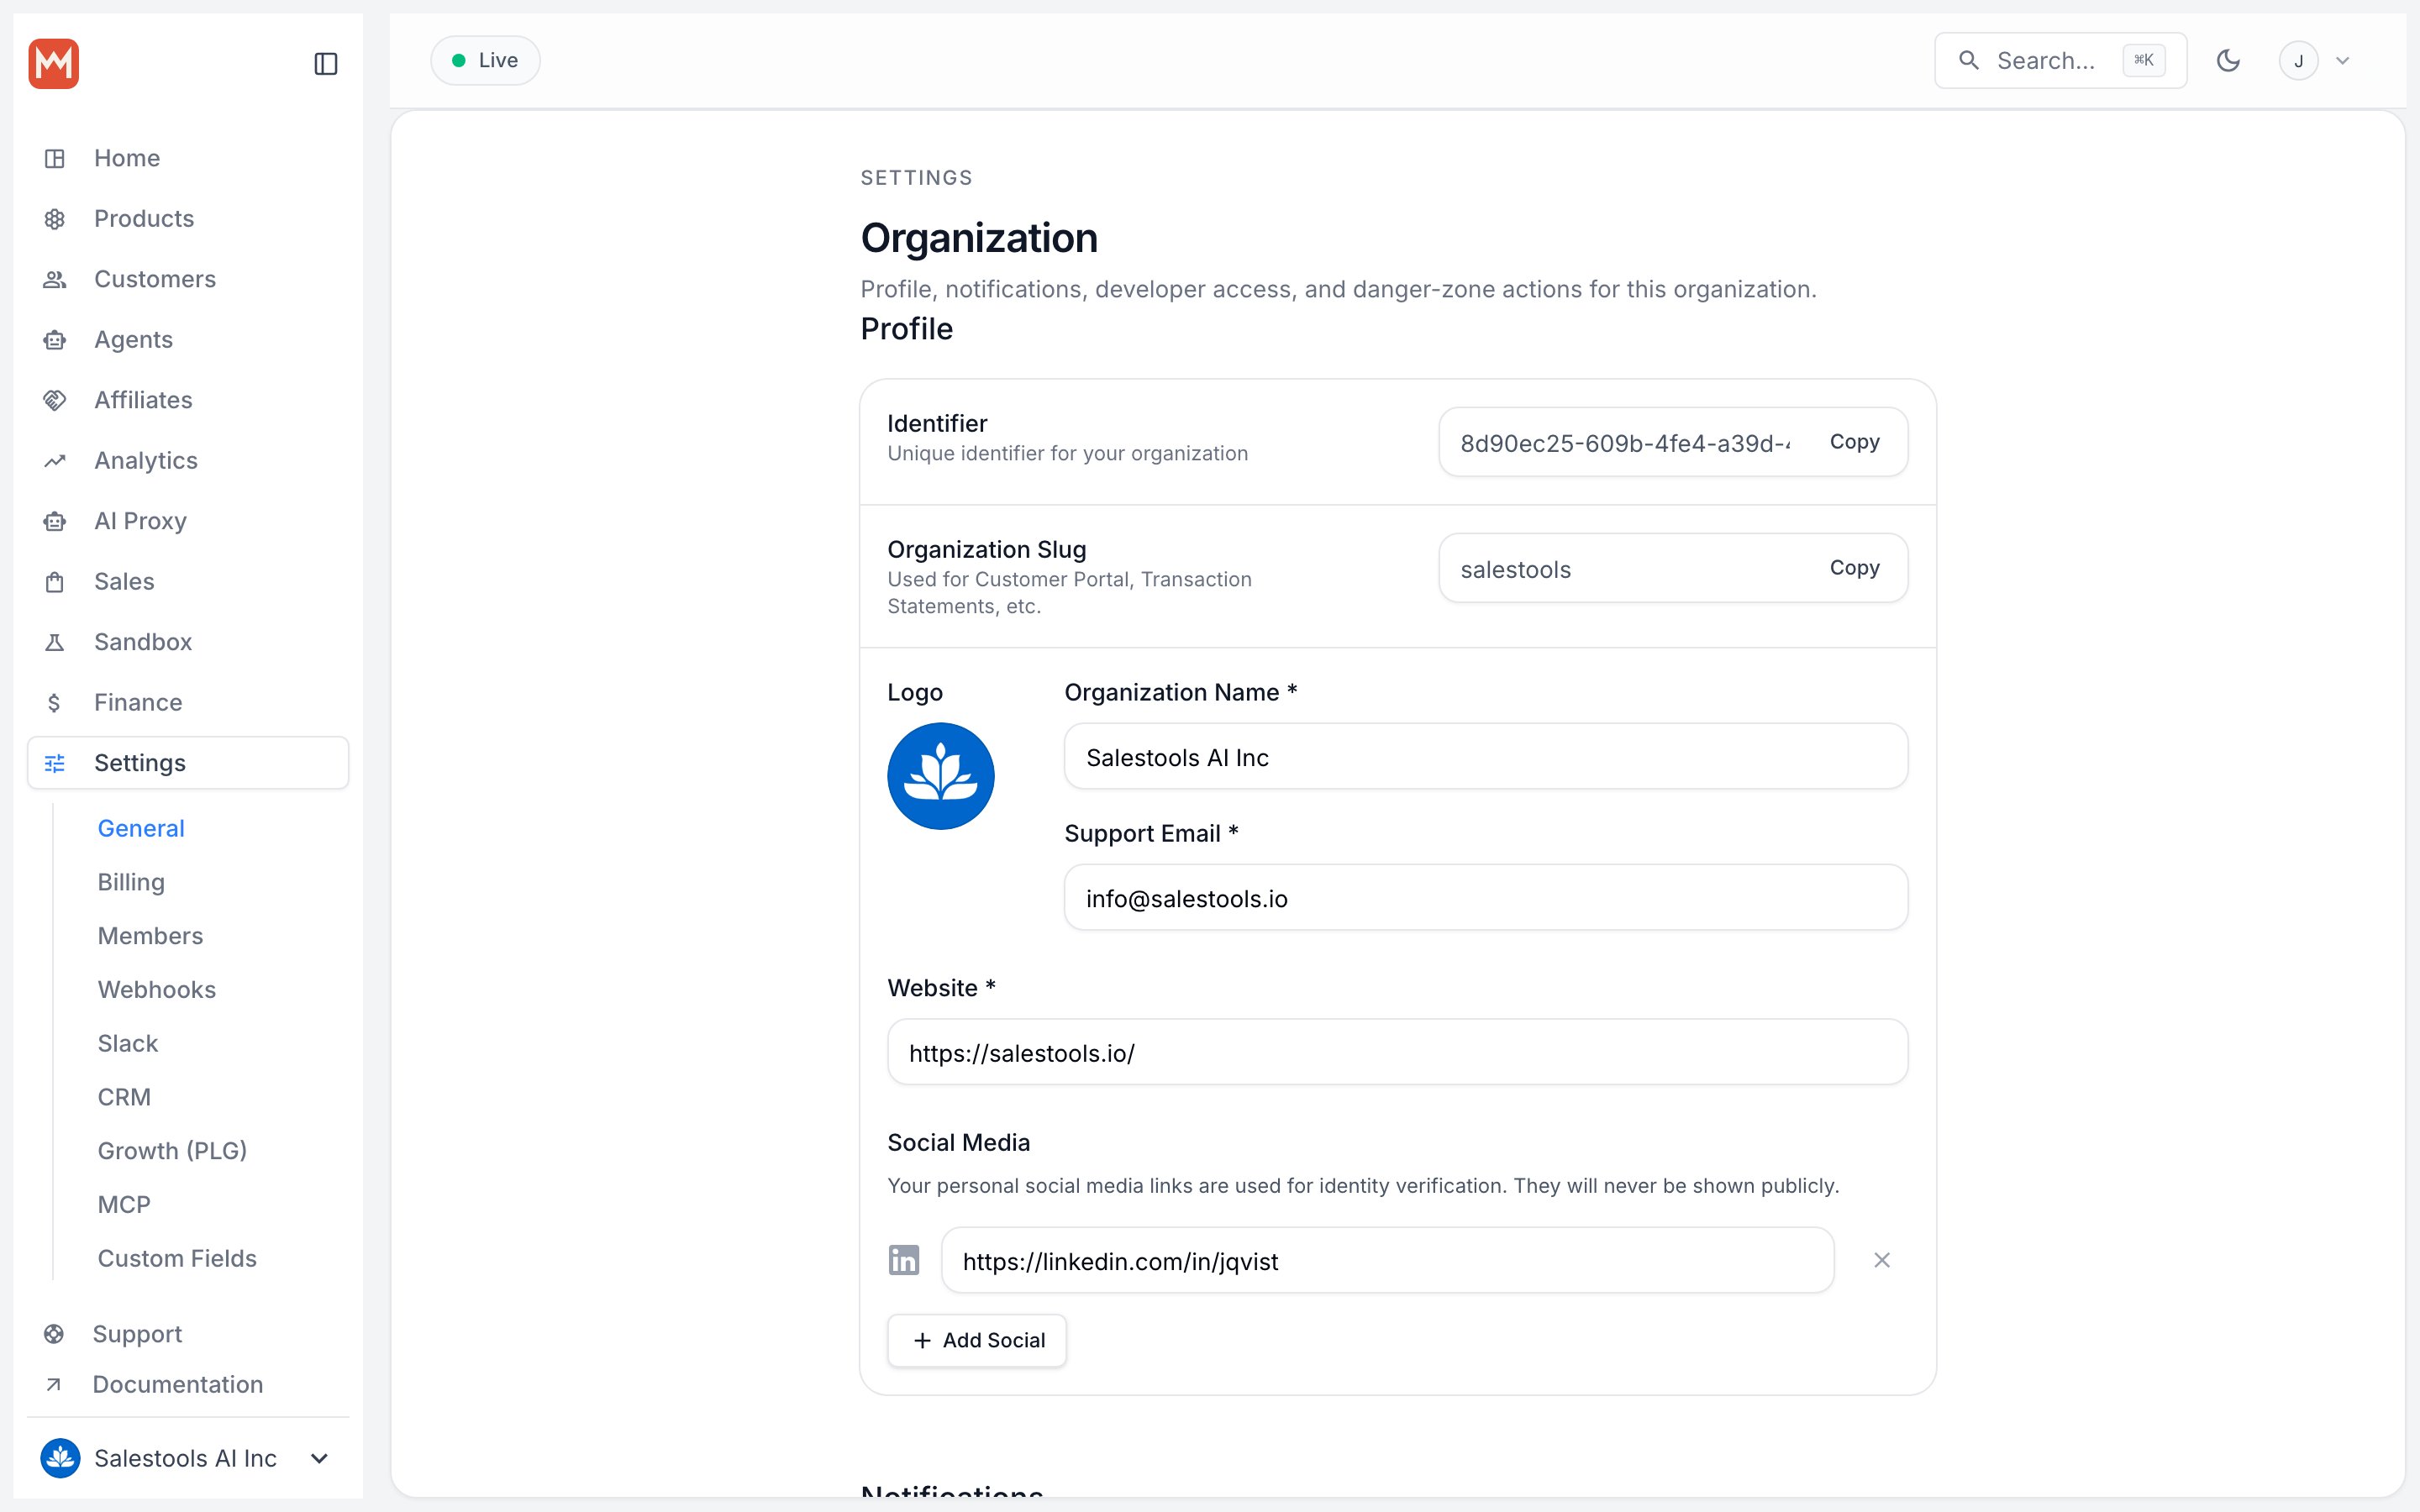
url field and open it in a browser.3
Flip the order
Want the Pro plan to lead instead? Swap the array so its ID comes first.The checkout now leads with the Pro plan:
Terminal
Step 3 — Order products in a checkout session
Checkout sessions are best when you create a fresh checkout per buyer — for example, generating one on the fly when a customer clicks “Upgrade” or when an automation (Zapier, Raycast, or your own agent) needs a single-use payment URL. The ordering rule is identical: theproducts array decides the layout.
1
Create the session with your product order
Replace See every parameter in the Create Checkout Session API reference.
<YOUR_ACCESS_TOKEN> and list the product IDs in the order you want them shown.Your token needs the
checkouts:write scope to call the Create Checkout Session endpoint.Terminal
2
Open the returned URL
Read the Starter first in the request, Starter first on the page:
url field from the JSON response and open it.3
Flip the order
Reverse the array to lead with the Pro plan.The session now presents the Pro plan first:
Terminal