

What you’ll set up
A single product carrying two benefits — a custom link and a downloadable file — then reorder them so the file leads. The same drag-and-drop step applies to any benefit type: license keys, Discord access, GitHub repo access, or prepaid credits.1
Add two benefits
Create the benefits you want to attach. For this walkthrough:
- A custom benefit that shares a post-purchase onboarding link.
- A file downloads benefit that delivers your asset bundle.
You don’t have to build benefits up front. While configuring a product, hit 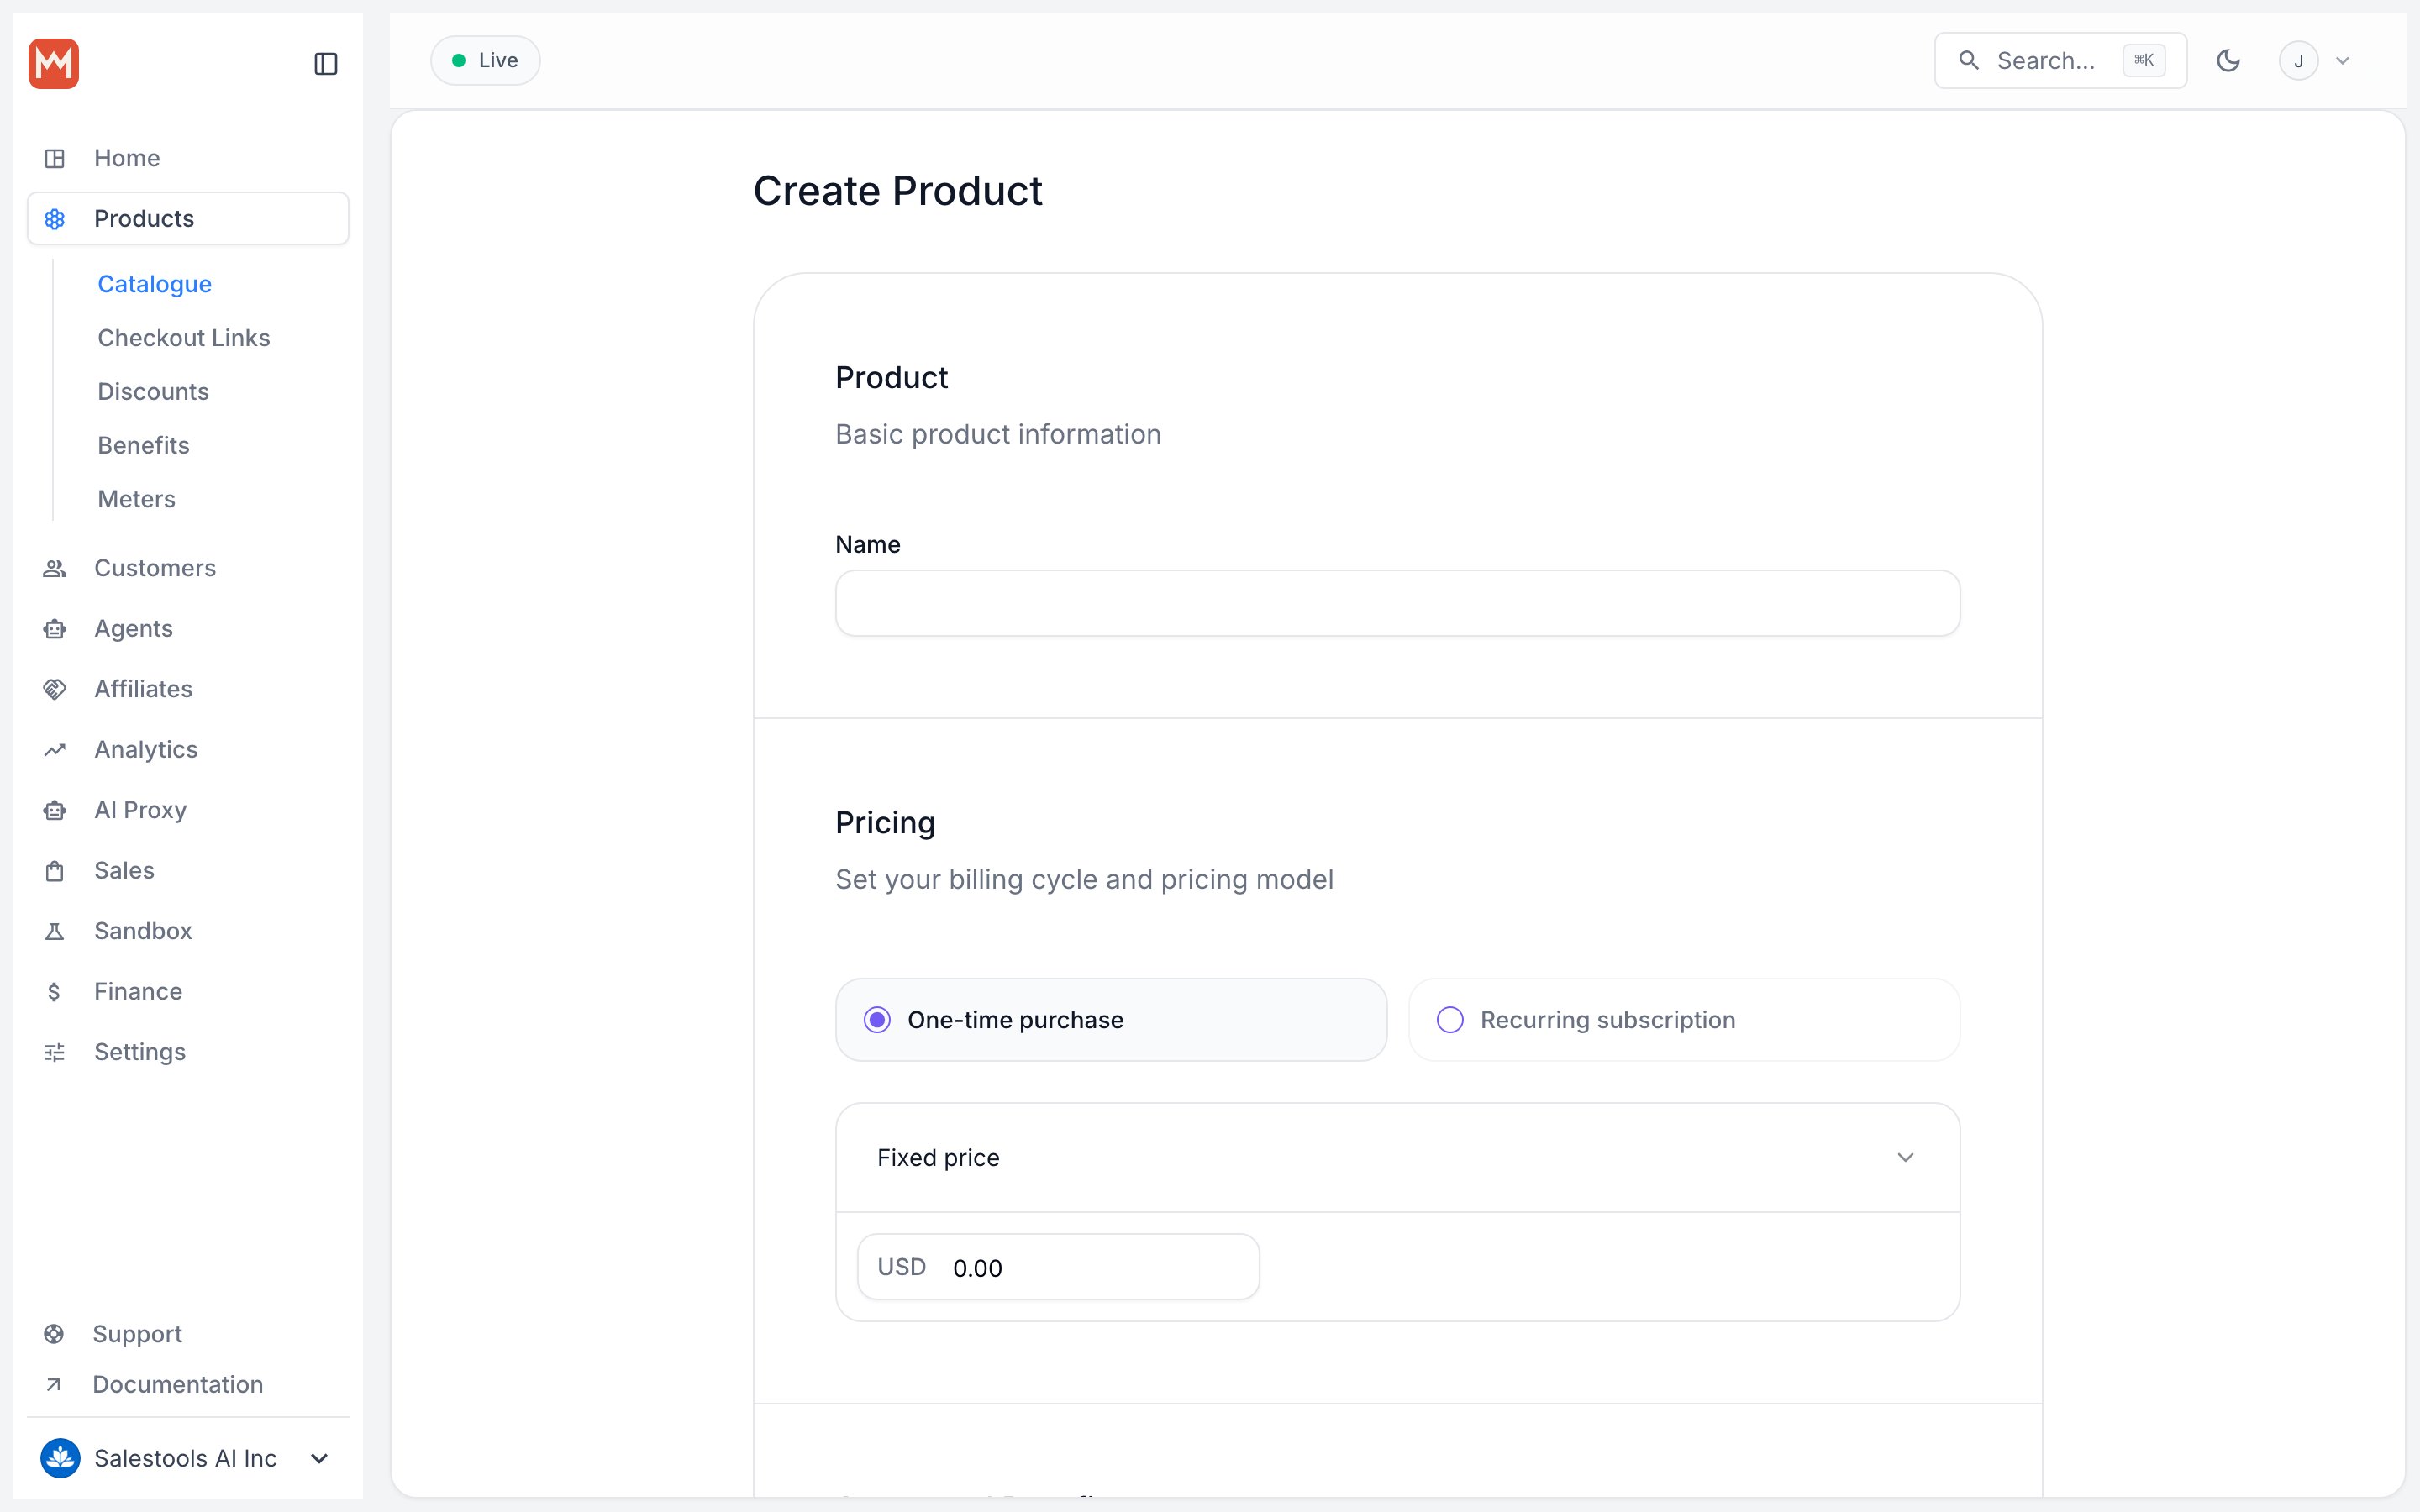
Create New under the relevant benefit type in the Automated Benefits section to define one inline.2
Attach them to a product
Create a product and grant both benefits from the step above. Products work the same whether they’re one-time or subscription — entitlements attach identically either way.
3
Generate a checkout link
Spin up a checkout link for the product to preview the buyer experience.
4
See the default order
Open the link. Benefits render in the order they were added — here the custom Product Link benefit shows first, with the Product File download below it.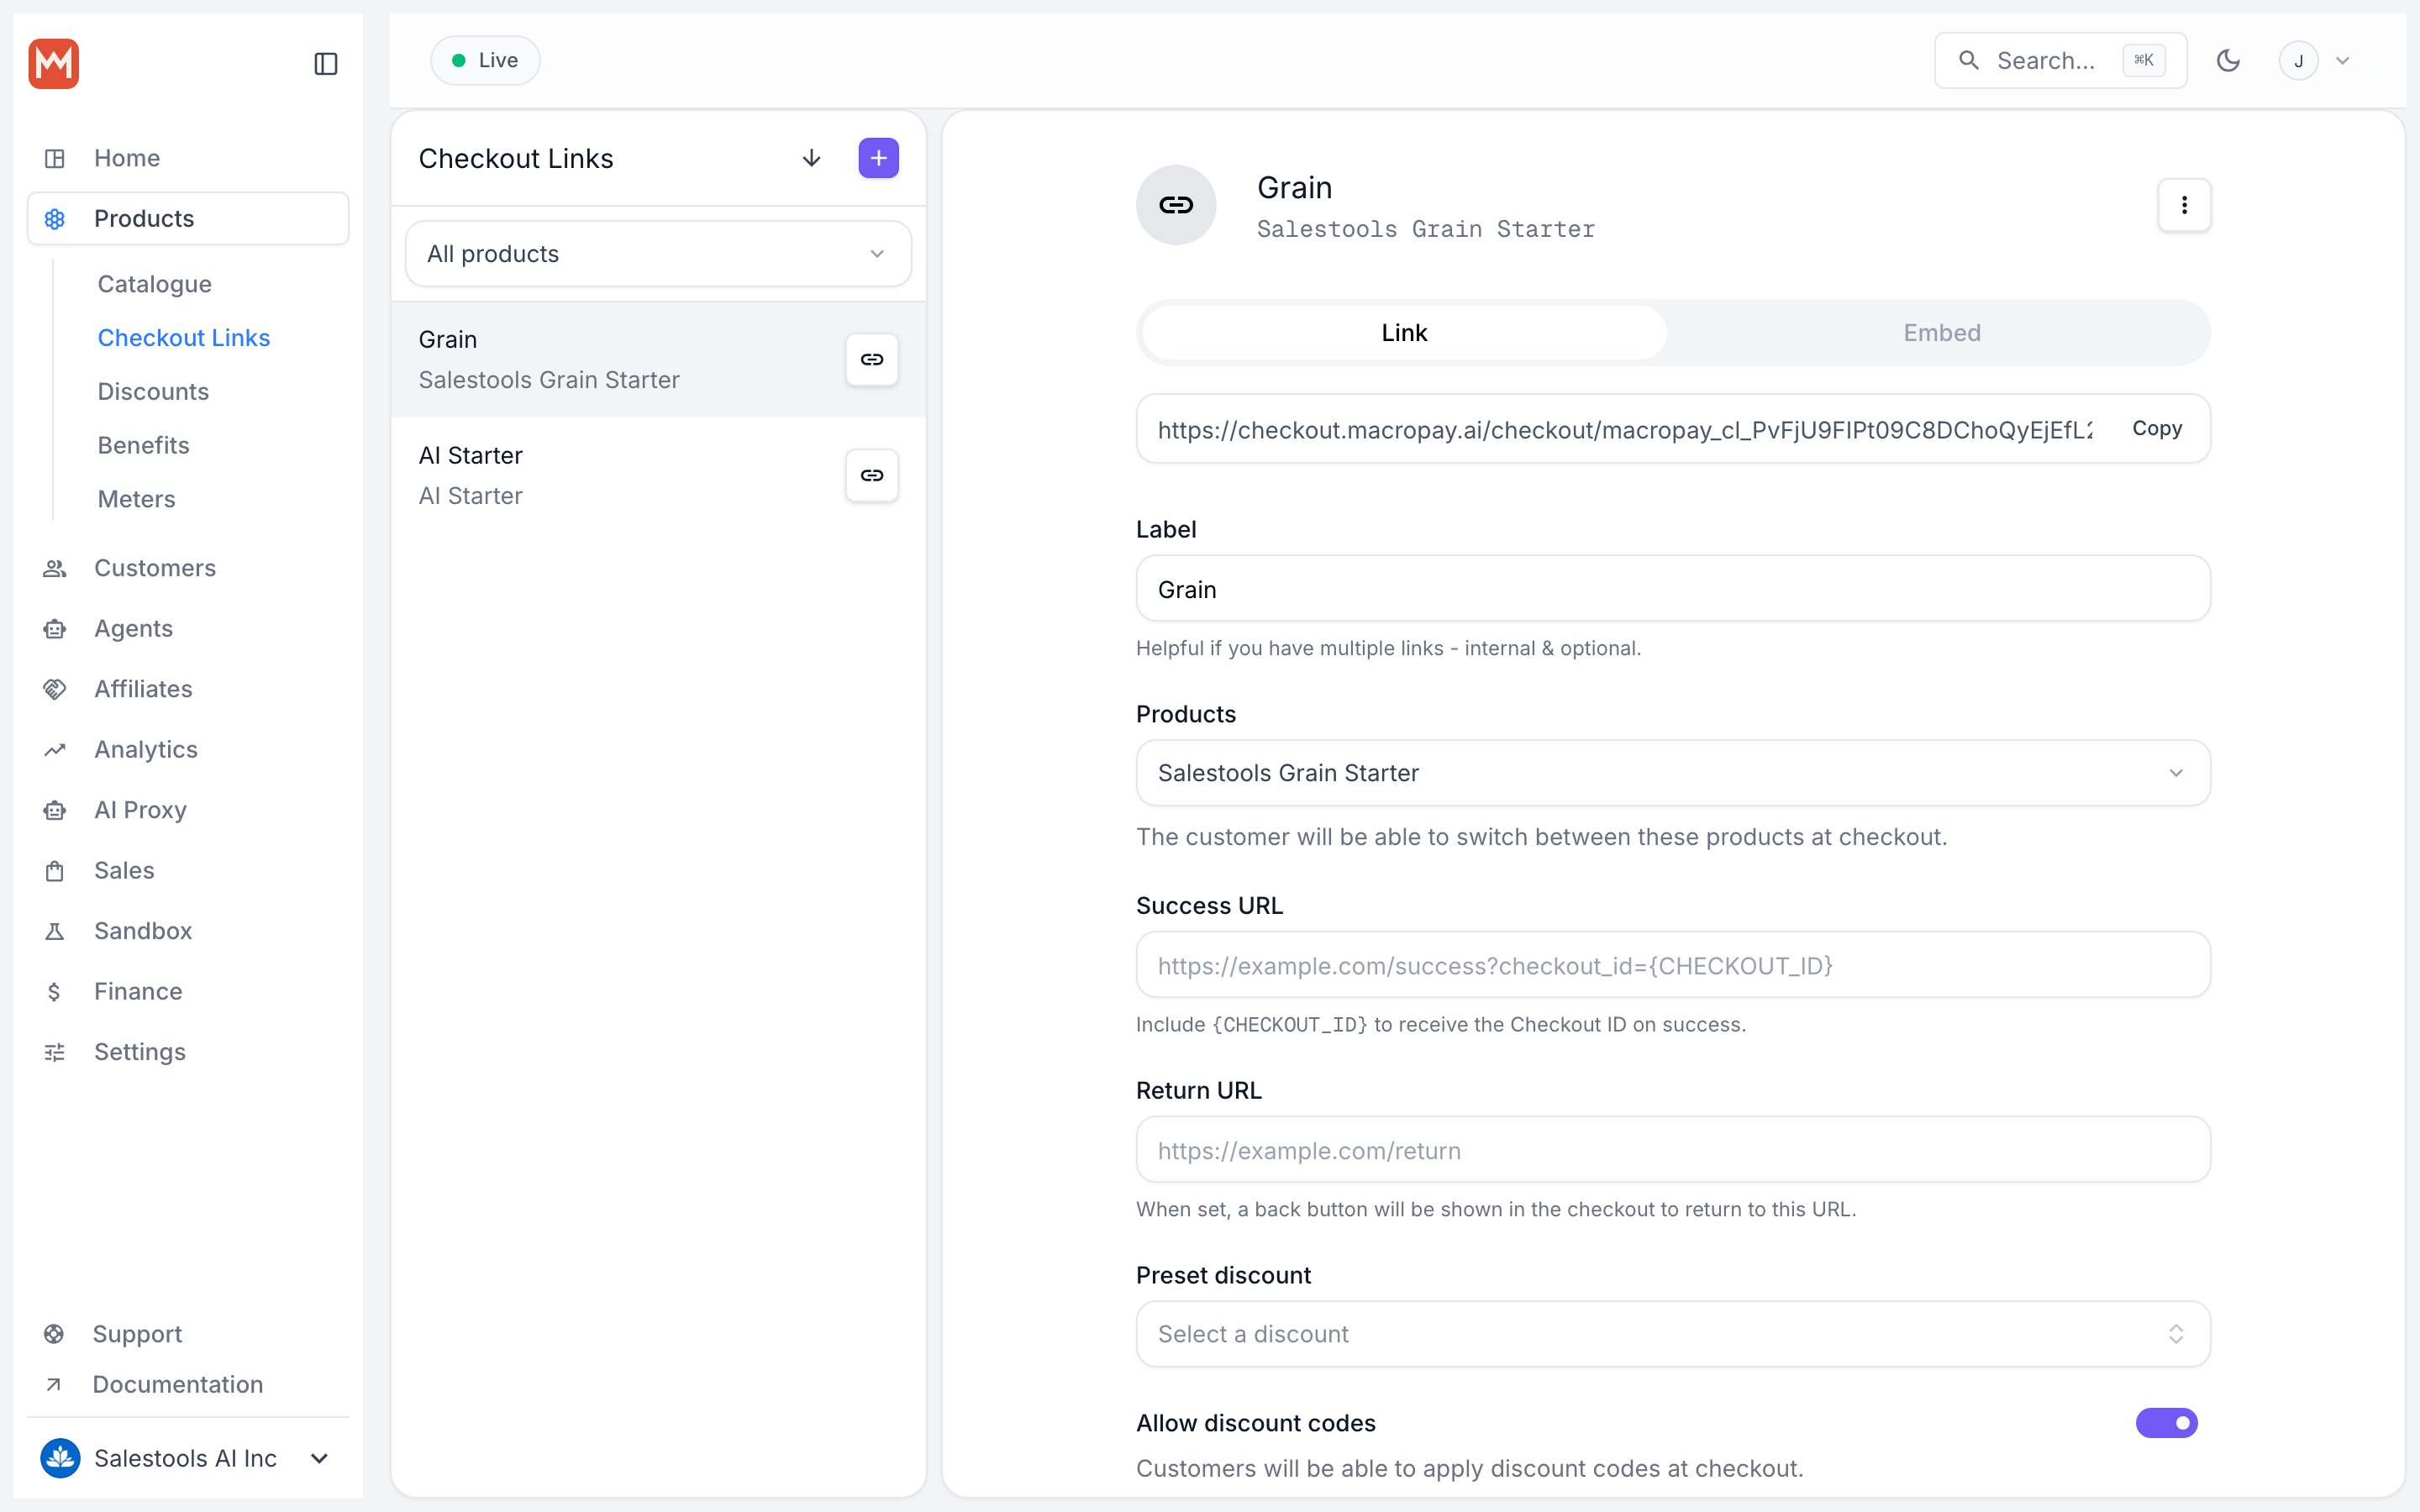
Reorder the benefits
Reordering happens on the product itself, so the new sequence applies everywhere that product is sold — no per-checkout configuration needed.1
Open your product catalogue
From the dashboard sidebar, go to Products → Catalogue. The direct route is 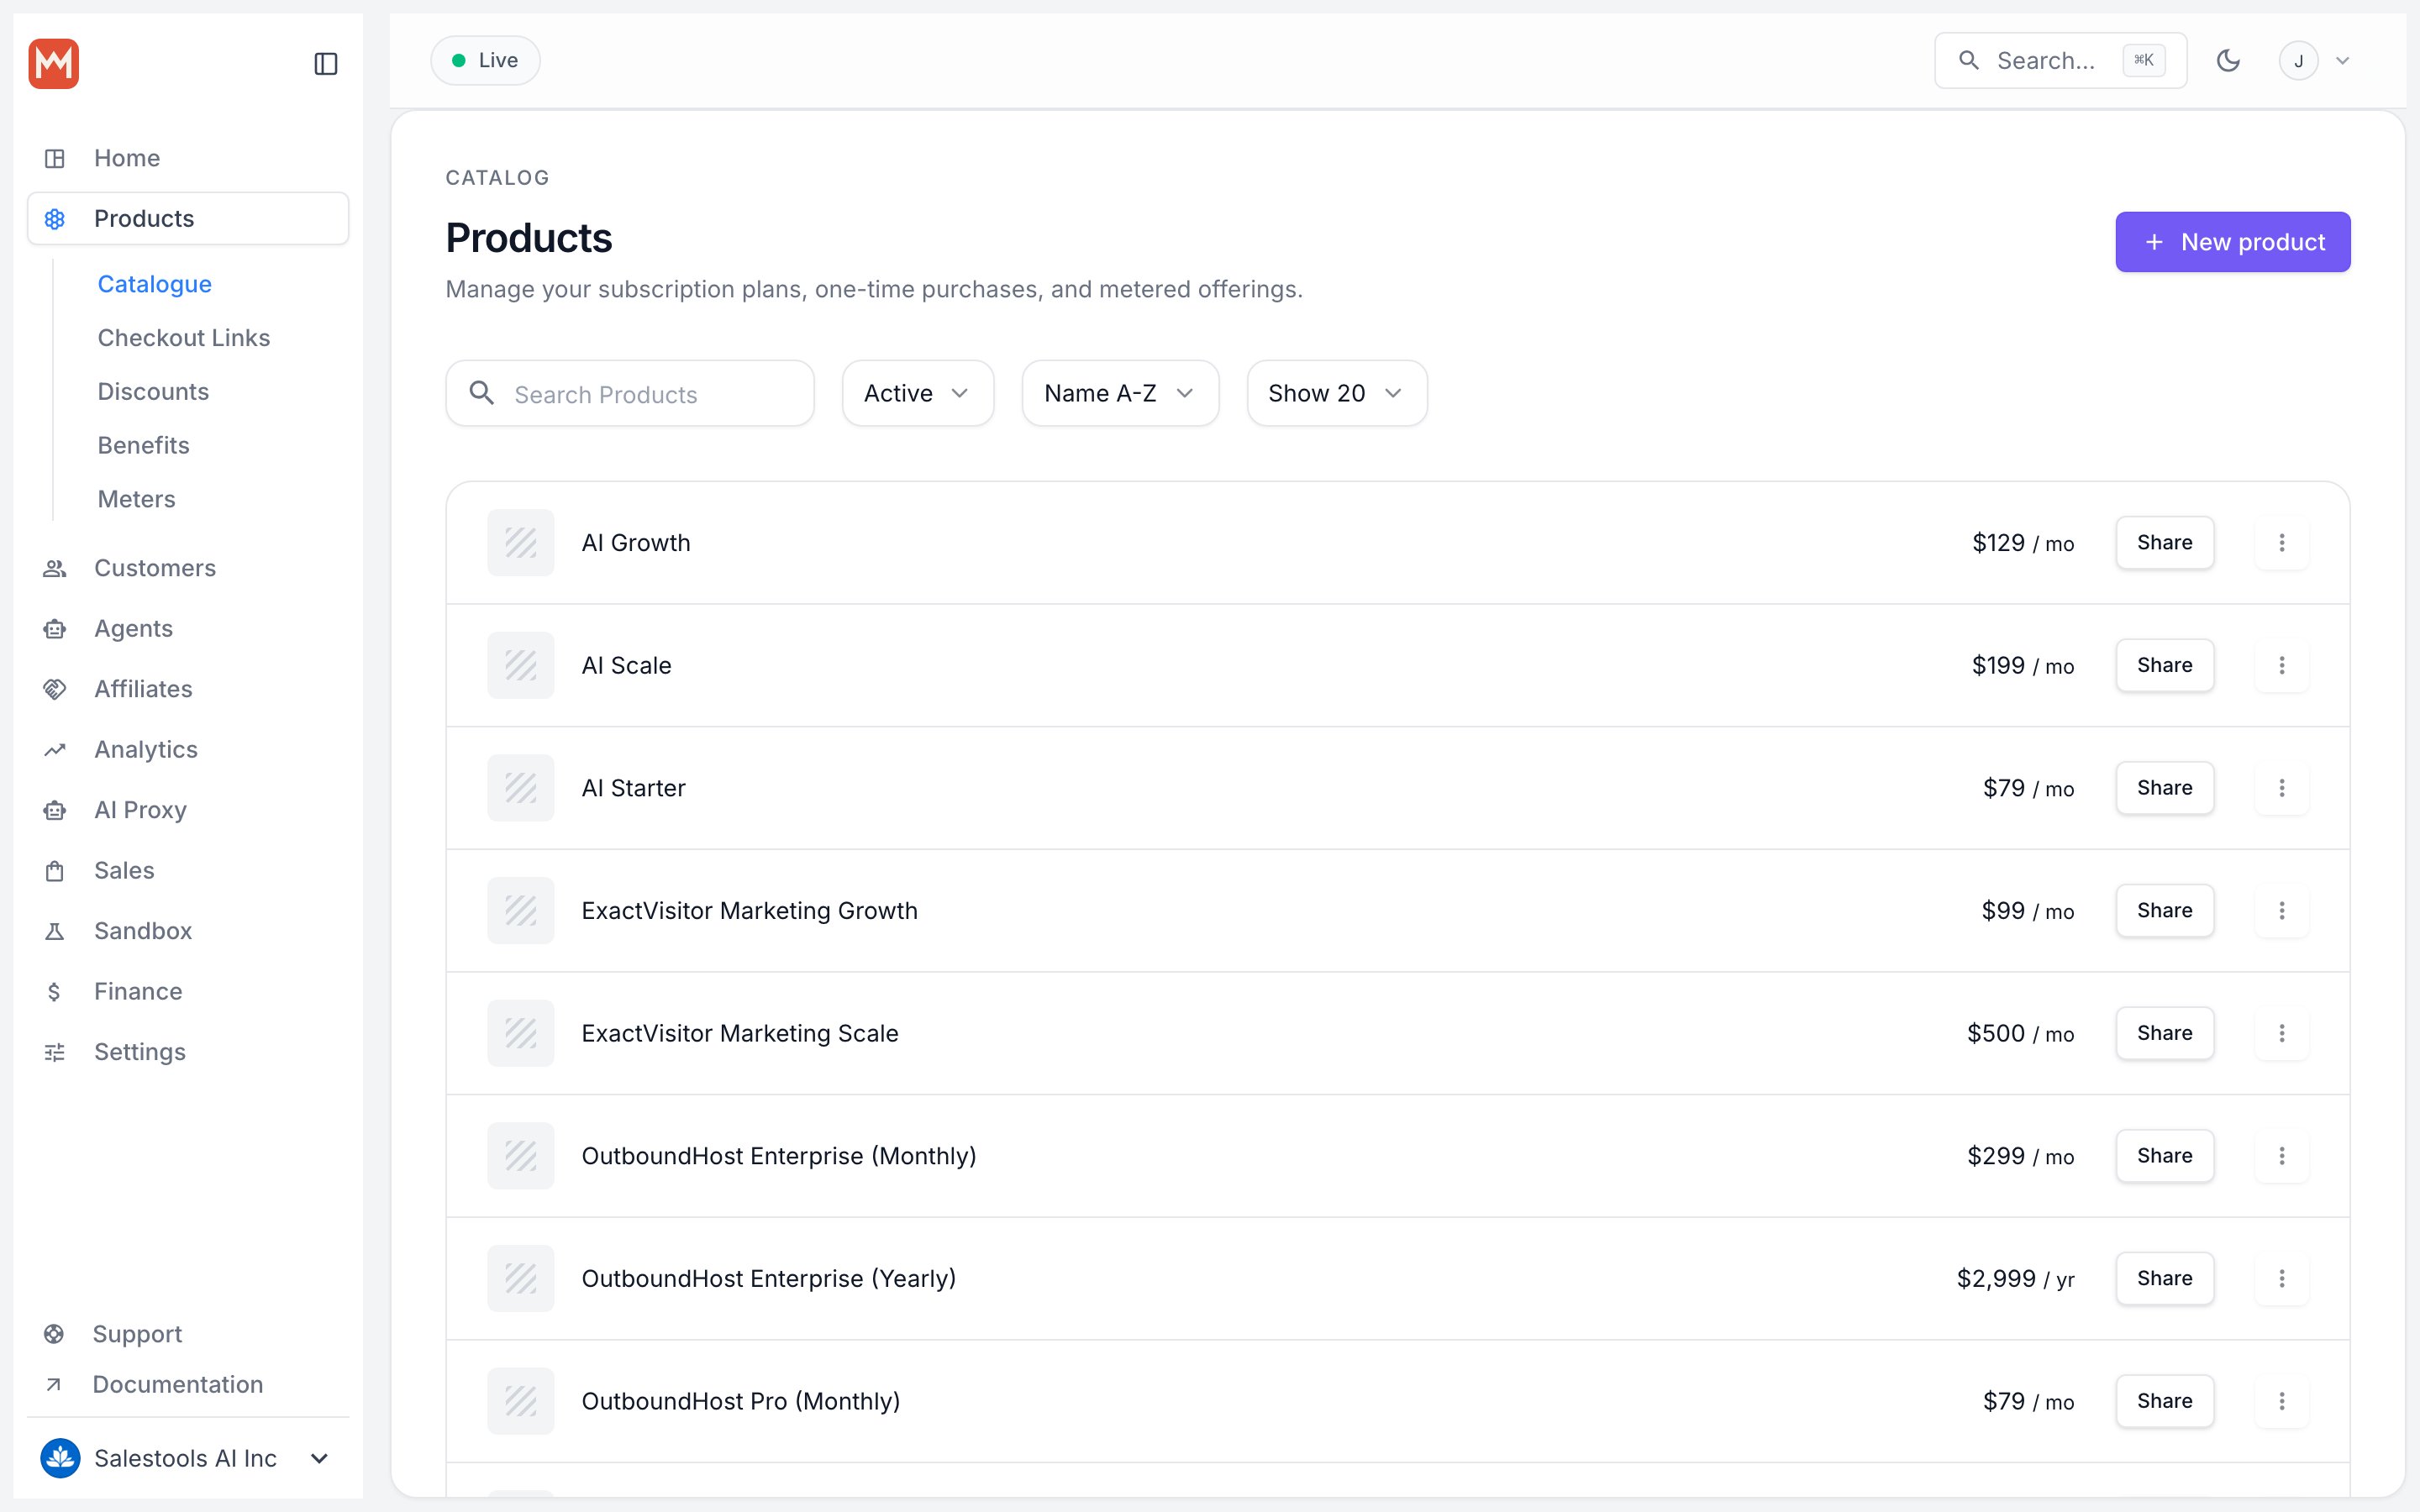
https://macropay.ai/dashboard/${org_slug}/products, where ${org_slug} is your organization’s slug.2
Find the Automated Benefits section
Open the product you want to adjust and scroll to Automated Benefits, where all attached entitlements are listed.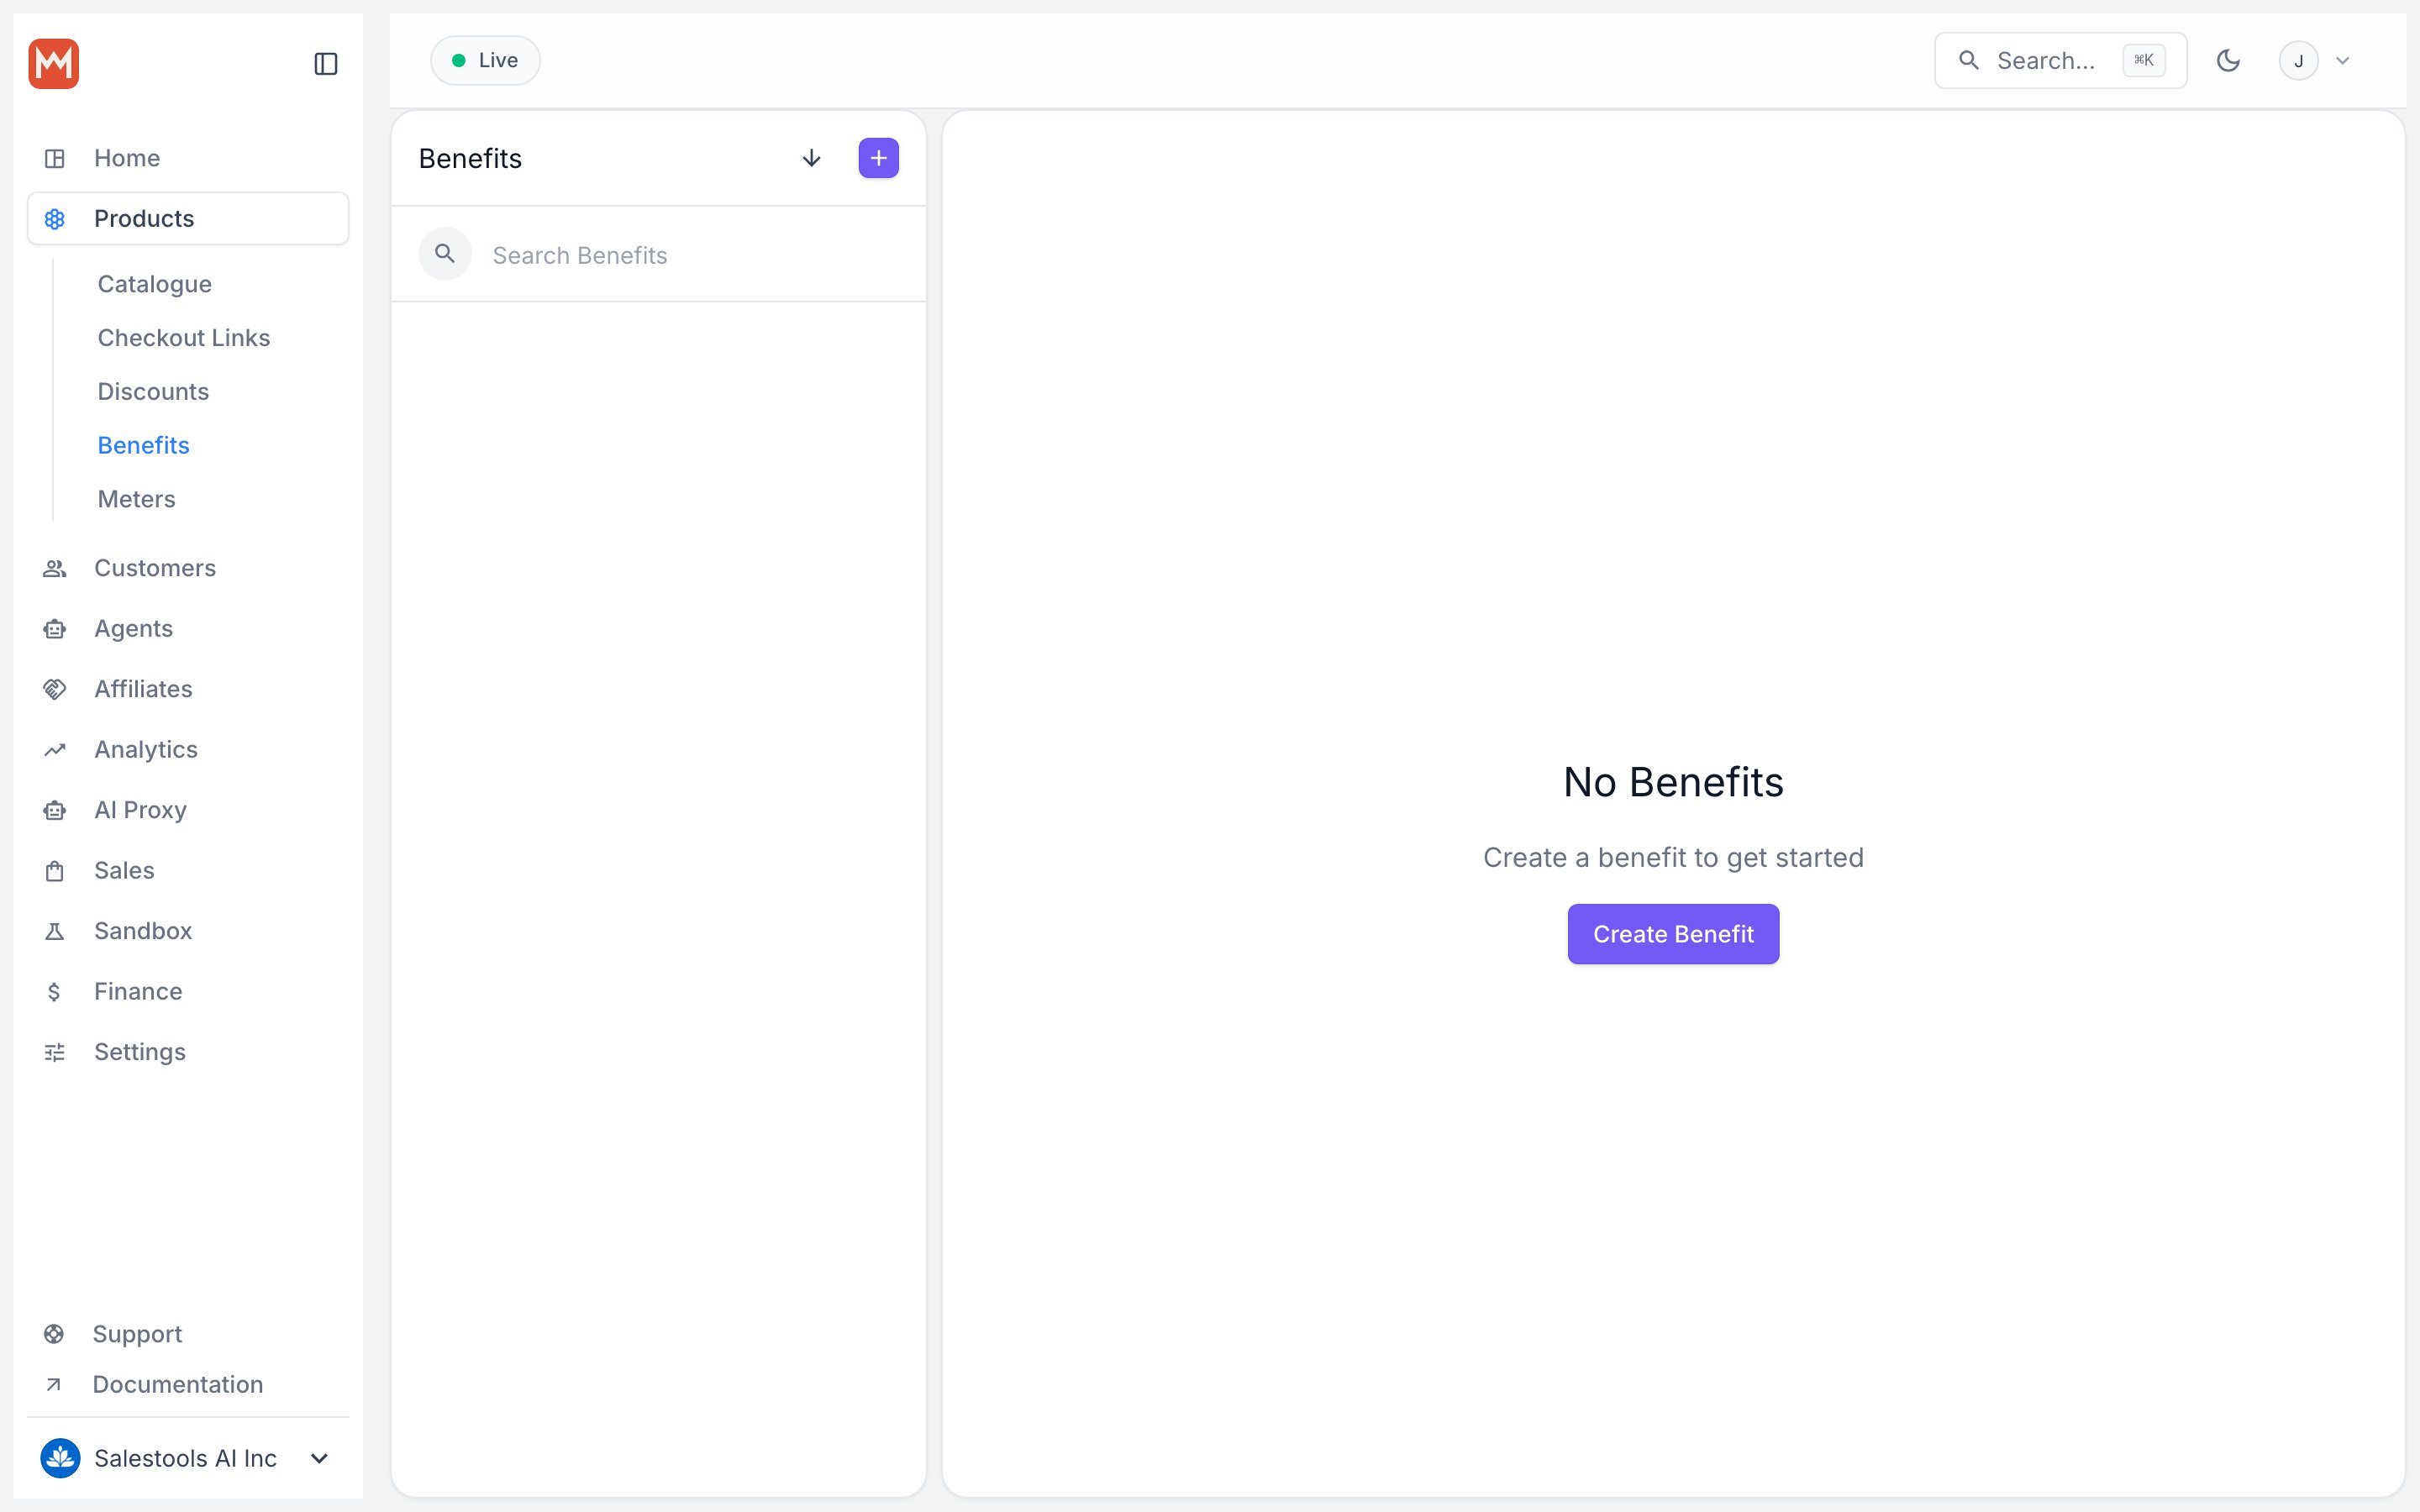
3
Enter reorder mode
Click 
Reorder to make the list draggable.4
Drag into position
Drag each benefit up or down until the sequence matches the priority you want buyers to see.
5
Confirm at checkout
Reopen the checkout. The benefits now appear in your chosen order — the download leads, the link follows.
You can sequence benefits while you’re still building the product — the same
Reorder button lives in the Automated Benefits section of the product editor.