

- A required checkbox to accept your terms of service
- Newsletter or marketing opt-in consent
- “How did you hear about us?” attribution for your growth team
- A VAT ID, company name, or purchase-order reference for B2B buyers
- A seat count, license note, or any per-product input you want stored on the order
Where fields live
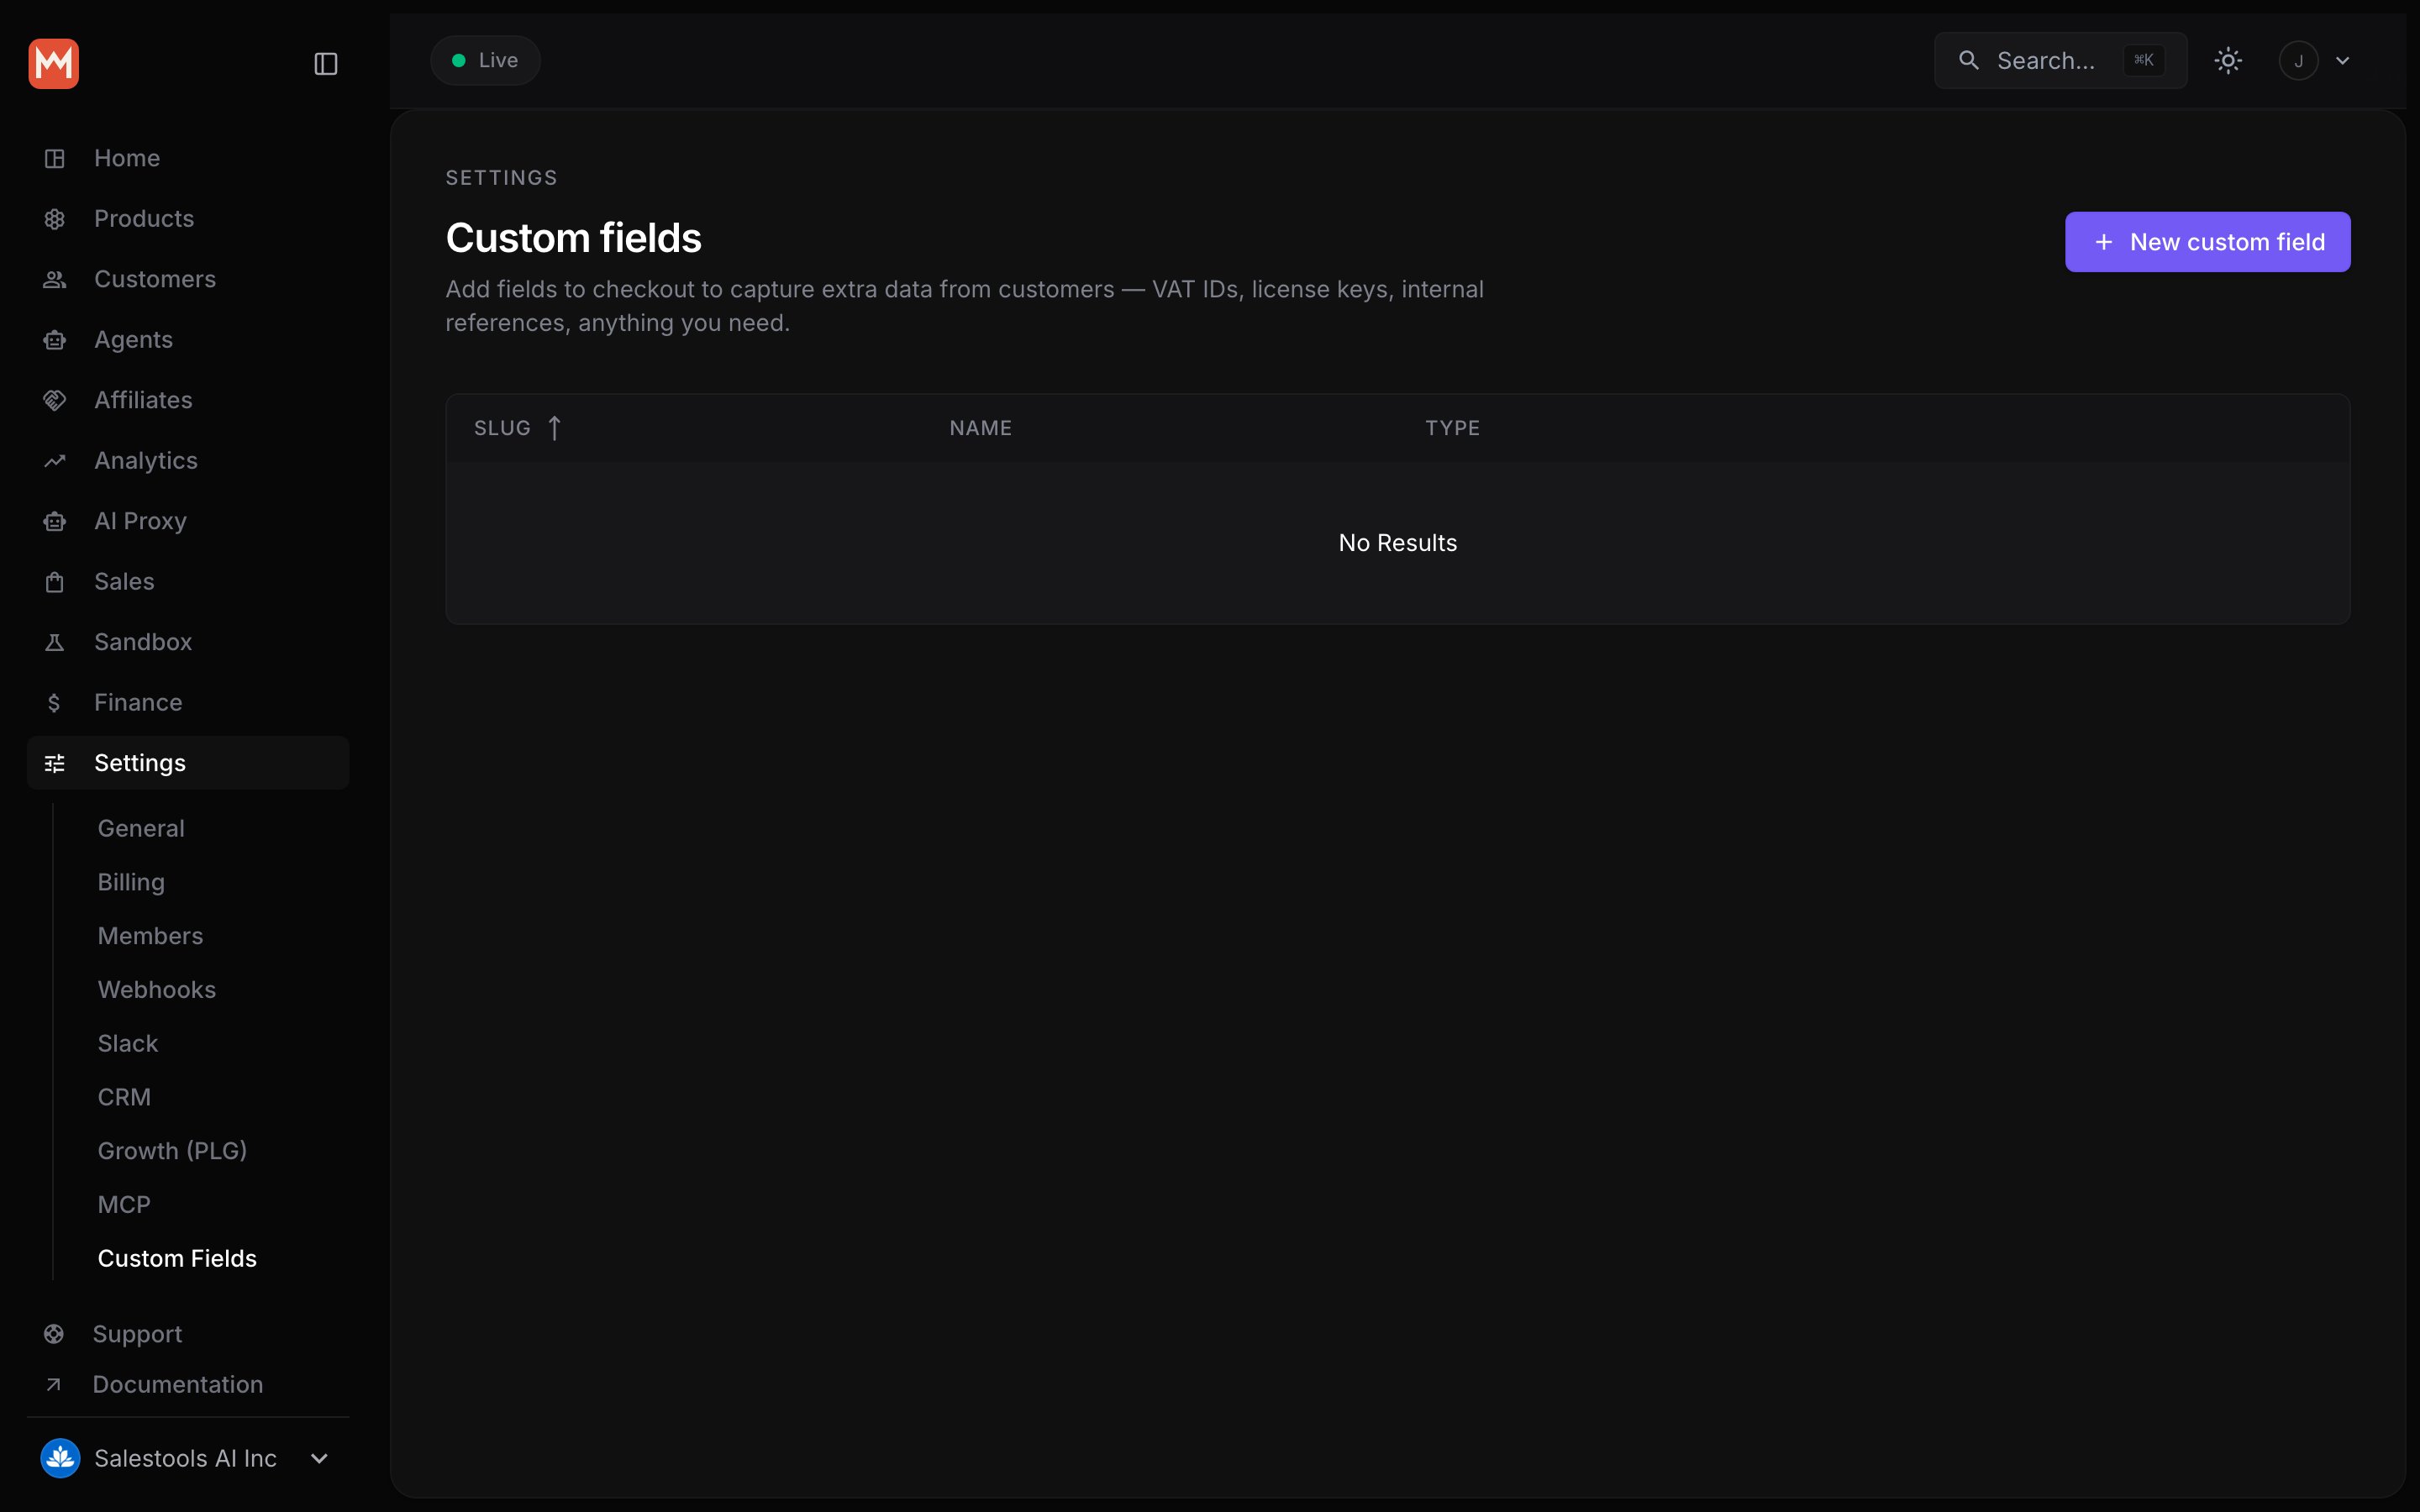
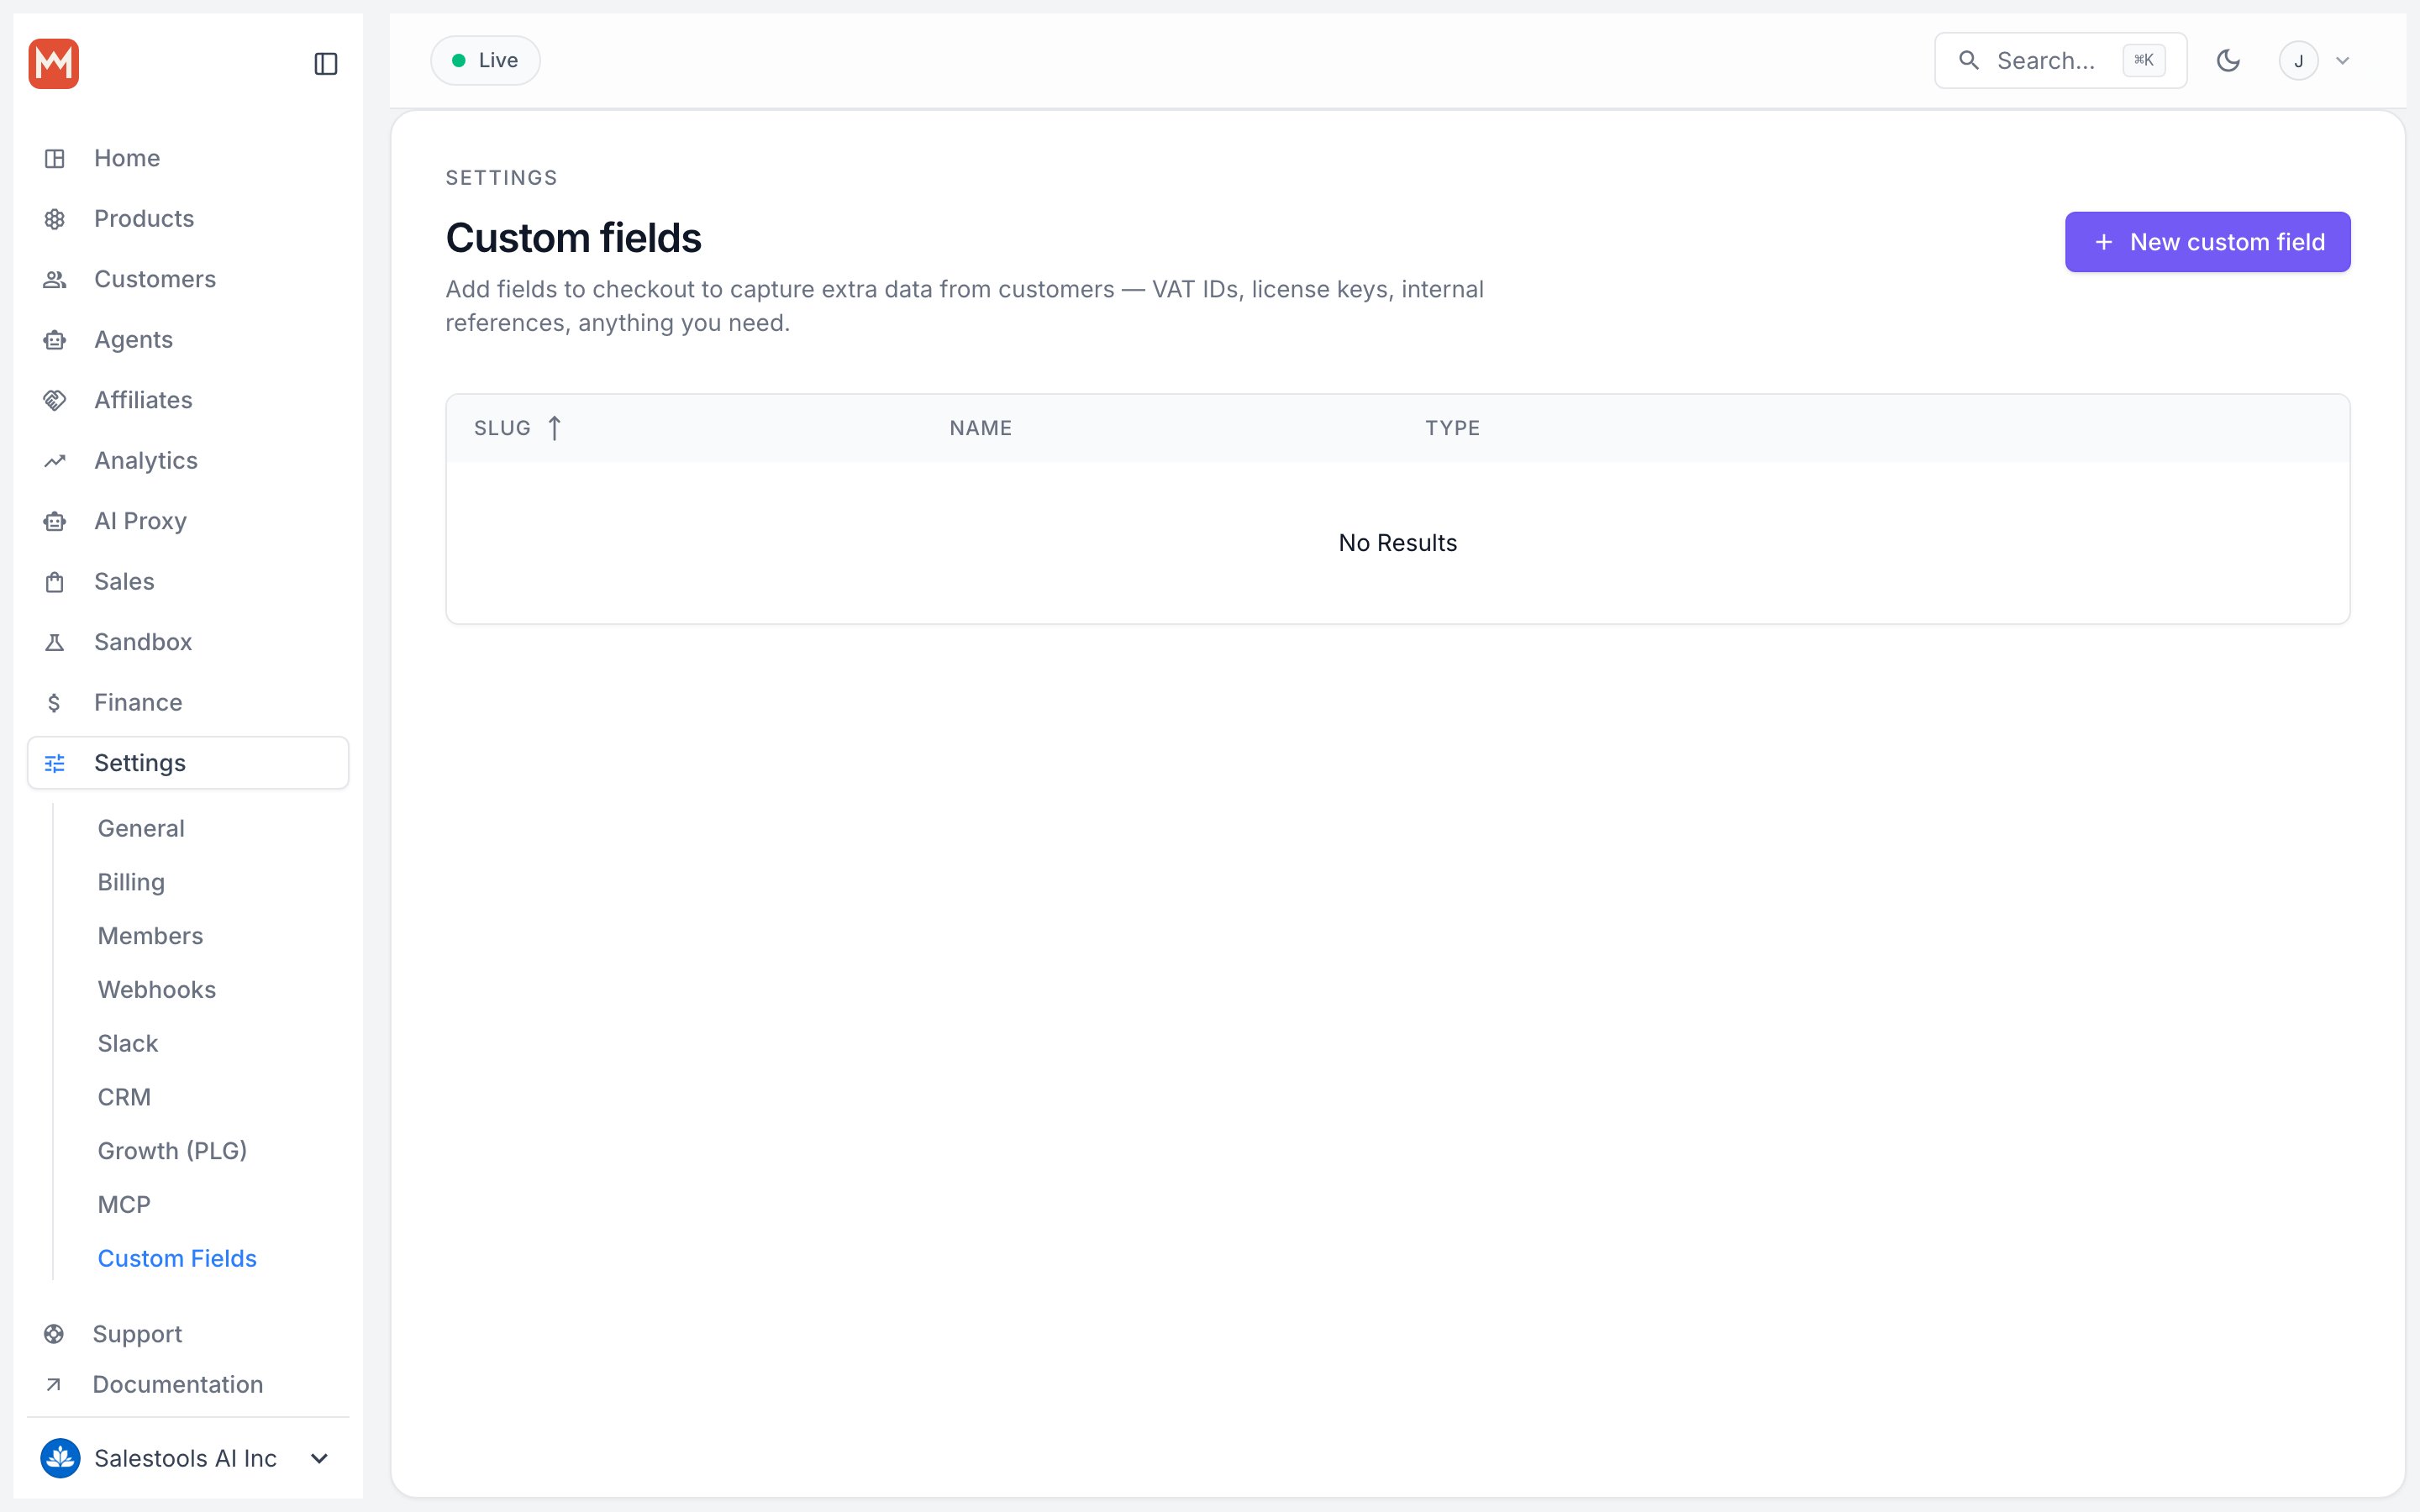
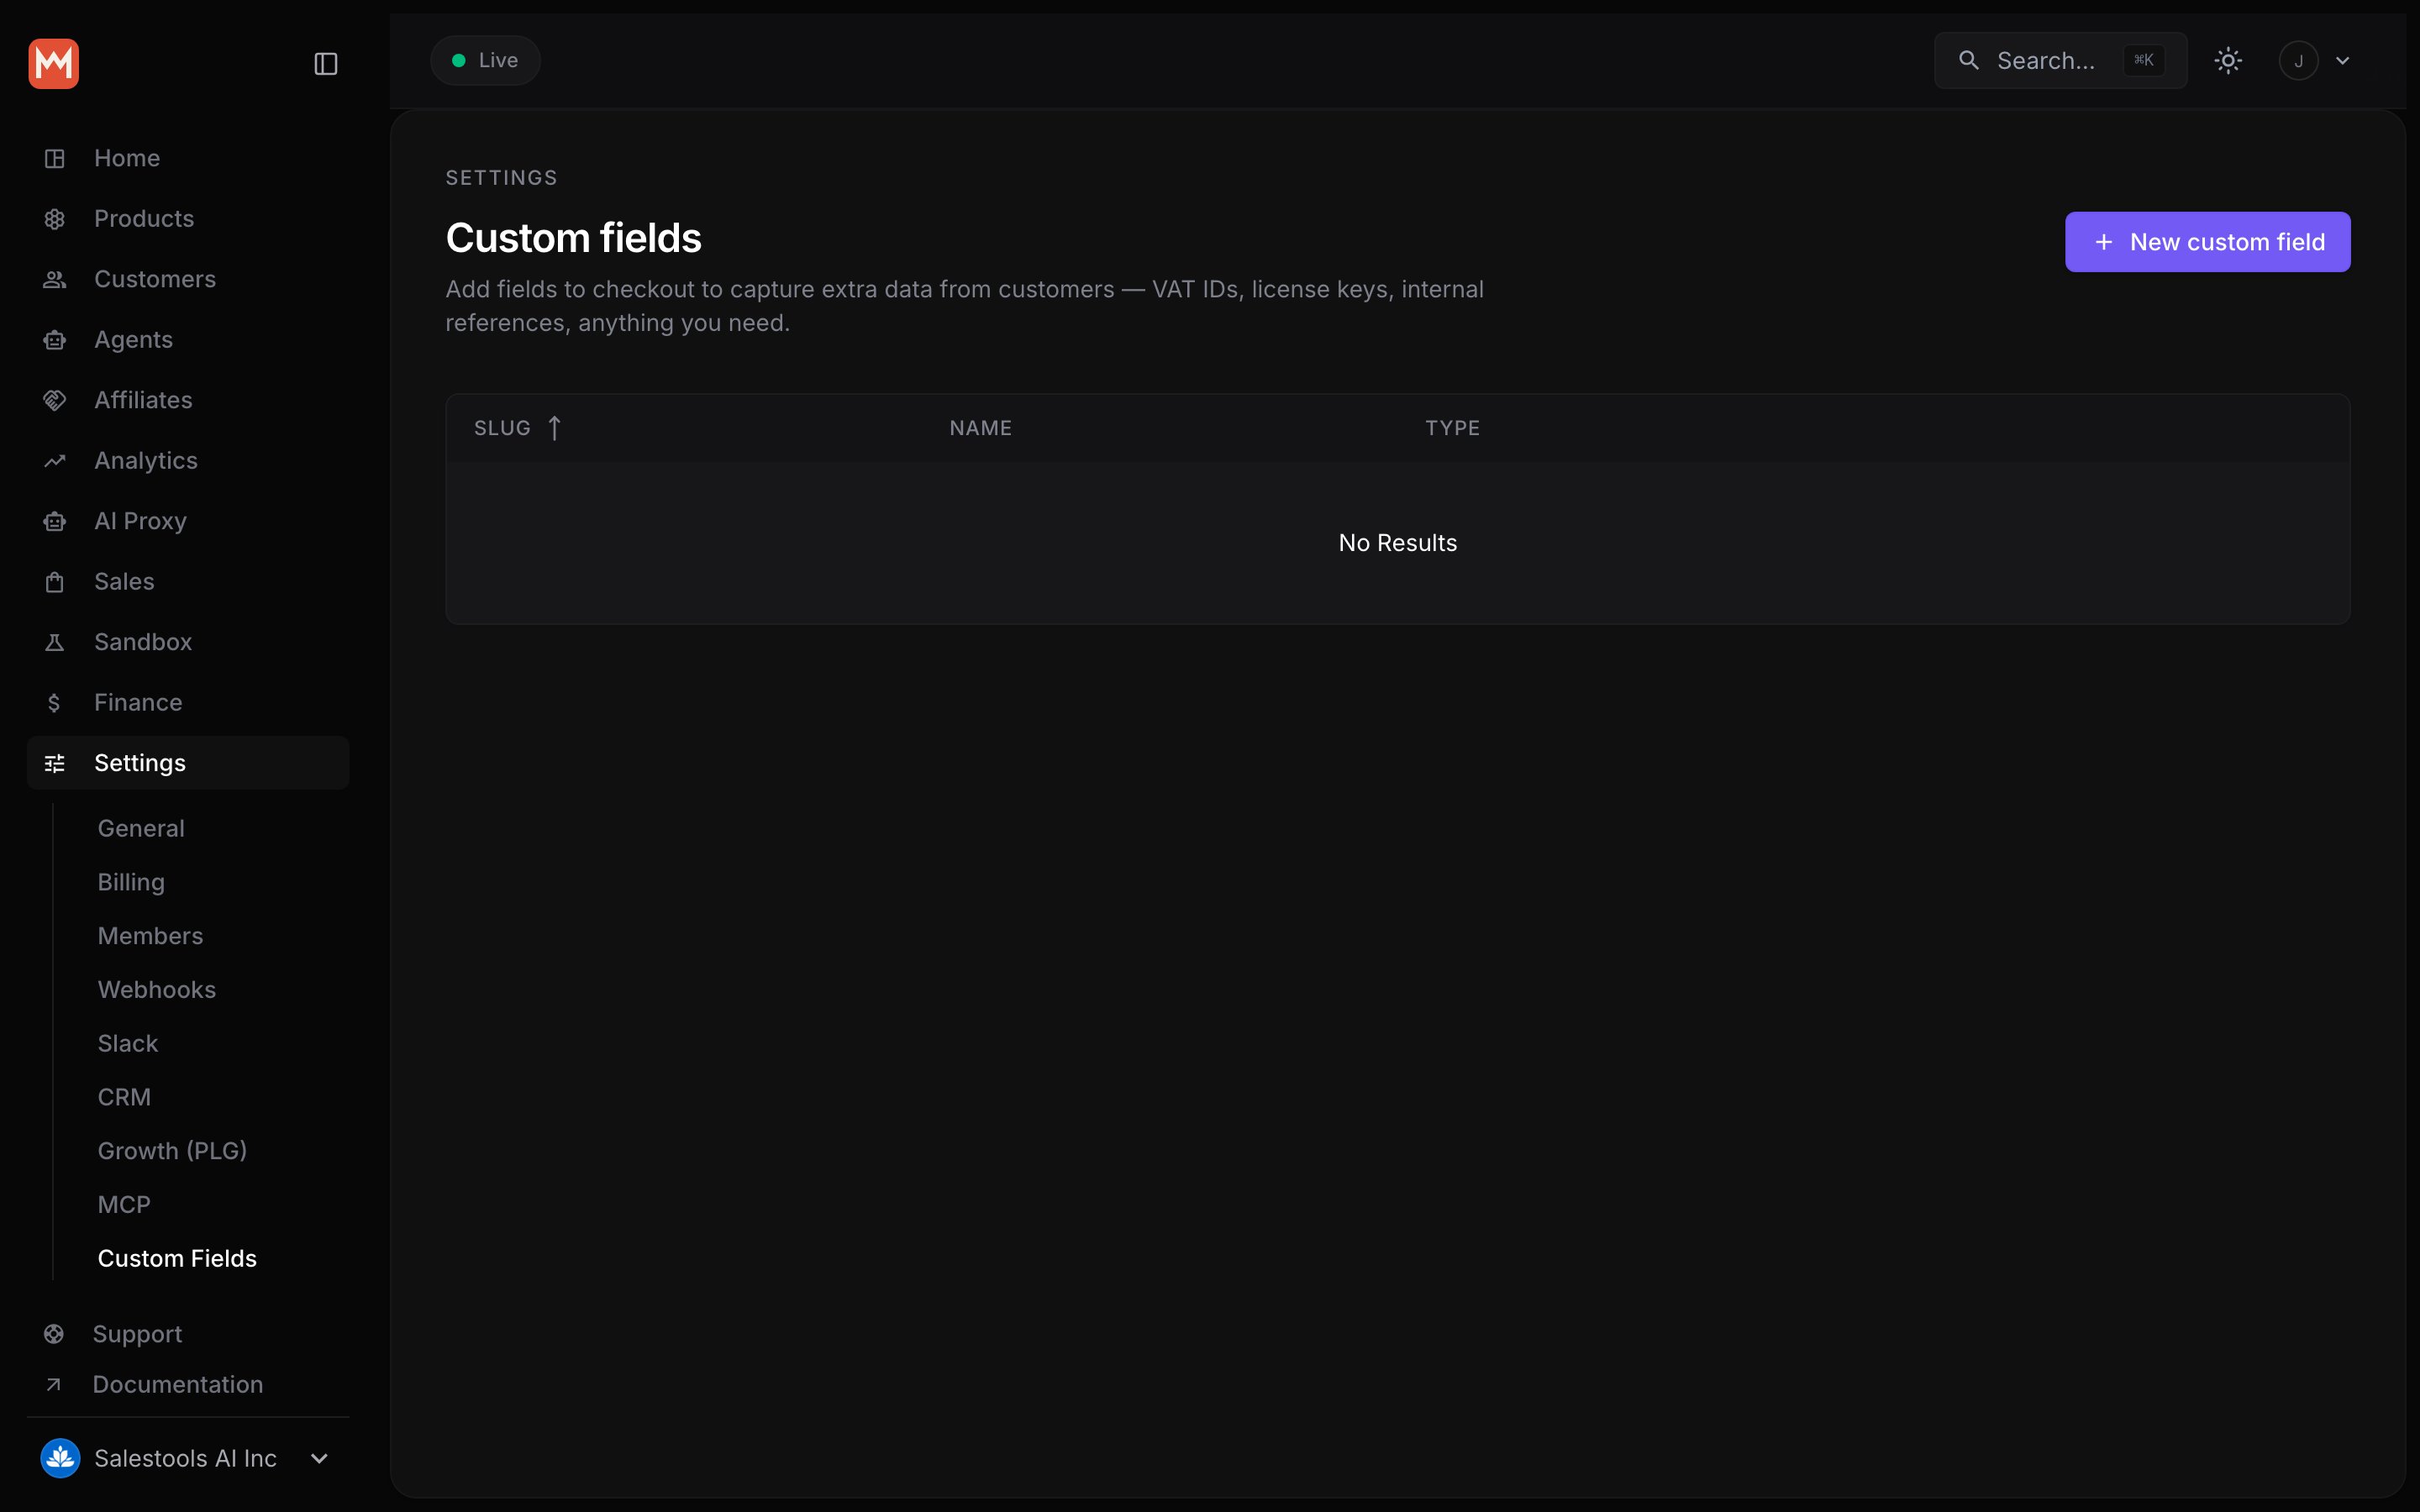
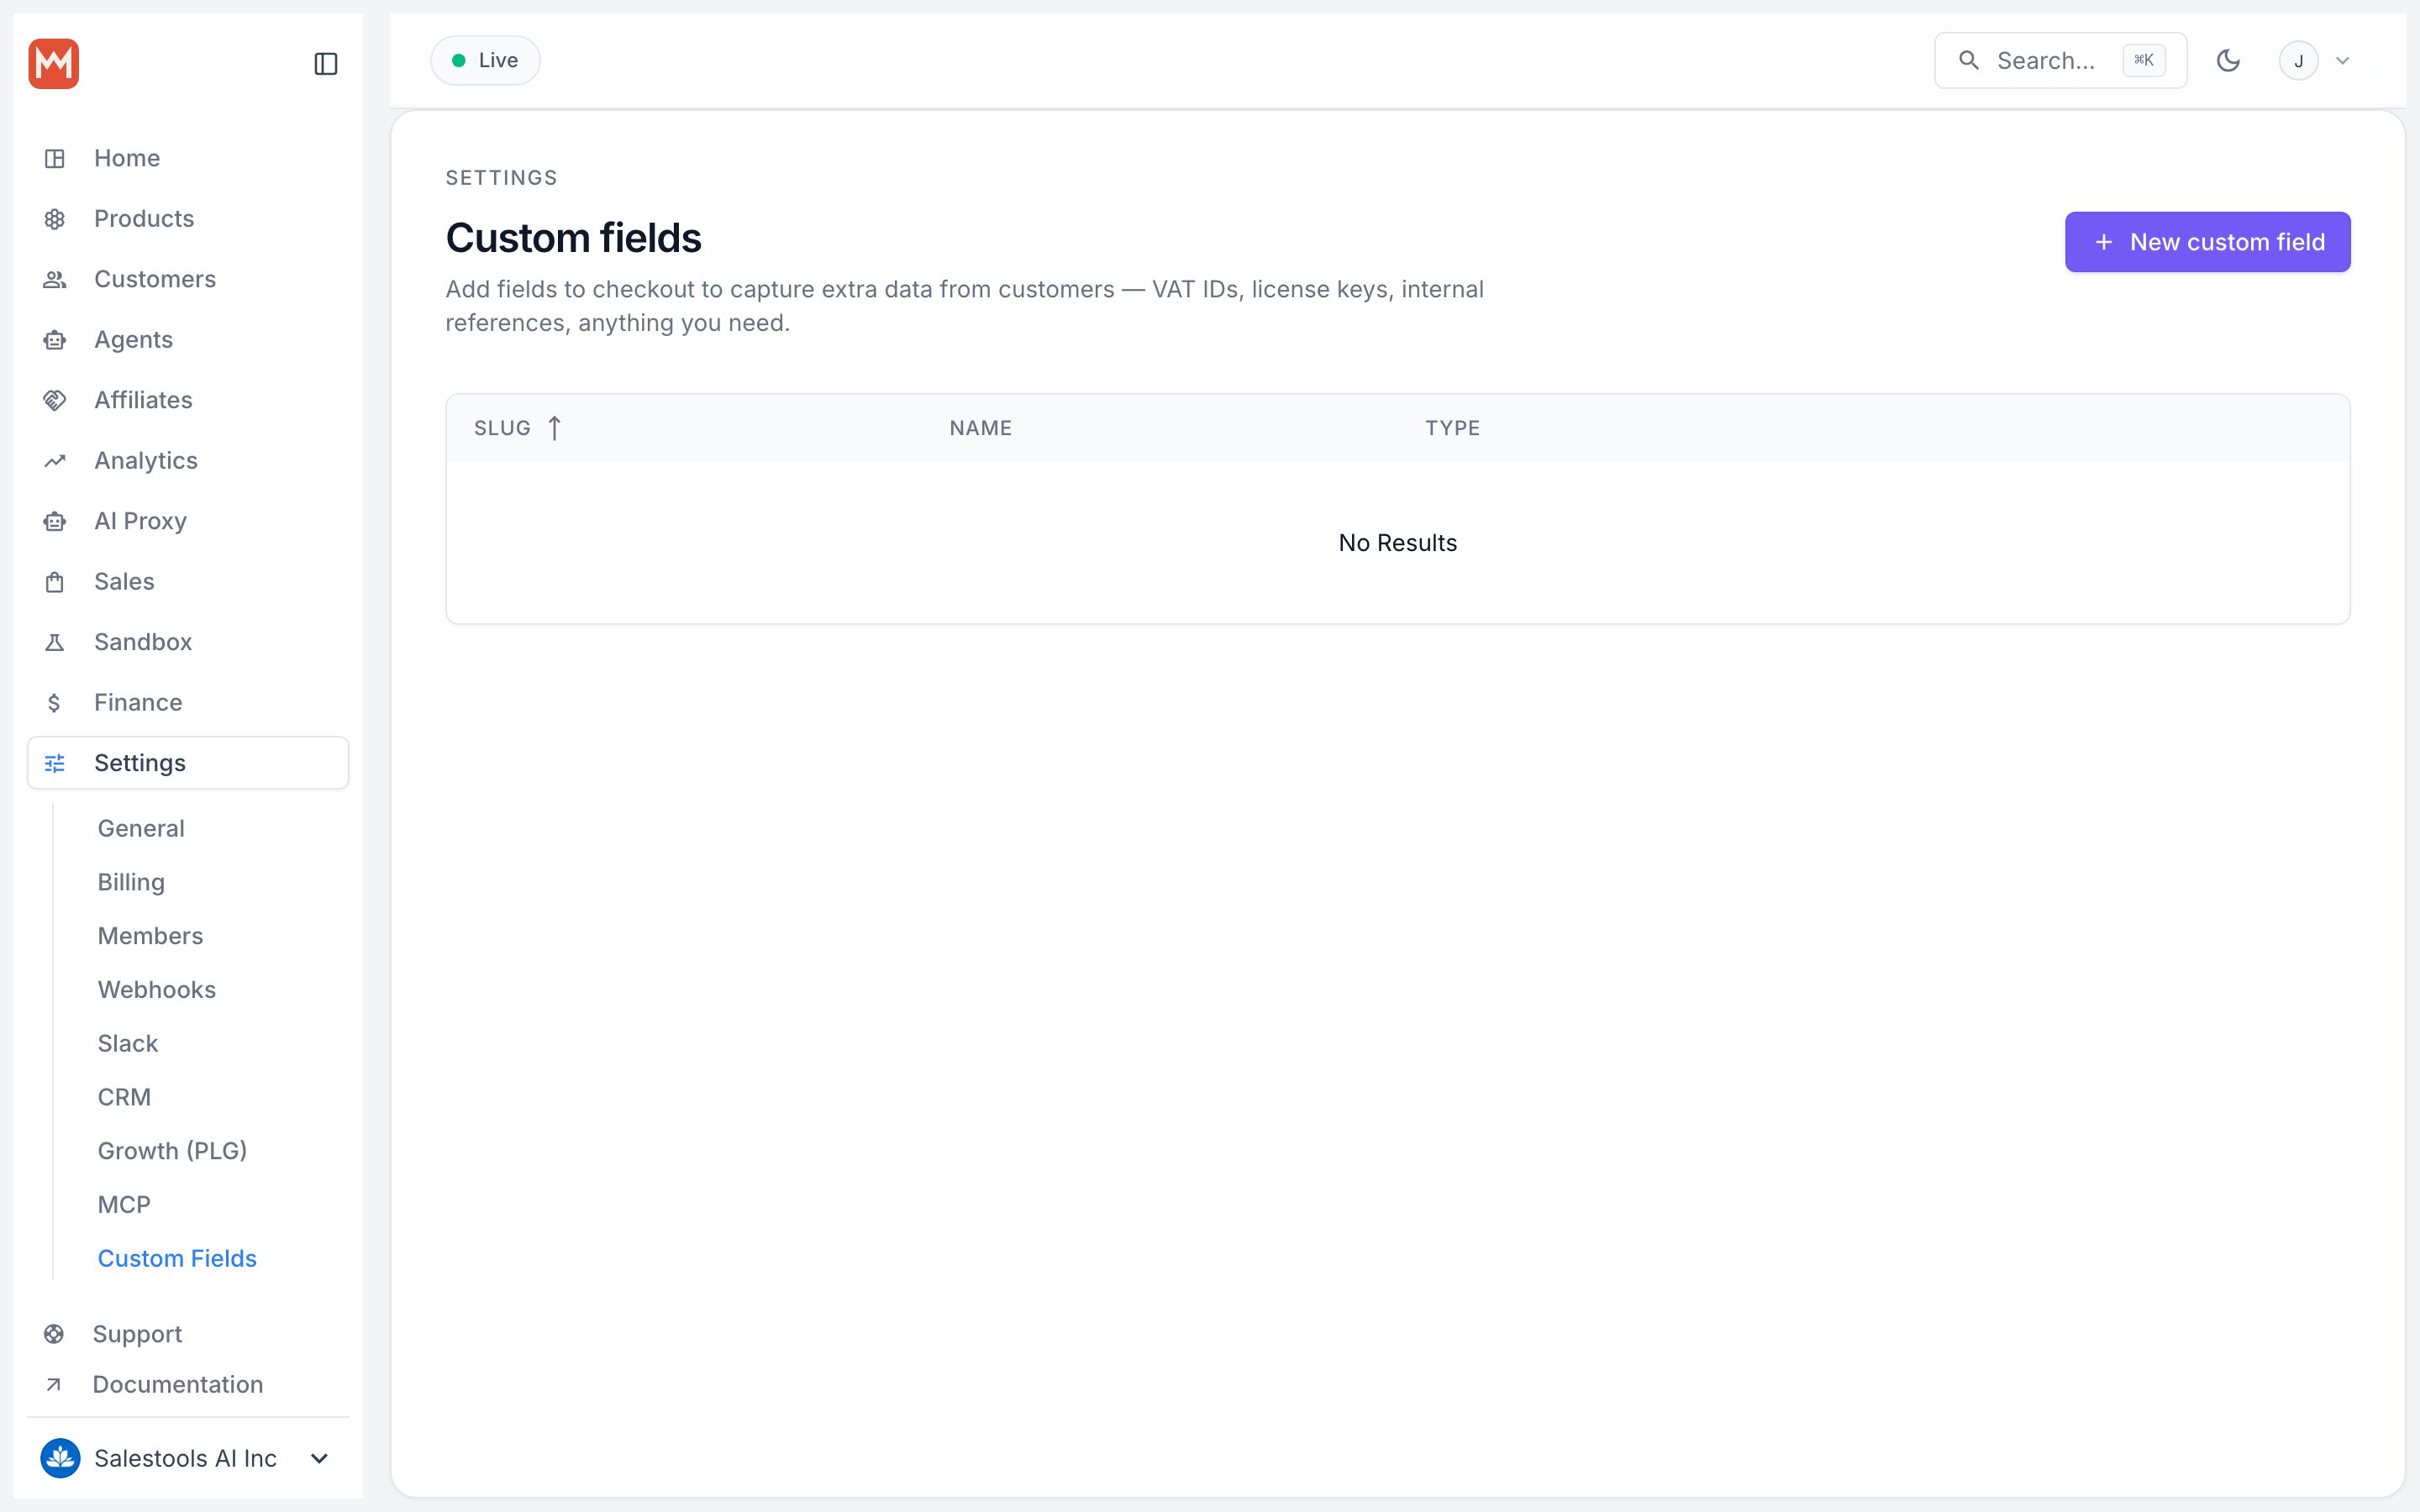
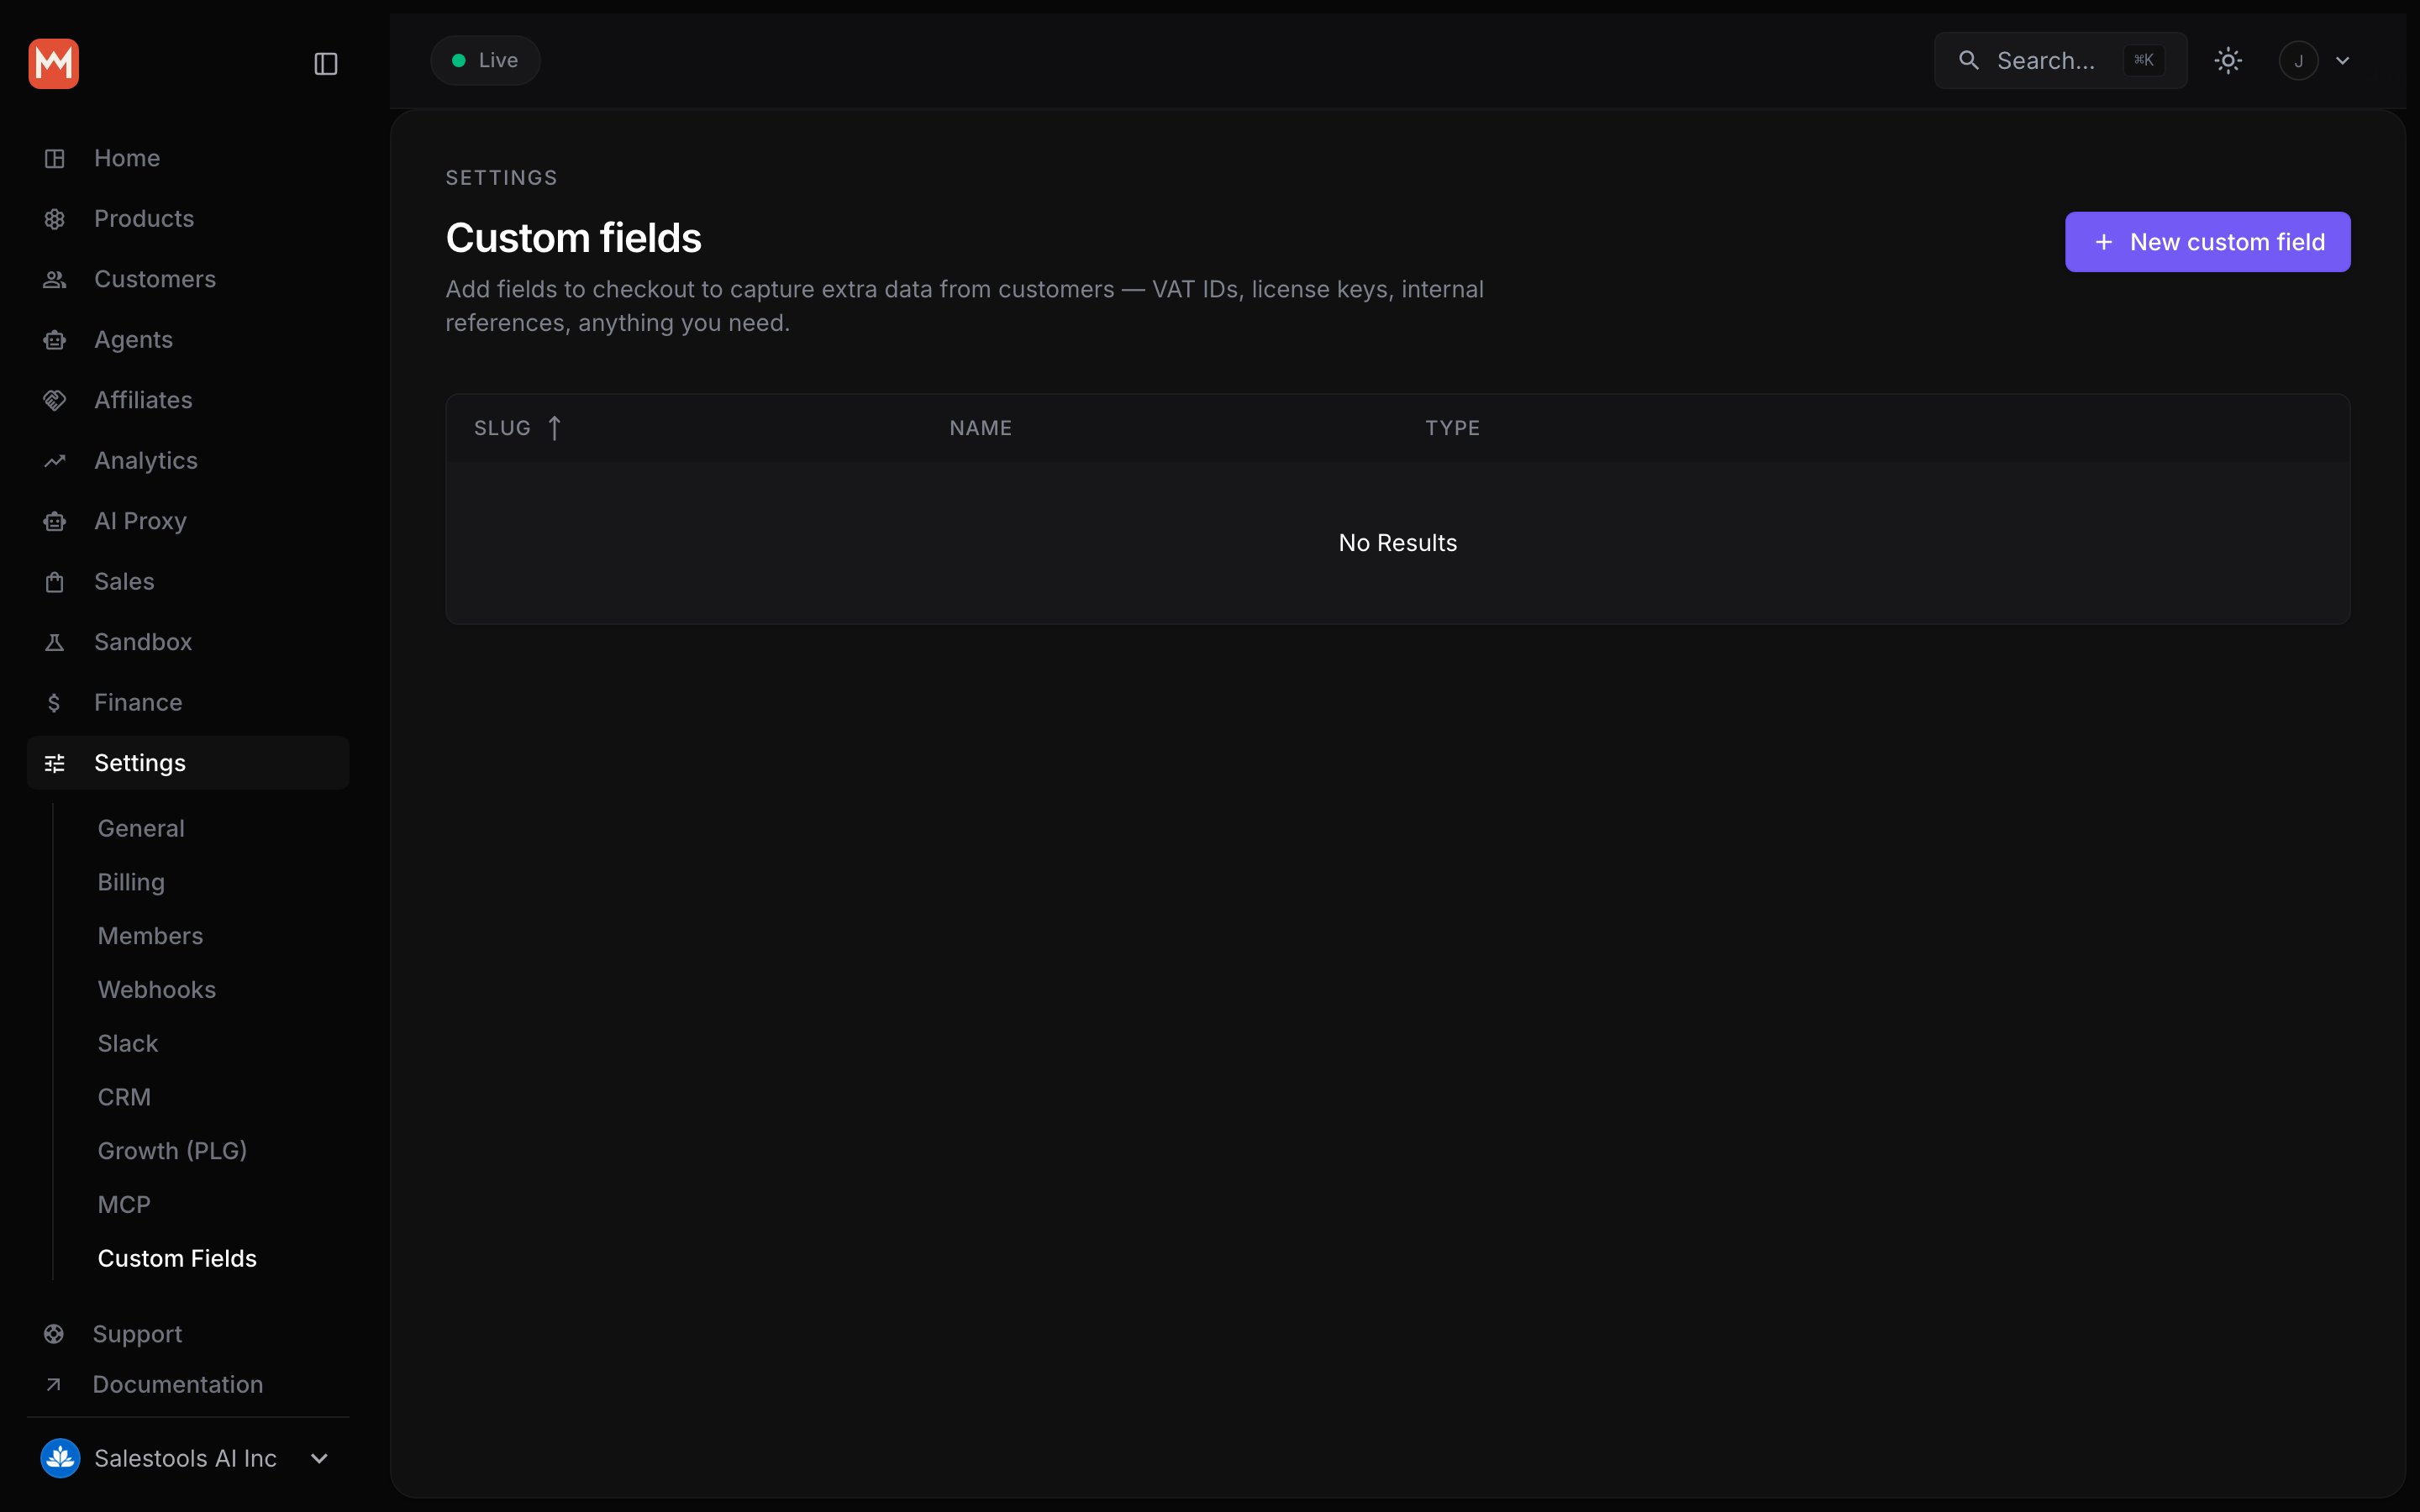
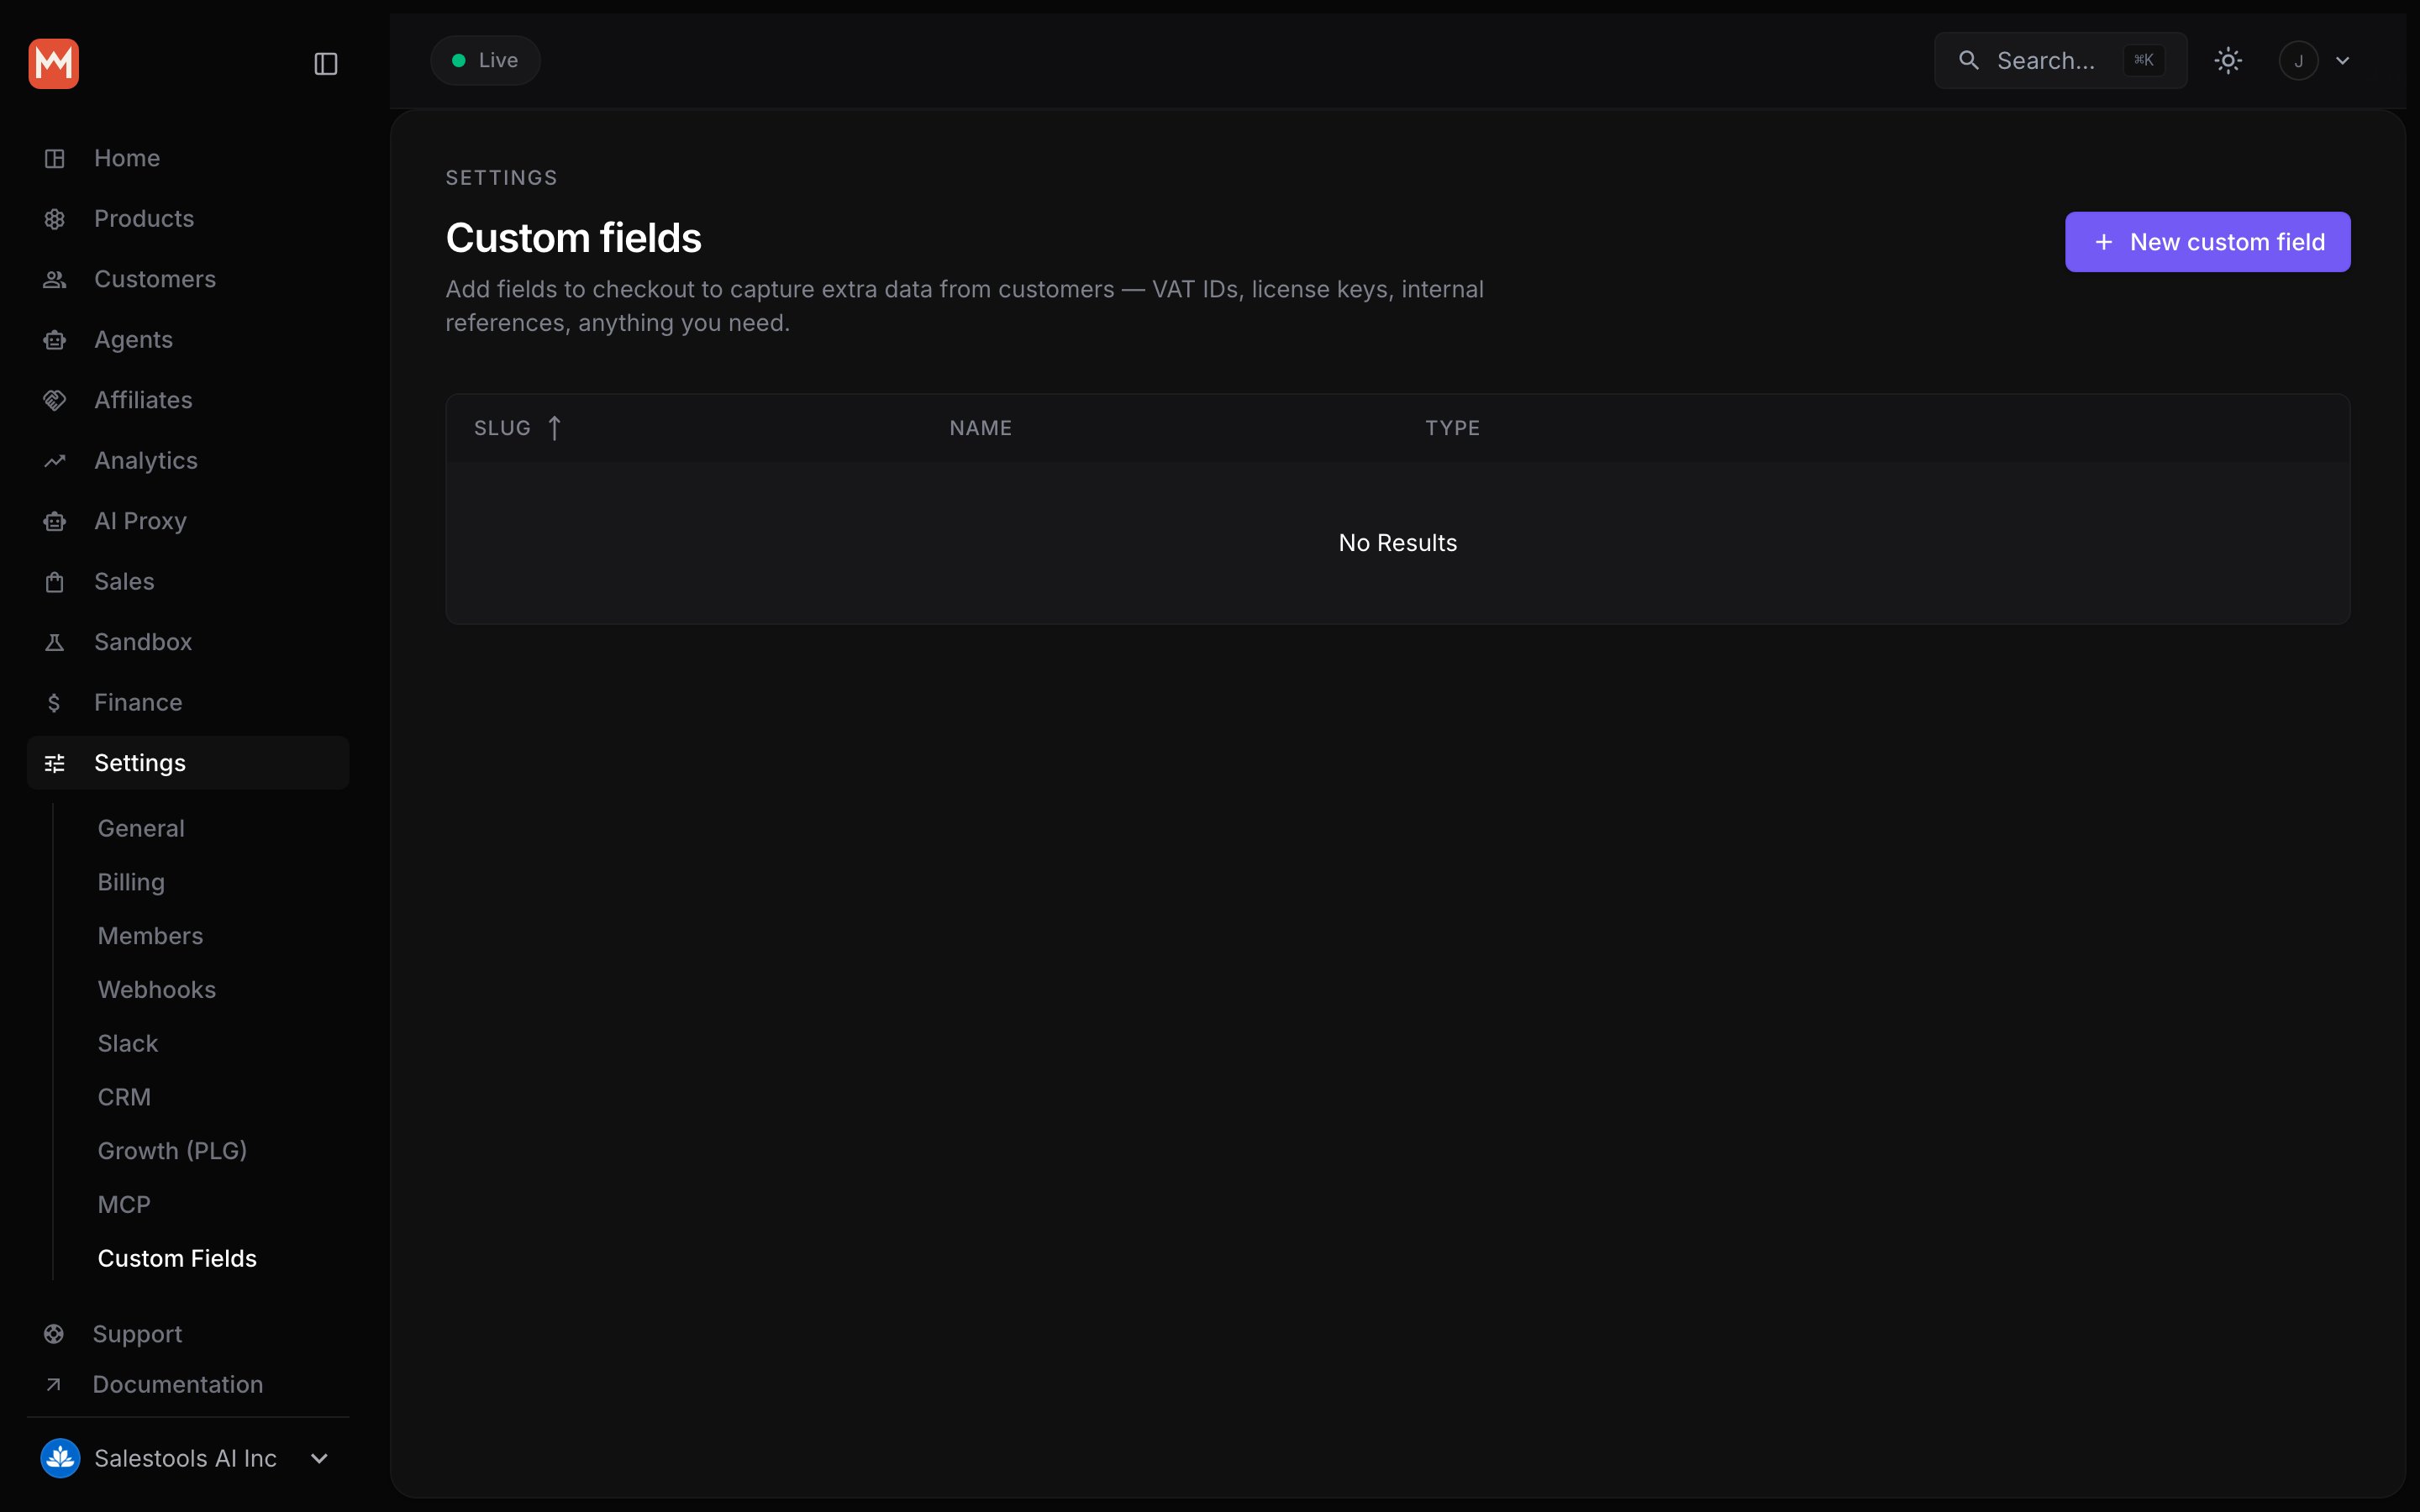
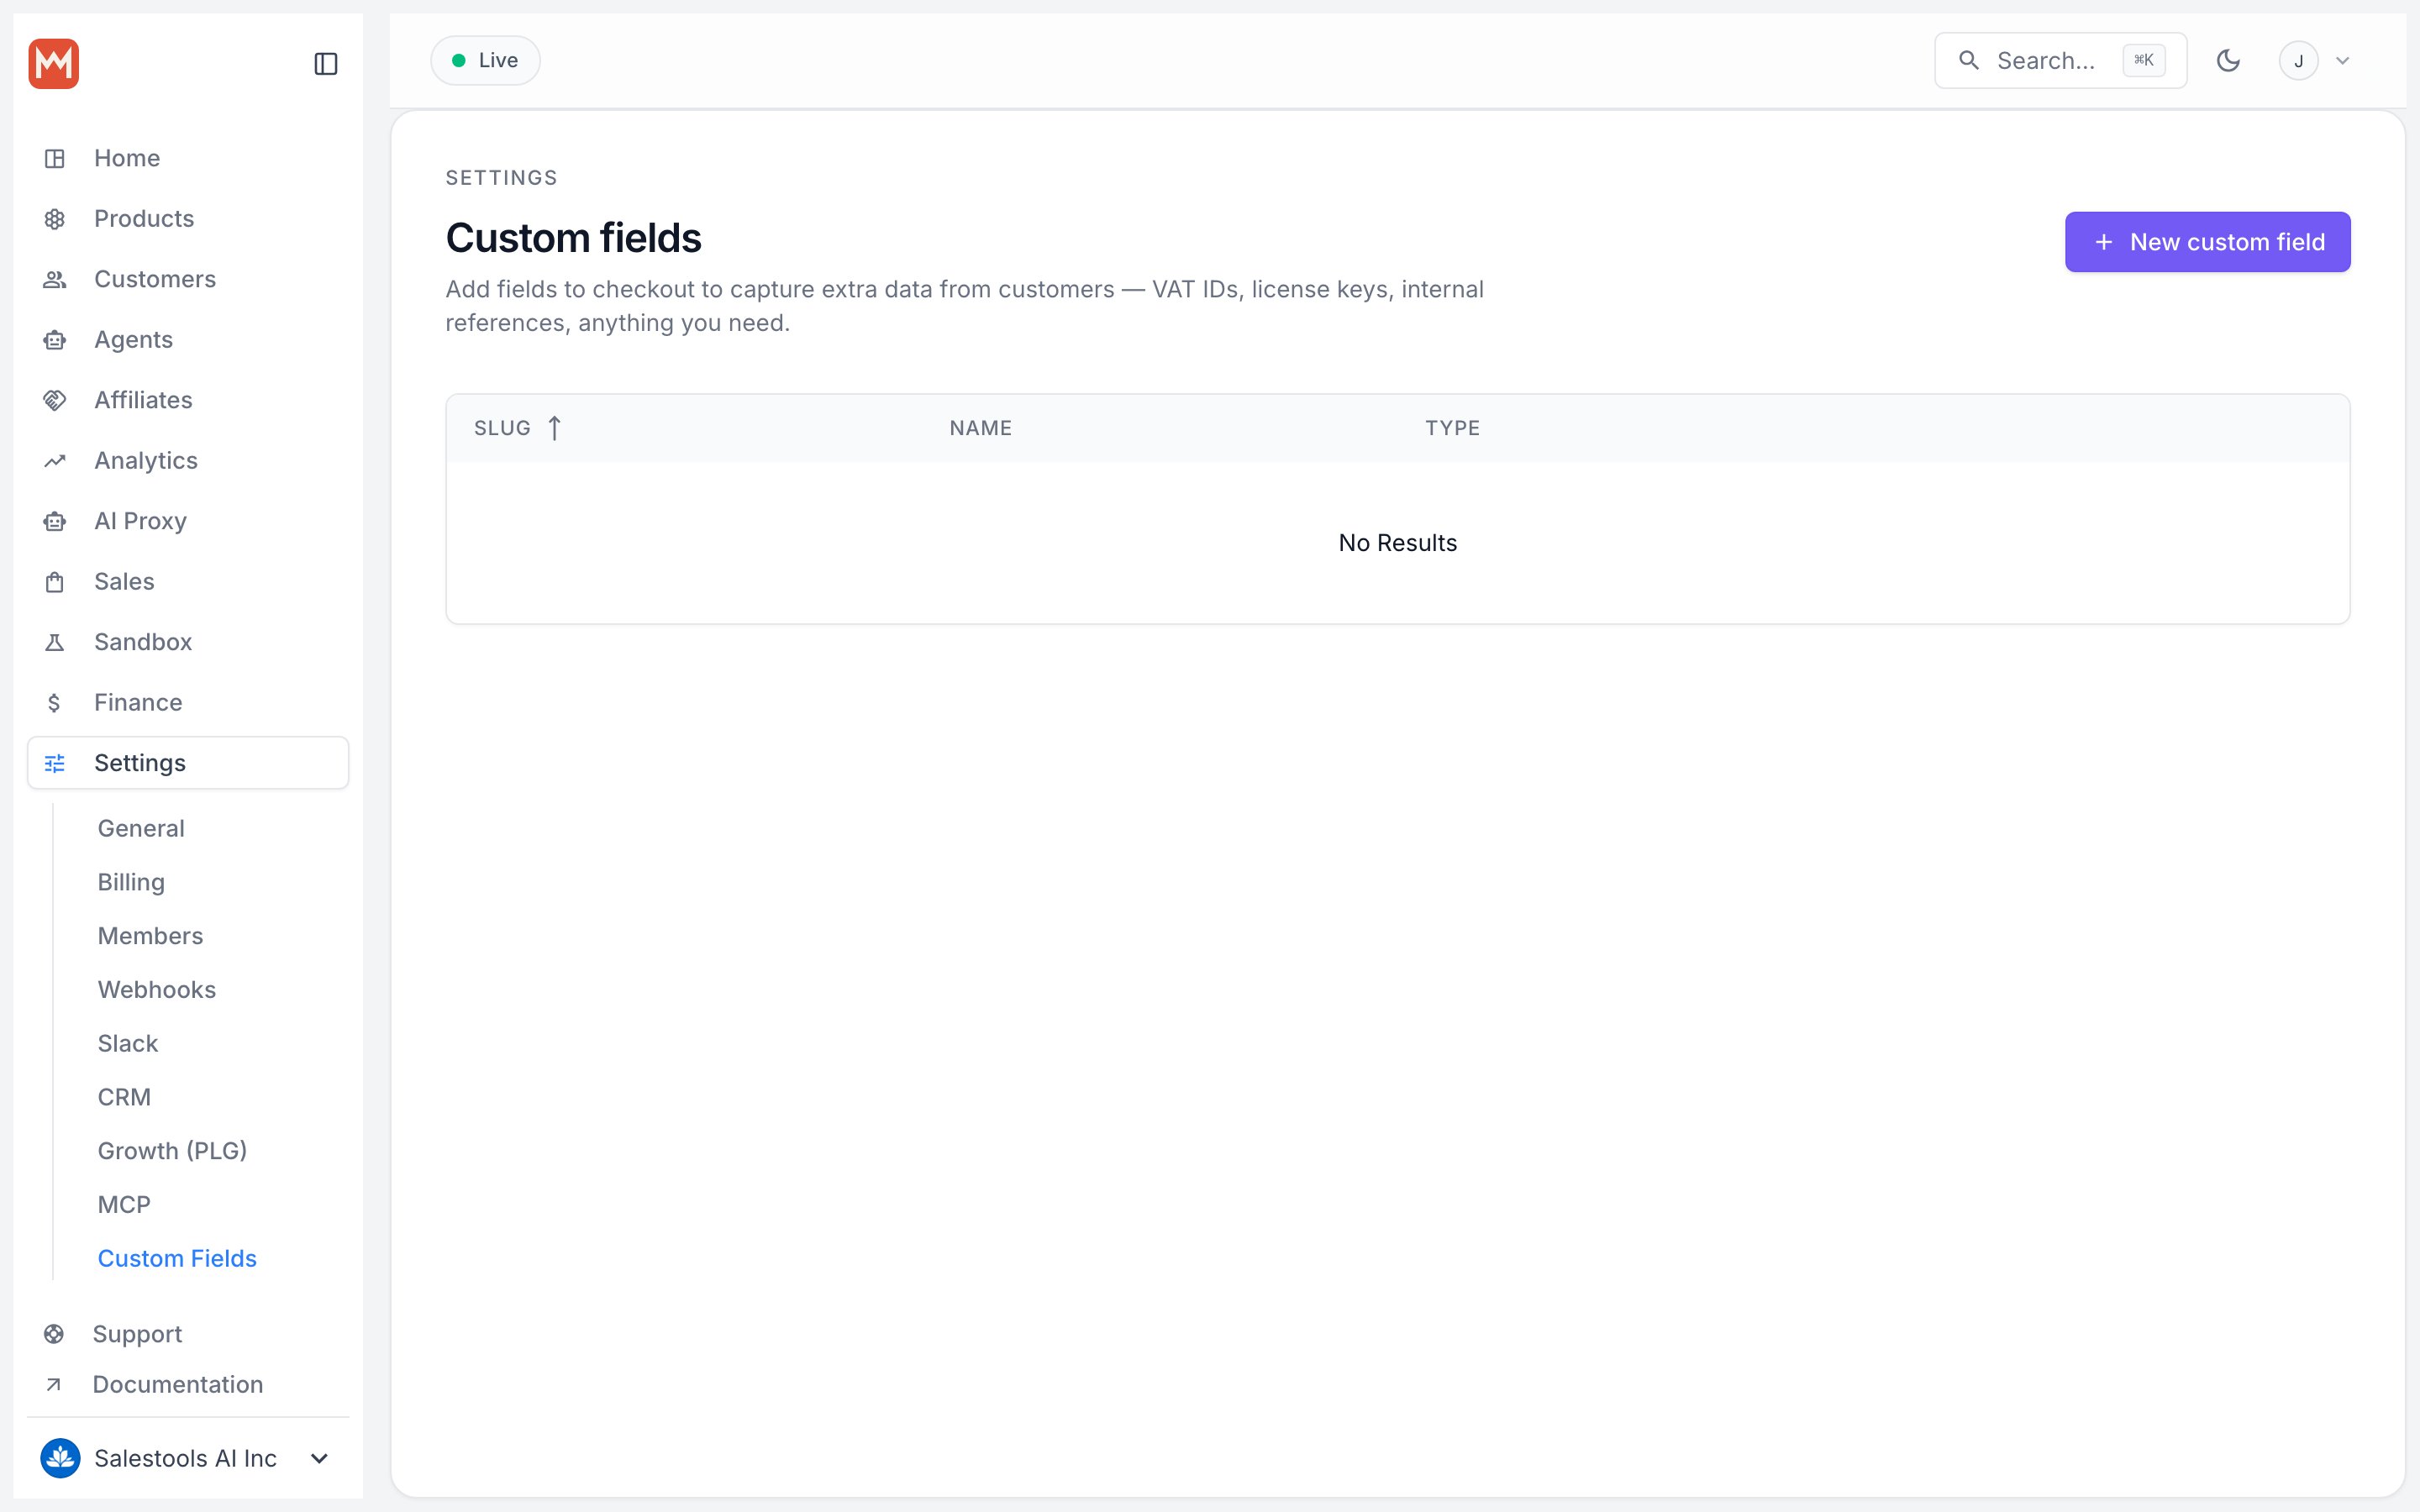
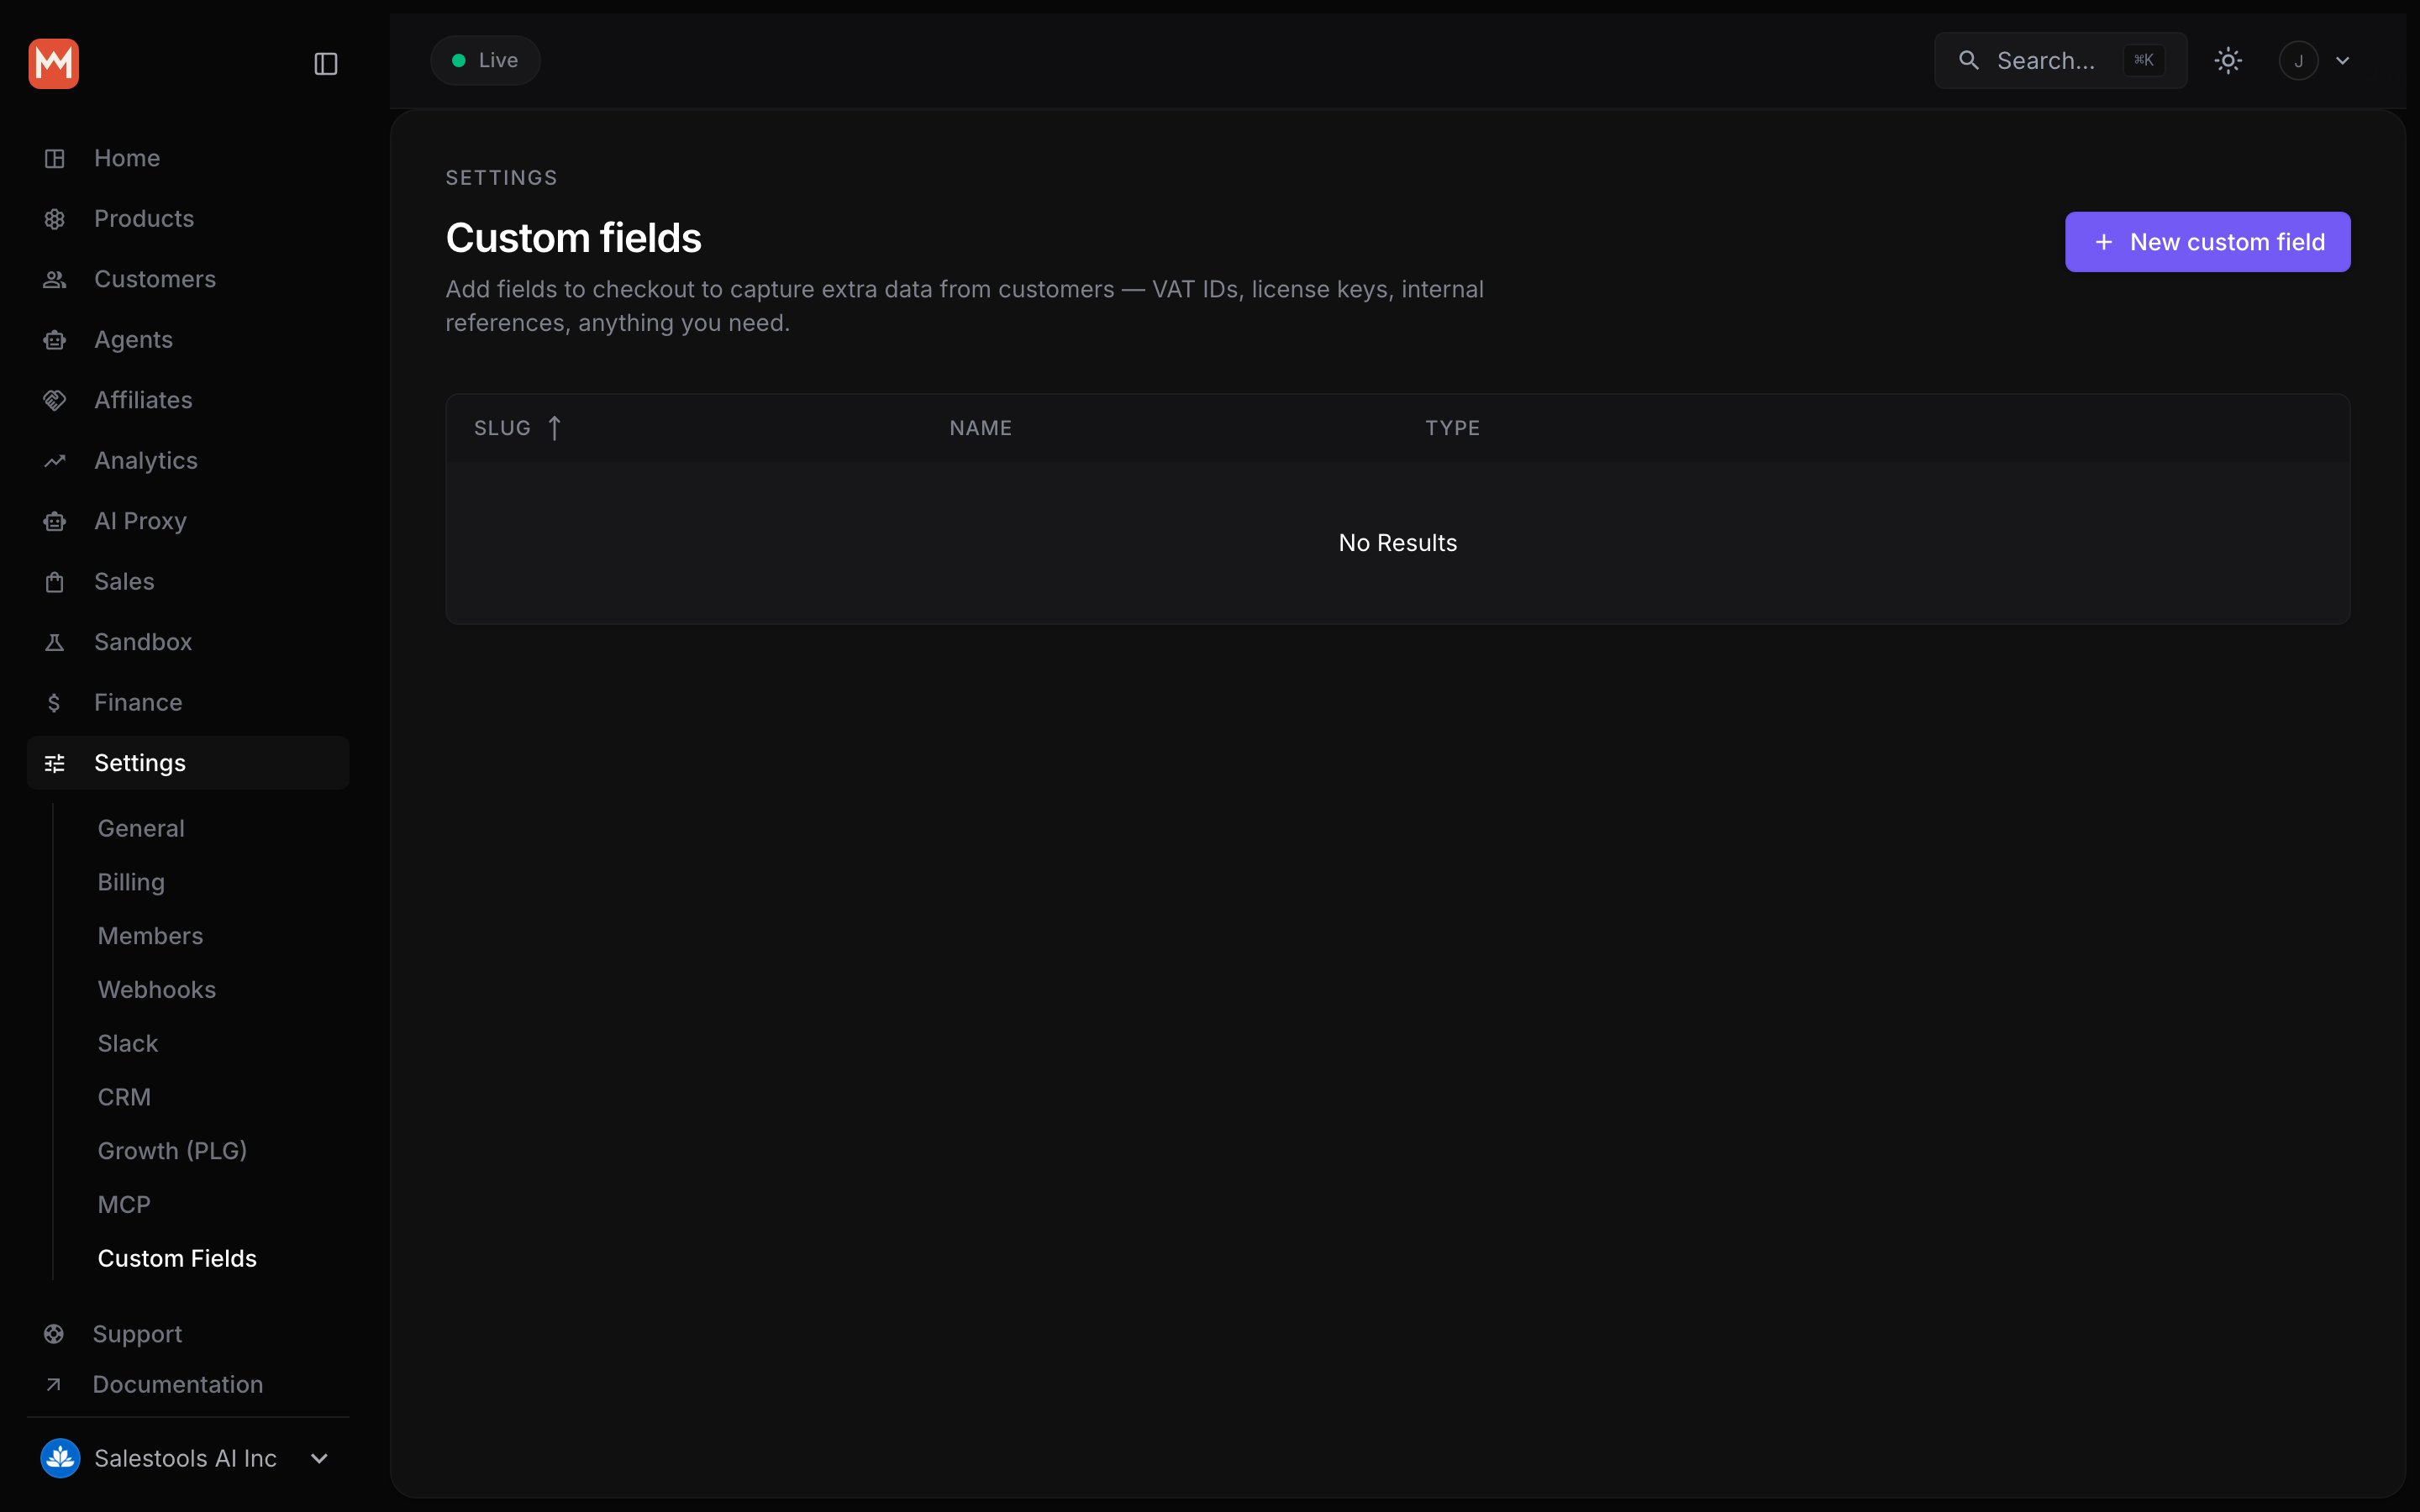
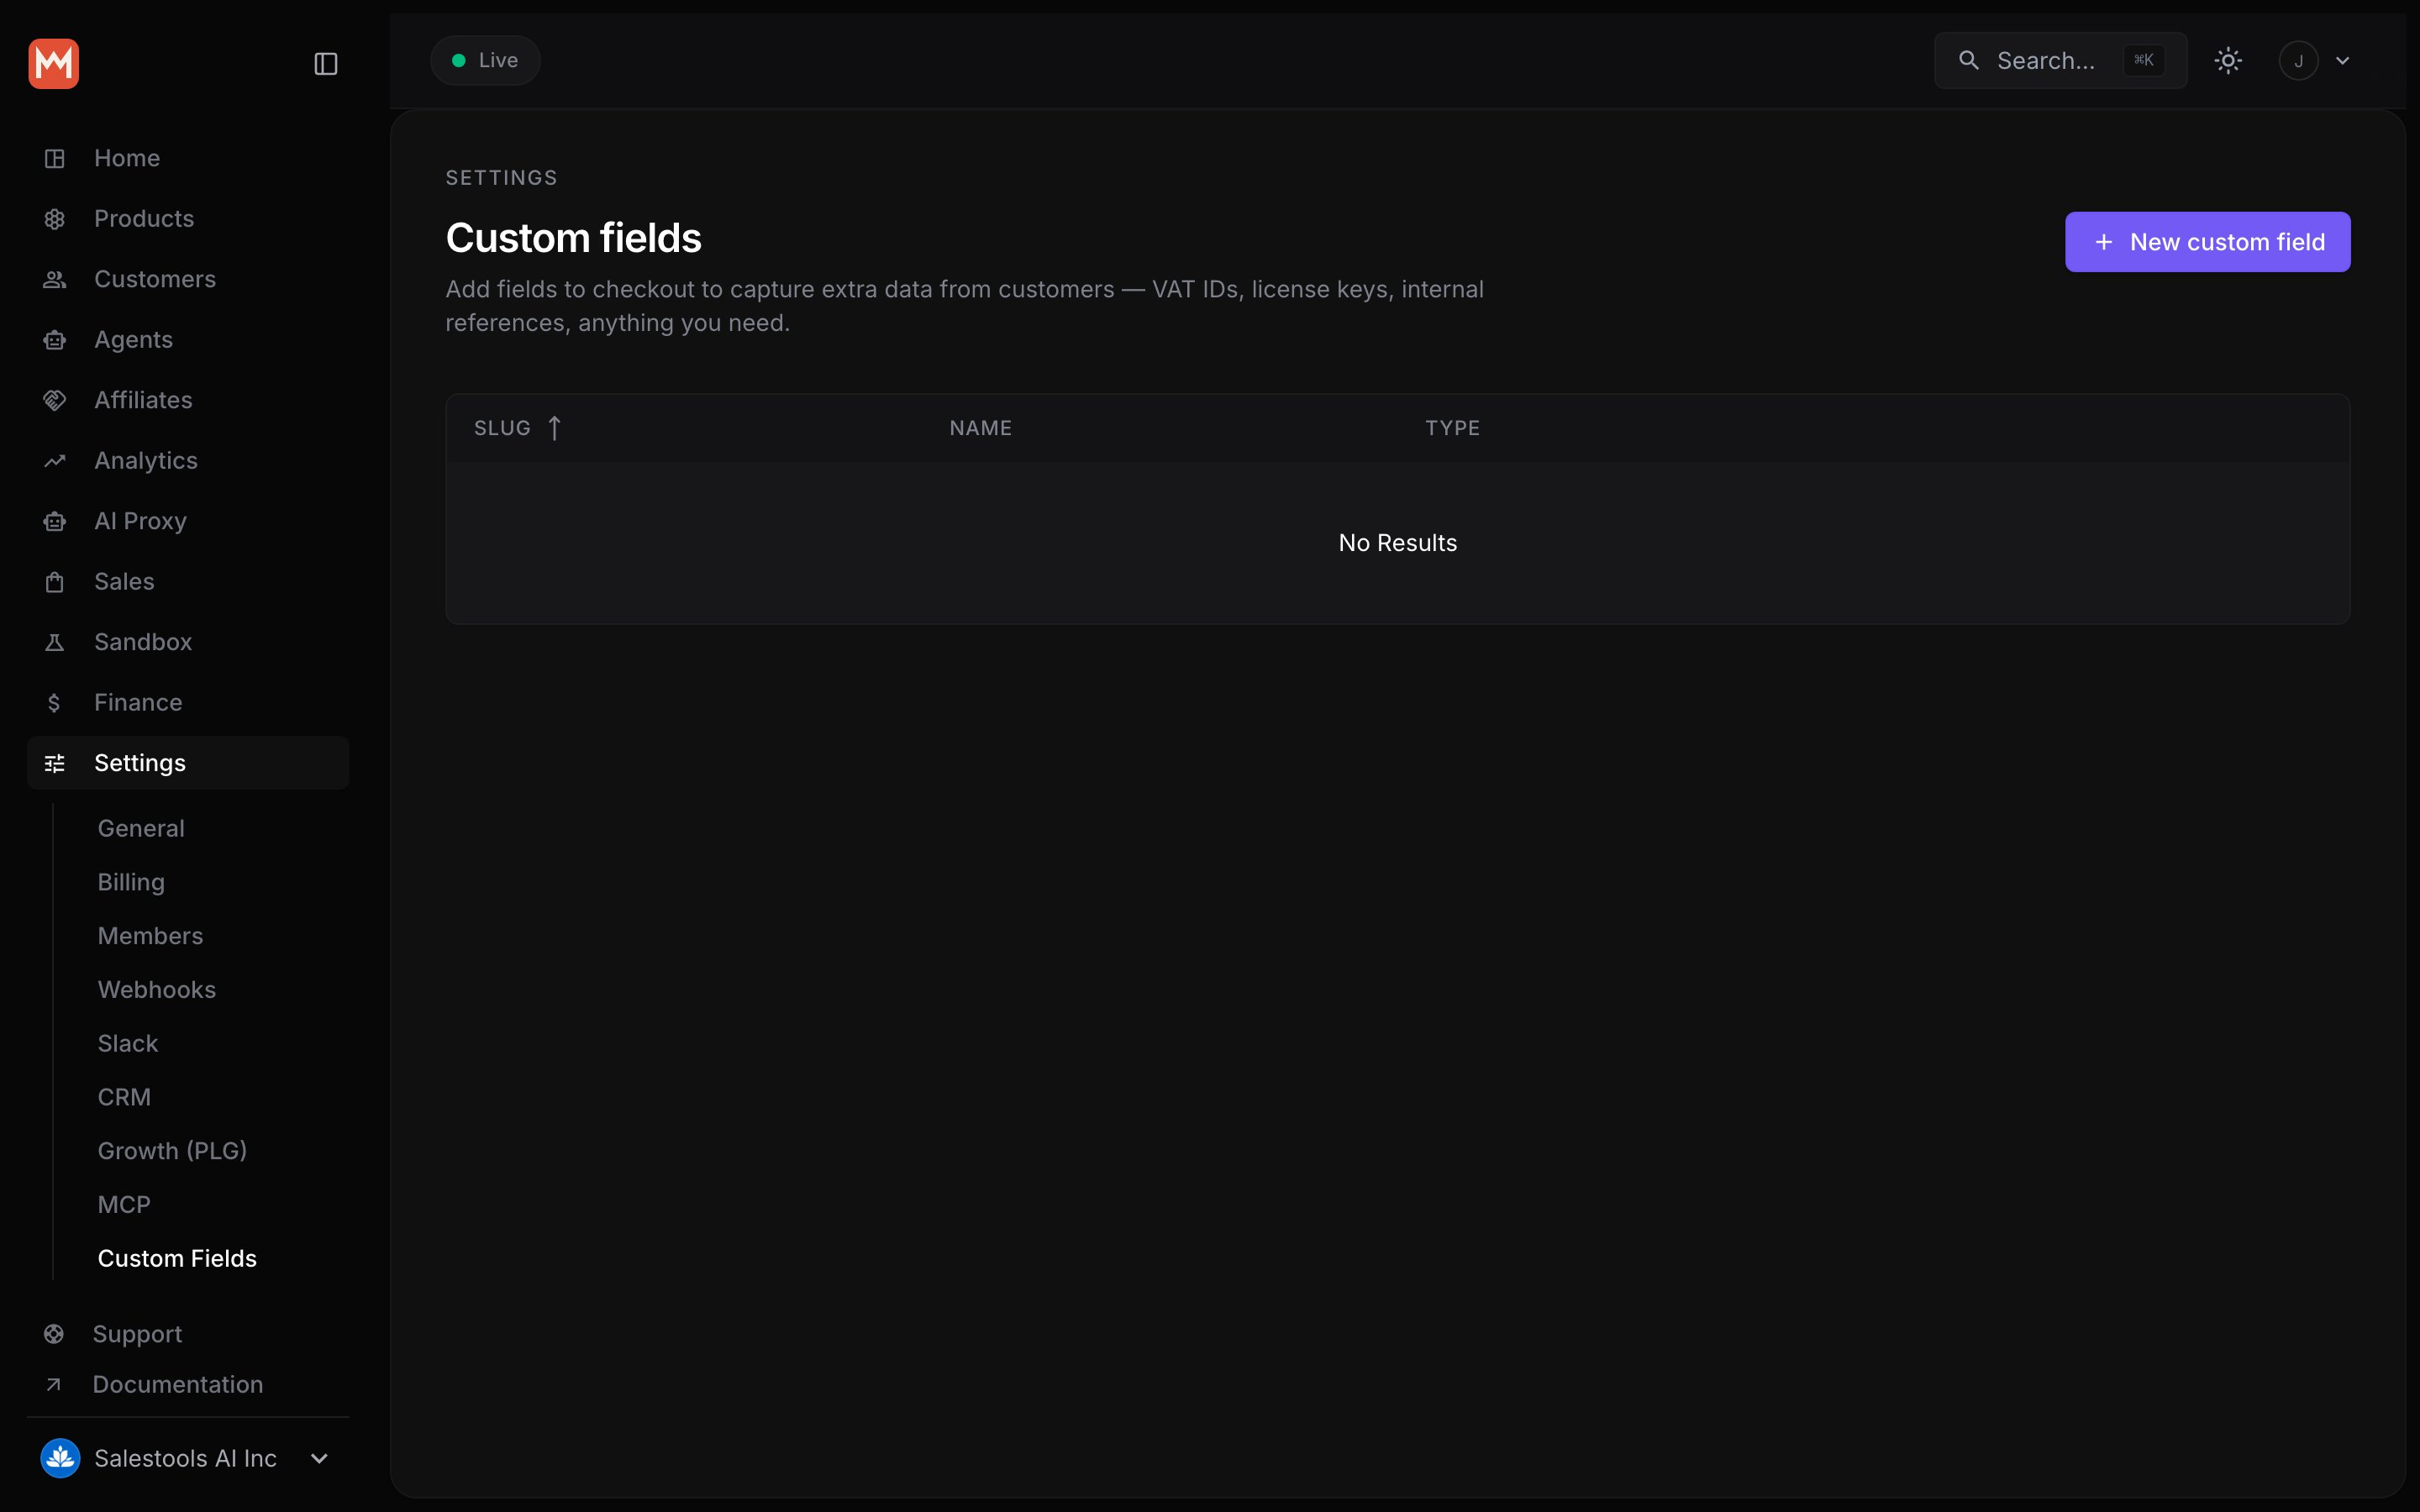
Custom Fields are defined once at the organization level, then attached to individual products. Define a field a single time and reuse it across as many products as you like. To manage them, open Settings → Custom Fields. This lists every field your organization has defined.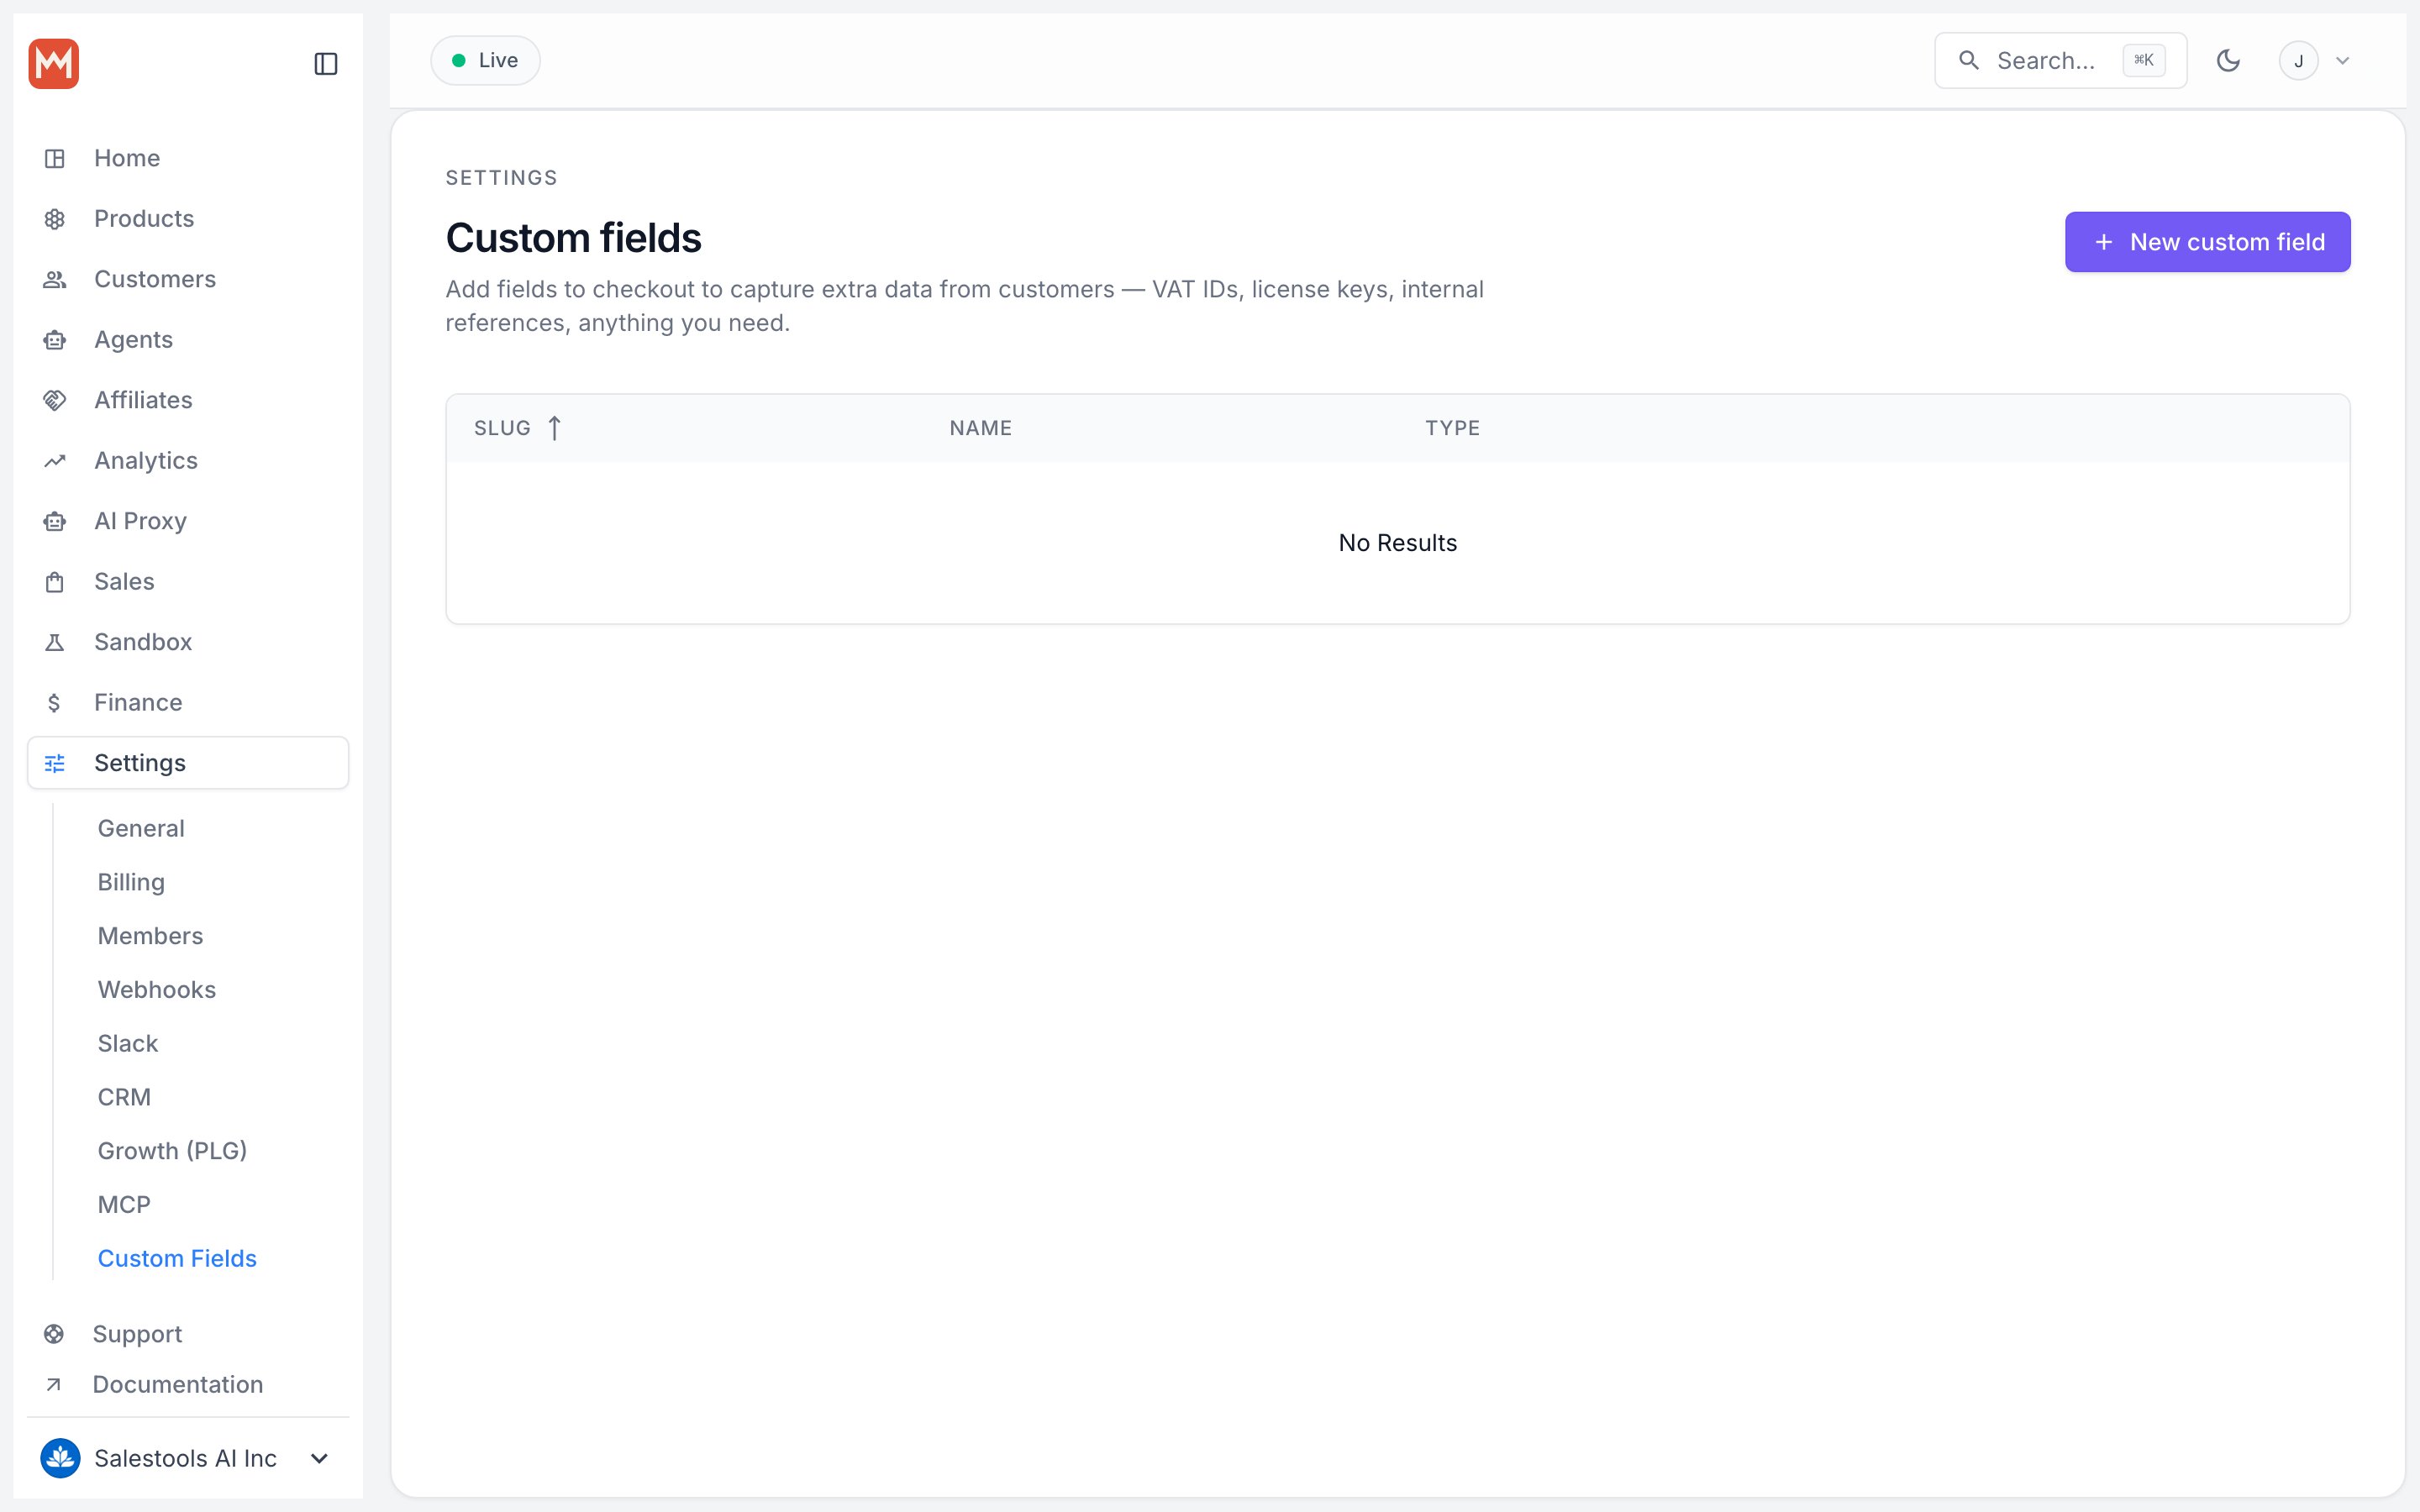
Field types
The type is the first and most consequential choice — it sets the input shown at checkout and the shape of the stored value. Pick carefully: the type is locked once the field is created.
For a Select field, each option is a
Value / Label pair: the Value is what gets stored, and the Label is what the customer sees. For example, an attribution dropdown might store social_media while displaying “Social media”.
Slug and name
Two identifiers matter, and they serve different audiences.- Slug — the key your data is stored under on Orders, Subscriptions, and anywhere the field’s value appears. It must be unique within your organization. Rename it any time; Macropay migrates existing data to the new slug automatically.
- Name — the human label you’ll recognize in the dashboard. It defaults to the customer-facing label too, unless you override that under Form input options.
Customizing the checkout display
Form input options control how the field appears to your customer:- Label — text shown above the field
- Help text — guidance shown below the field
- Placeholder — greyed-out hint shown inside an empty field
Attach a field to a product
Fields appear at checkout per product. When creating or editing a product, choose which Custom Fields to include in its checkout.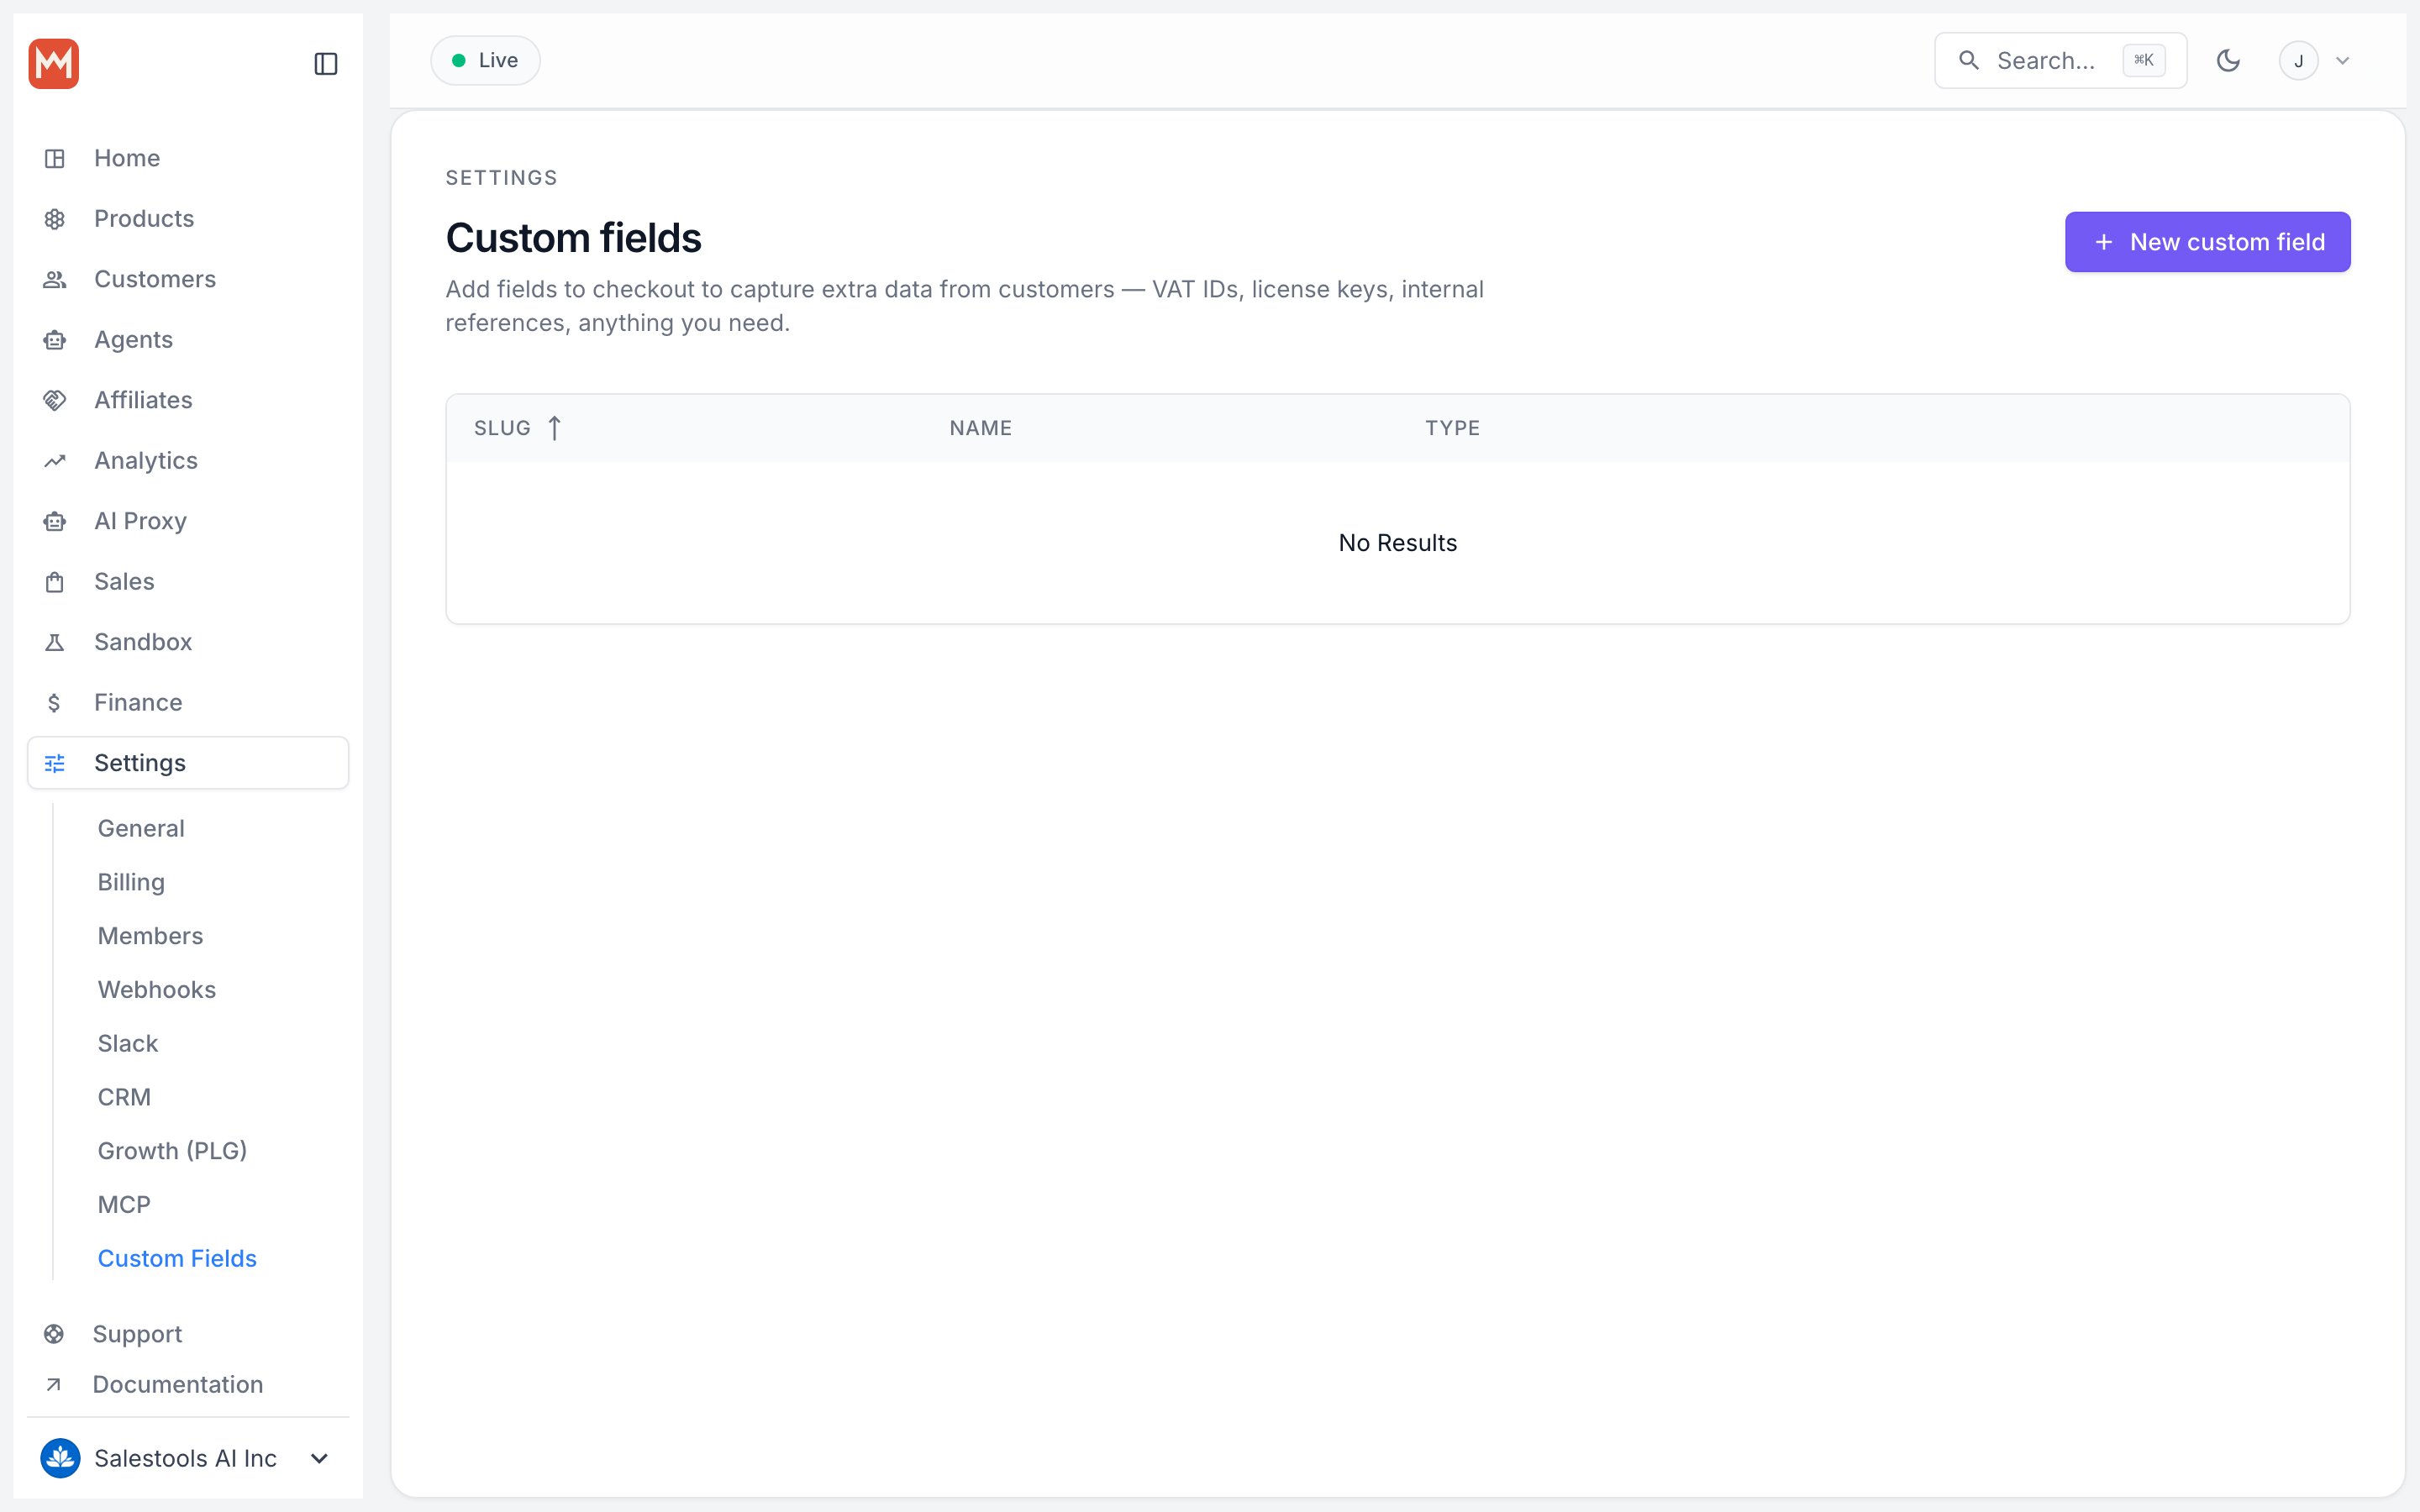
Reading the data back
In the dashboard, each Custom Field becomes a column on your Sales page, across both Orders and Subscriptions, so you can scan customer input at a glance.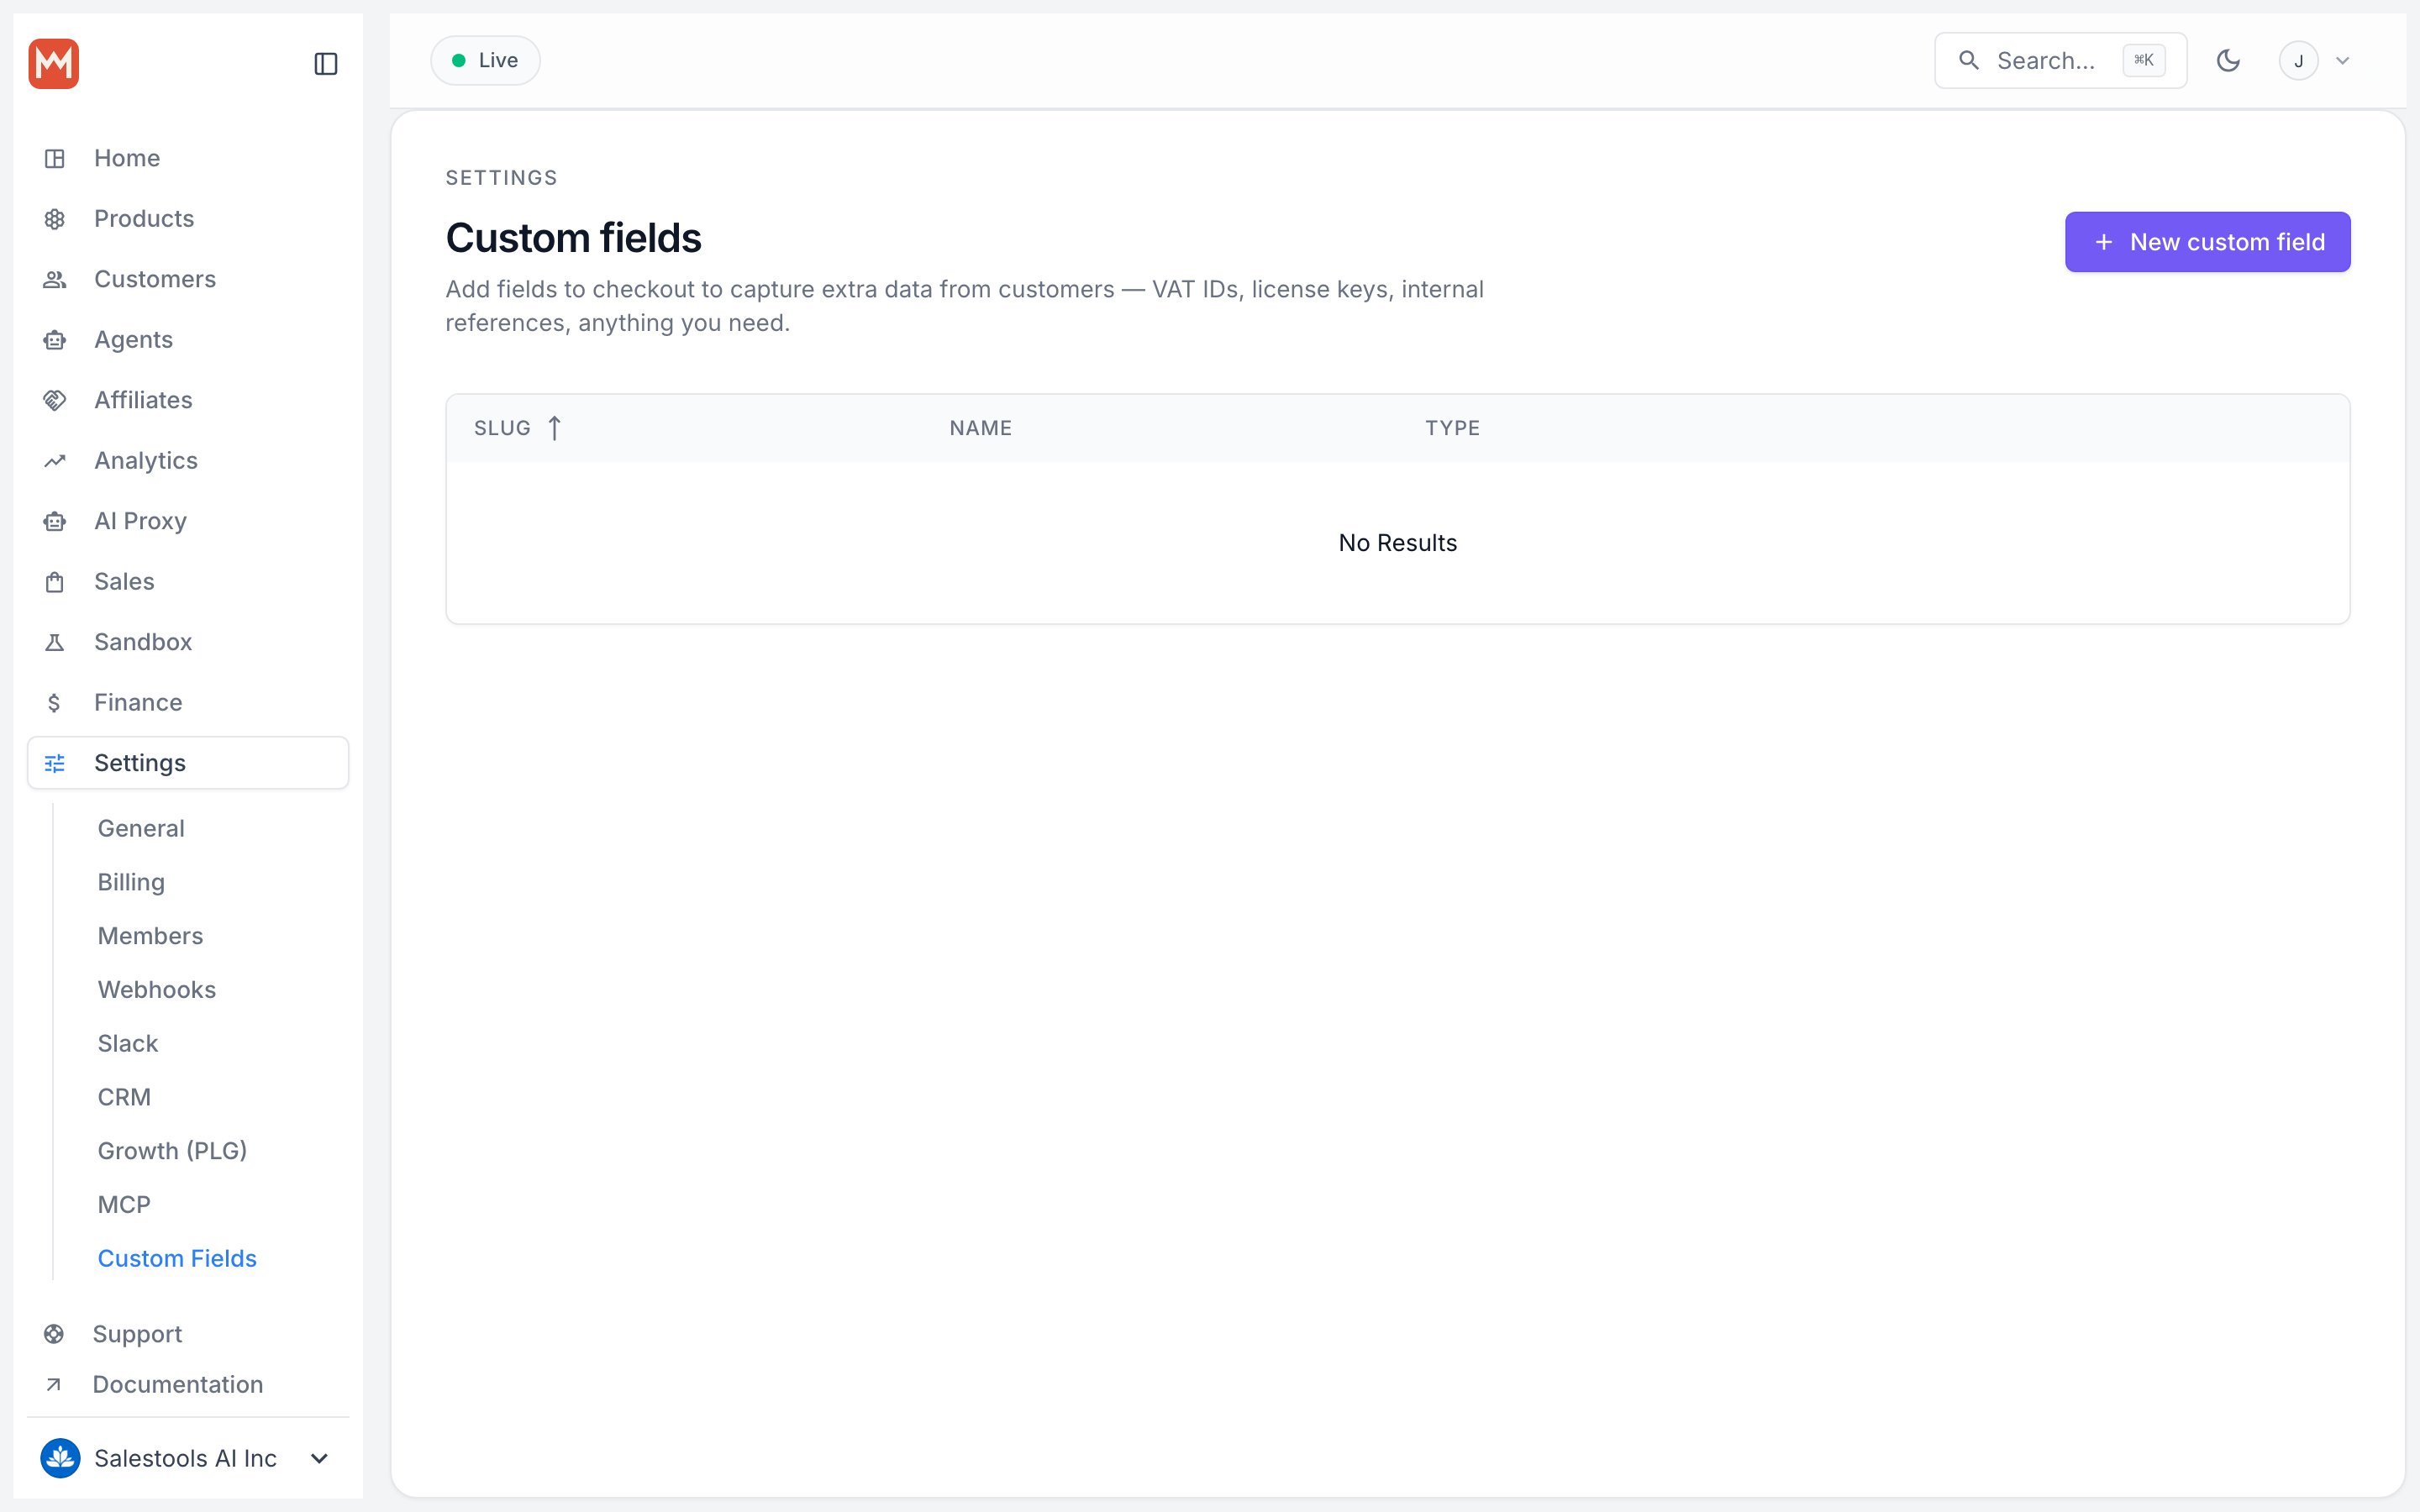
custom_field_data property, keyed by each field’s slug: