

 Keep buyers on your page through the entire purchase. The embedded checkout opens our payment form in an overlay on top of your site, so customers never bounce to a hosted page mid-funnel. Card data is captured and tokenized in our PCI DSS Level 1 compliant vault, and because Macropay is the Merchant of Record, sales tax and VAT are calculated, collected, and remitted on the order — you ship the integration, we own the tax and compliance.
There are two ways in:
Keep buyers on your page through the entire purchase. The embedded checkout opens our payment form in an overlay on top of your site, so customers never bounce to a hosted page mid-funnel. Card data is captured and tokenized in our PCI DSS Level 1 compliant vault, and because Macropay is the Merchant of Record, sales tax and VAT are calculated, collected, and remitted on the order — you ship the integration, we own the tax and compliance.
There are two ways in:
- Drop-in snippet — paste two tags into any HTML page or CMS. Zero build step.
- JavaScript library — install the package for SPAs, event hooks, and programmatic control.
Drop-in snippet
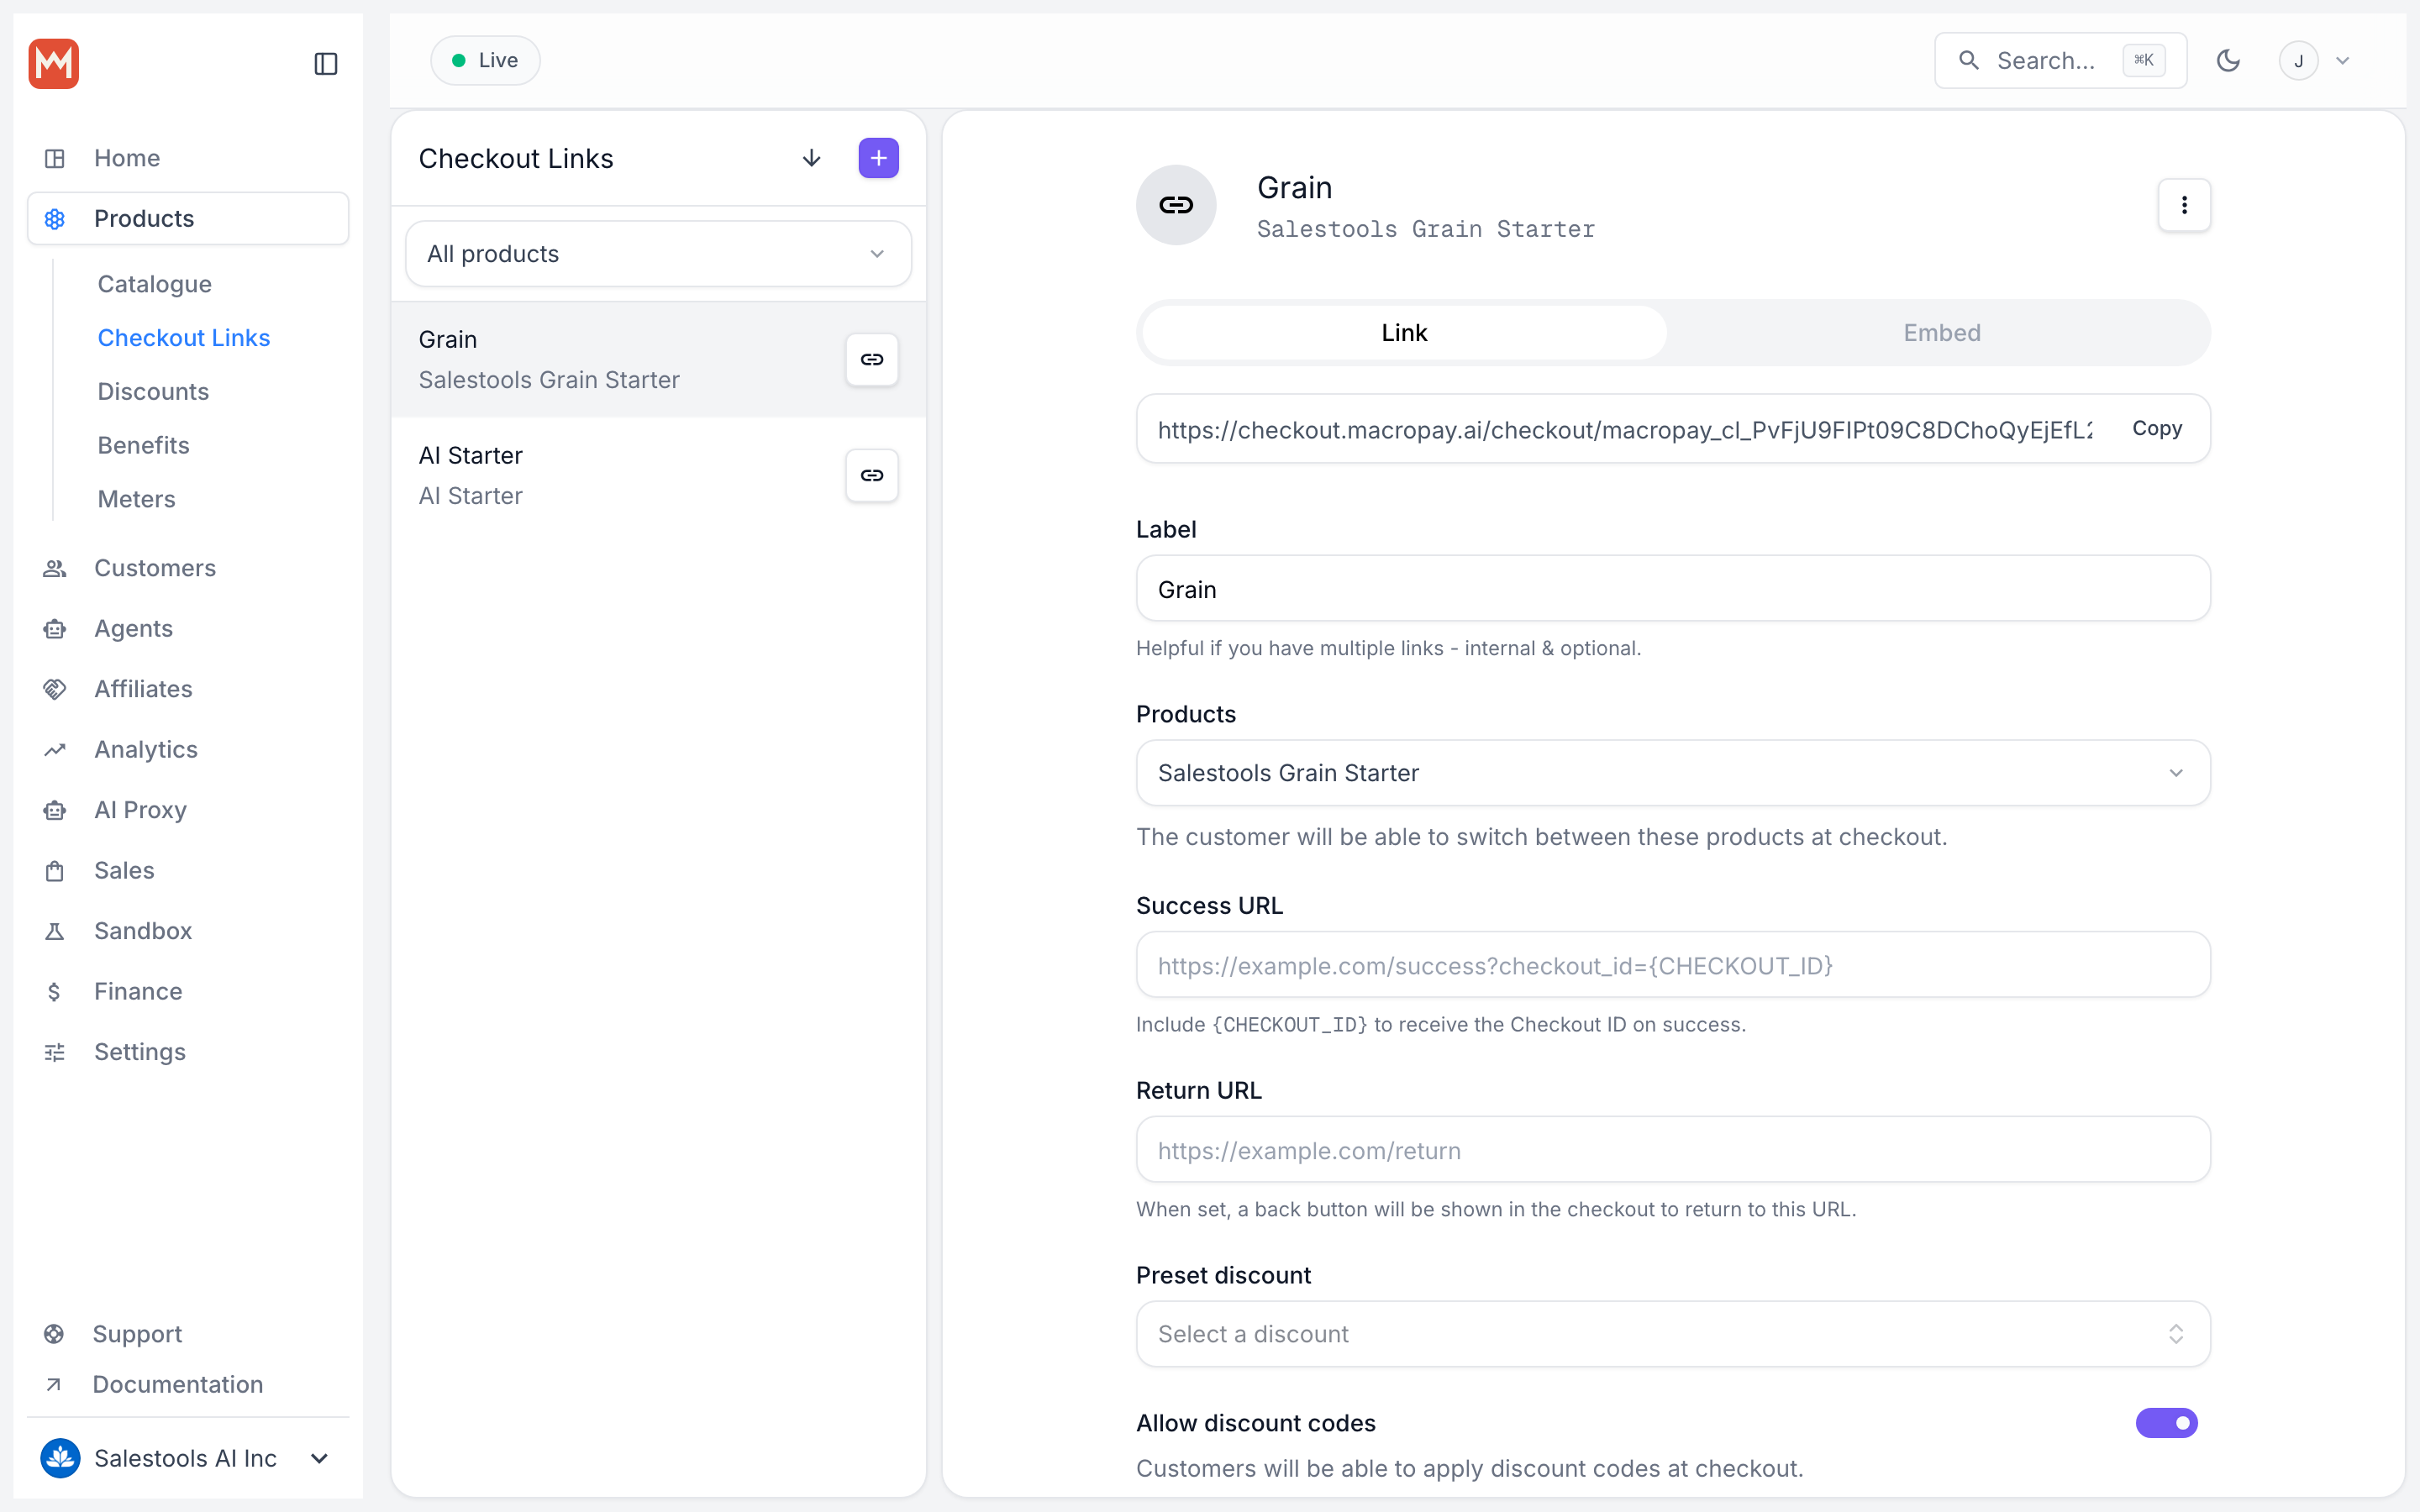
Works anywhere you can paste HTML — a landing page, a Framer site, a Webflow block, a docs page. Start from a checkout link. Open the link in your dashboard and click Copy Embed Code to grab a ready-to-paste snippet, which looks like this:data-macropay-checkout attribute. Use data-macropay-checkout-theme="dark" to match a dark UI.
Inline checkout
In your dashboard, open a checkout link and select Embed on your website. Choose Inline checkout or Button with overlay, choose a light or dark appearance, and click Copy code. Paste the snippet into an HTML or custom code block on your website. Include the script only once per page. Inline checkout mounts the payment form inside your page and automatically adjusts its height as the form changes. It does not lock page scrolling or show an overlay close button. For programmatic mounting, pass a container element:create. For checkout sessions created
through the API, set embed_origin to your website’s origin. Wallet availability
still depends on the payment processor and domain registration.
JavaScript library
For a React, Vue, or other bundled app, injecting a raw<script> tag is awkward. Install the package instead:
MacropayEmbedCheckout and call init() once after mount. It wires up handlers on every element carrying the data-macropay-checkout attribute:
Programmatic control
Beyond declarative triggers,MacropayEmbedCheckout exposes an imperative API for opening, listening to, and closing the overlay yourself.
Open on demand
Skip thedata- attribute and open the checkout from your own code — handy when the buy action depends on app state, like a completed cart or a confirmed seat count:
React to checkout events
Subscribe to lifecycle events to drive analytics, fulfillment hints, or your own success UI. Forloaded, prefer the onLoaded callback on create() — it fires reliably even when the overlay loads instantly.
A complete React component
This component opens the overlay, reports the conversion, and cleans up its instance on unmount:Close it yourself
Dismiss the overlay from code when your app needs the buyer somewhere else first — for example, to finish an onboarding step or resolve a billing conflict:Wallet payments (Apple Pay & Google Pay)
One-tap wallets convert better than card entry, and they show up automatically on hosted checkout when the buyer’s device supports them:- Apple Pay appears when the buyer is on an Apple device, using Safari, signed into an Apple account with Apple Pay set up.
- Google Pay appears when the buyer is on Google Chrome, signed into a Google account with Google Pay set up.
Allowlisting your domain for embedded wallets
Inside an embedded overlay, wallet methods are off by default. Because the form runs on your domain, that domain has to be validated before Apple Pay or Google Pay can appear in embedded mode.To turn on embedded wallet payments, email support with:
- Your organization slug
- The domain you want allowlisted for wallet payments